Crispy Fried Rice Cakes (Fried Dduk)

Hello friends…

So. I love dduk. Not quack quack duck, but chewy rice cake dduk. I googled the word “dduk” but there wasn’t much information. So then I tried googling “tteok” which got many more hits… see what I mean about the spelling of Korean stuff??

Anyway, there are lots of recipes on how to make Korean dishes with dduk/tteok, but I wanted to share how I like to eat mine. I made this recipe up a few years ago when I had some leftovers, and have continued to make it since. Dduk is normally only good on the day that it is made, and once in the refrigerator it becomes really hard.

Crispy Fried Dduk (Kaprise Kitchen Original)

  • Several pieces of plain dduk, cut into pieces (Make sure your pieces are dry, any moisture will cause the oil to splutter)
  • 1 tablespoon of olive oil
  • 1 1/2 teaspoon of sesame oil
  • 1 teaspoon of soy sauce
  • 1/2 teaspoon of sugar
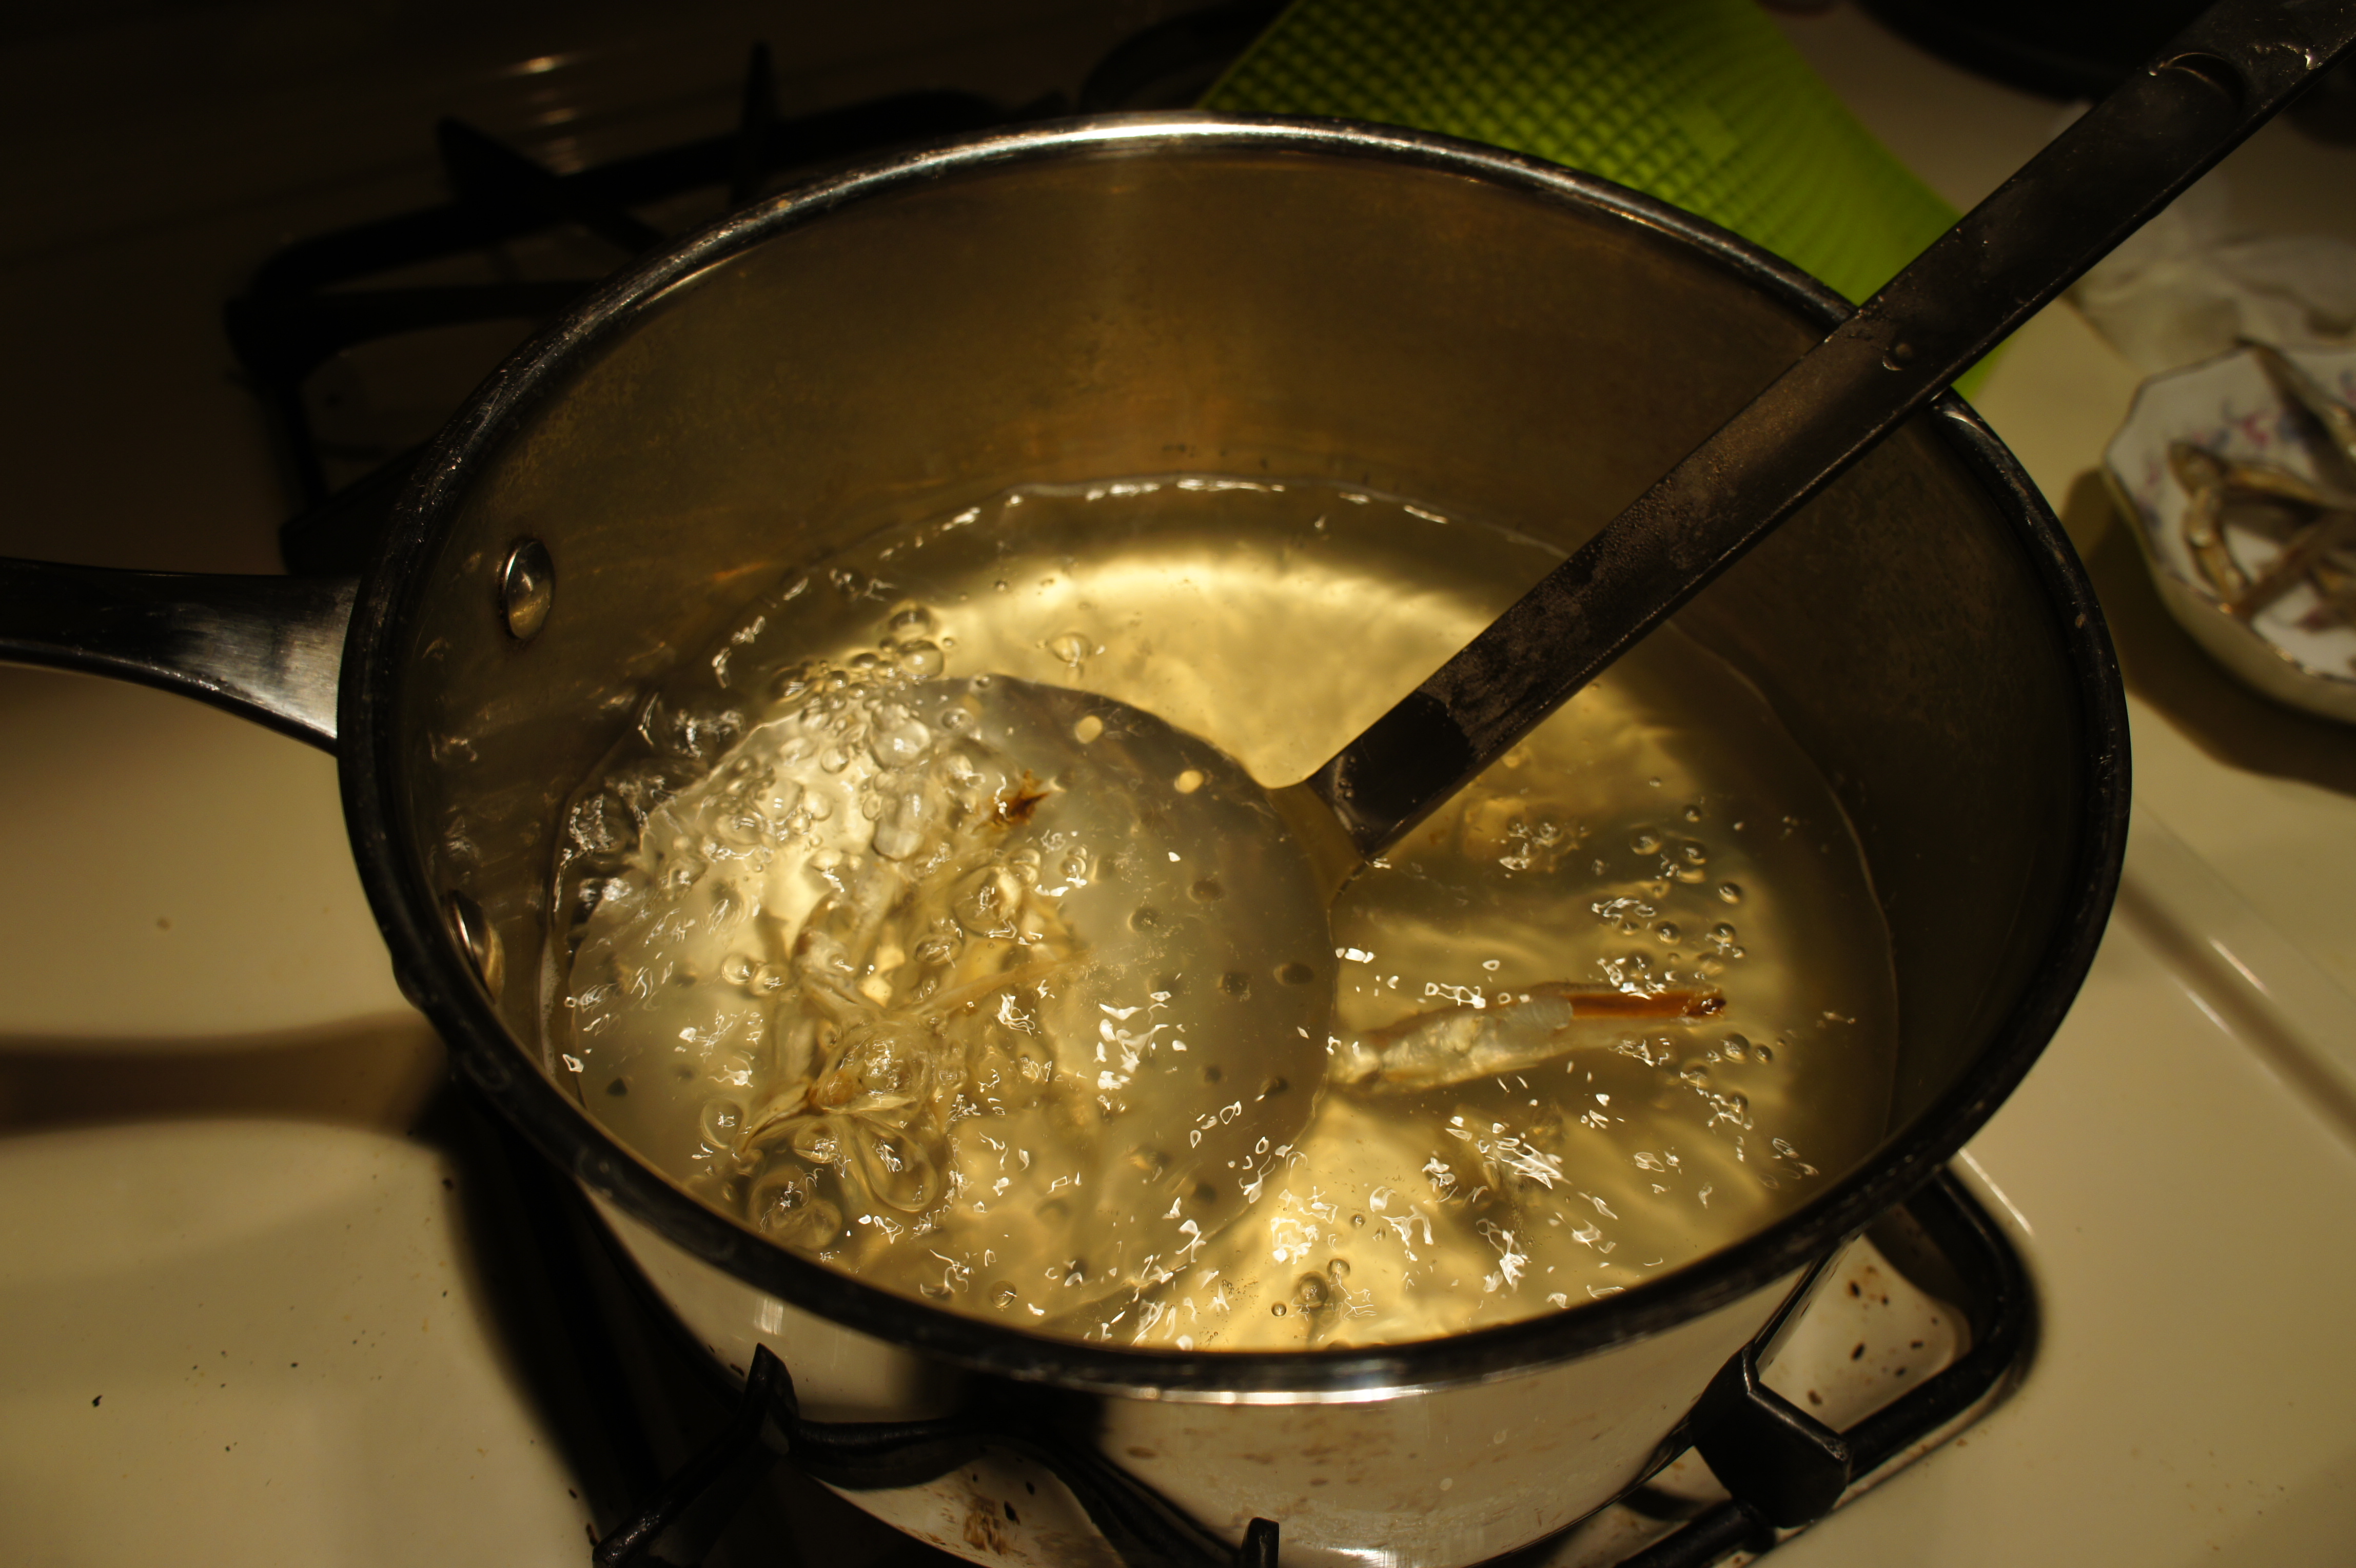
  1. In a non-stick skillet, heat the olive oil over medium heat
  2. One the oil is heated, gently slide the dduk into the pan, be sure to leave a little space between the pieces of dduk so they don’t stick.
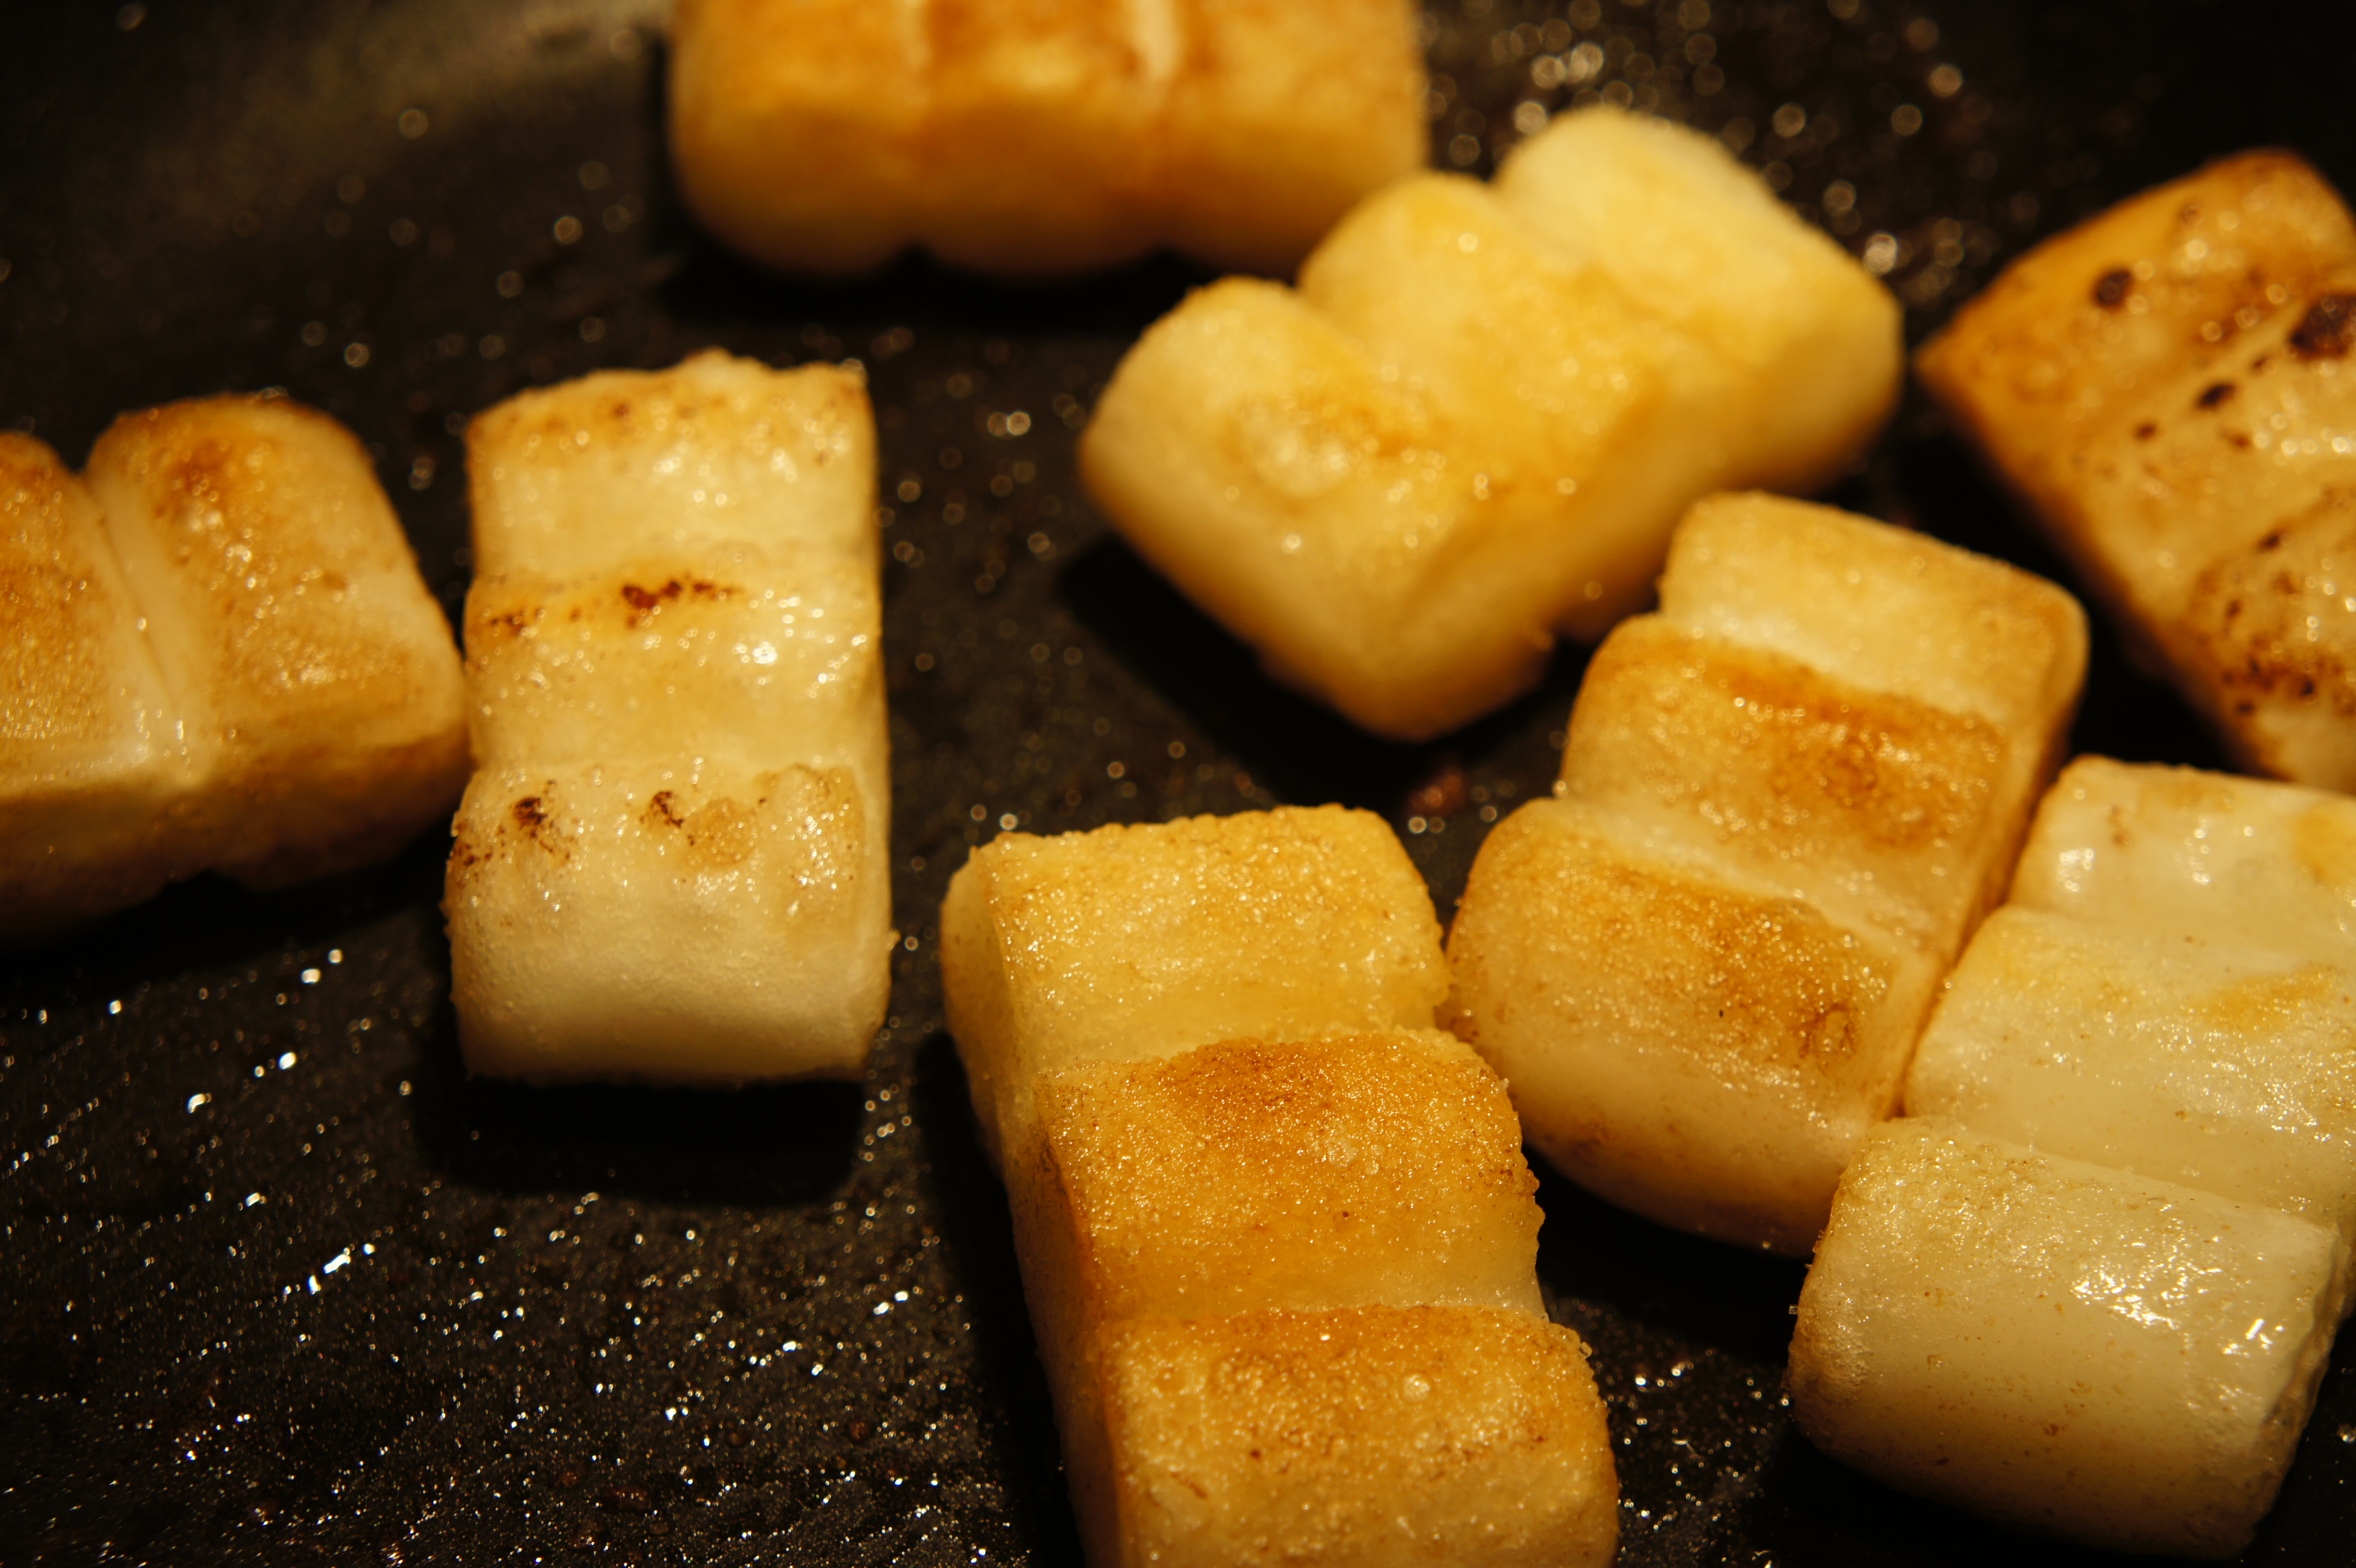
  3. Cook until the dduk is crispy and golden, flip to the other side and cook until crisp and golden (I fry mine for about 5 minutes on each side, but keep an eye on your so it doesn’t burn)
  4. Remove the pan from heat
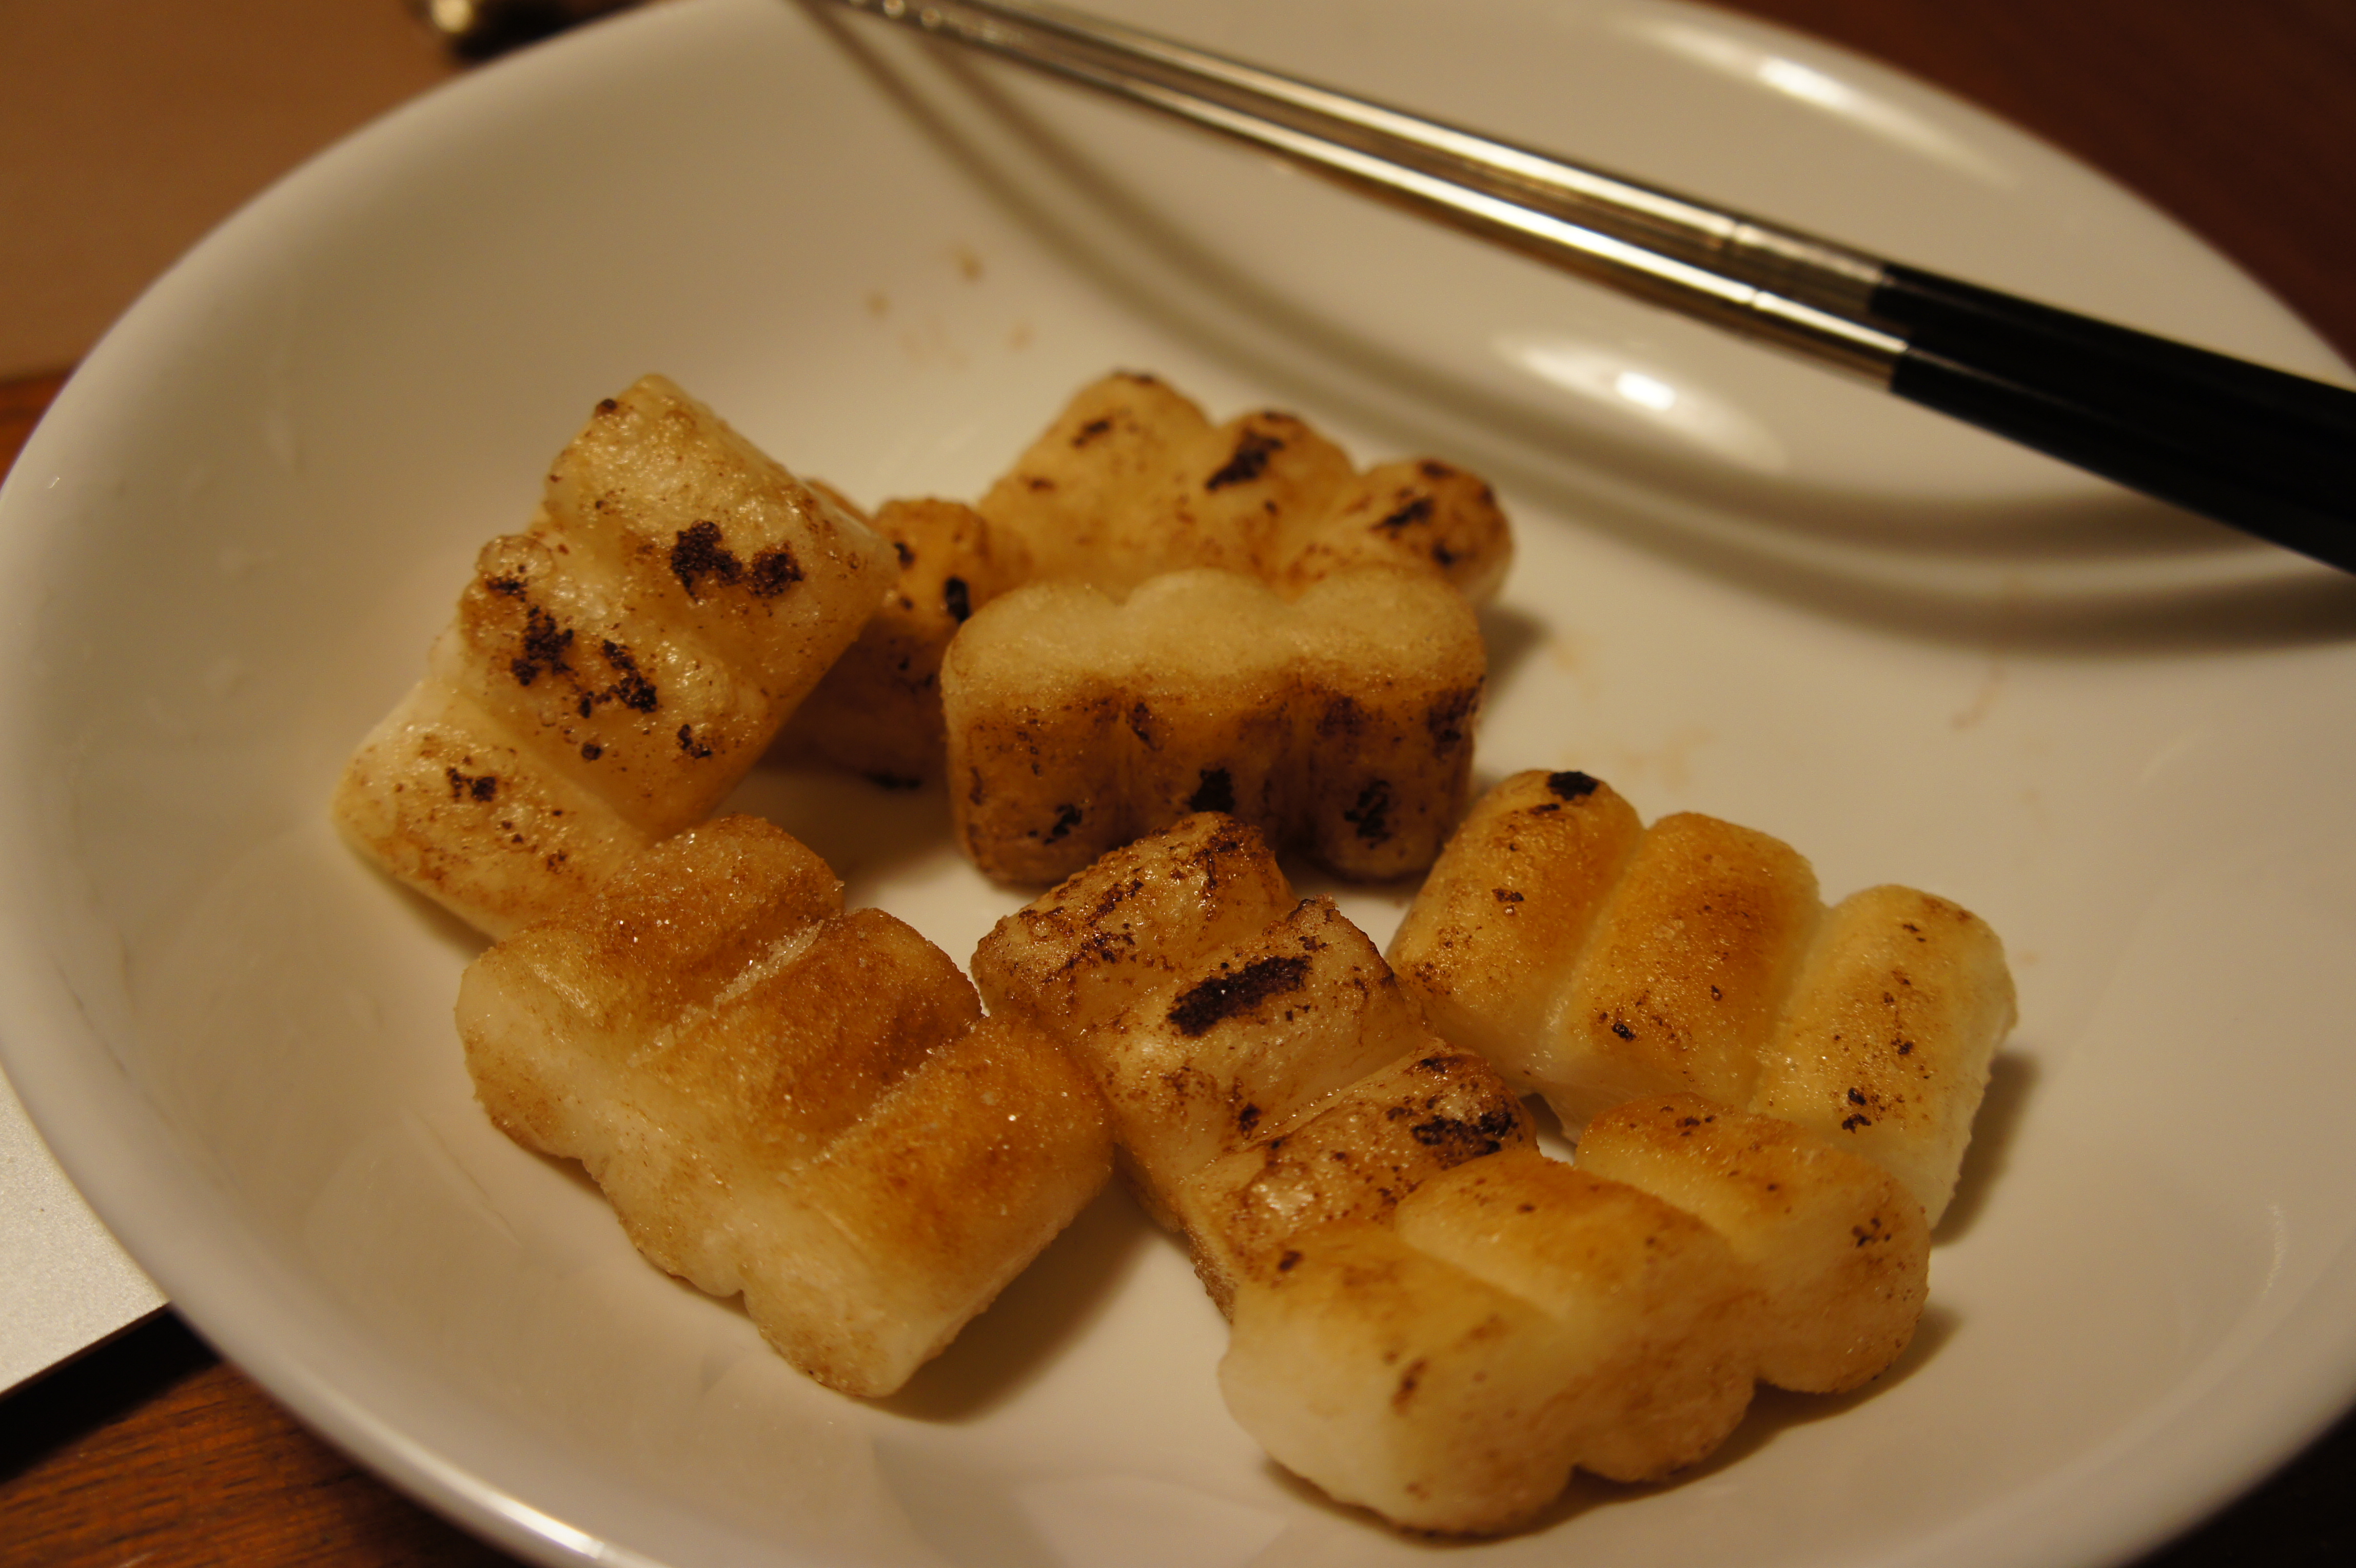
  5. Drizzle the sesame oil and soy sauce over the crisped dduk as you swirl the pan, coating the pieces in the sesame and soy sauce. The combination will sizzle so move quickly.
  6. Sprinkle the sugar over the coated pieces of dduk
  7. Plate and eat!


Notes:

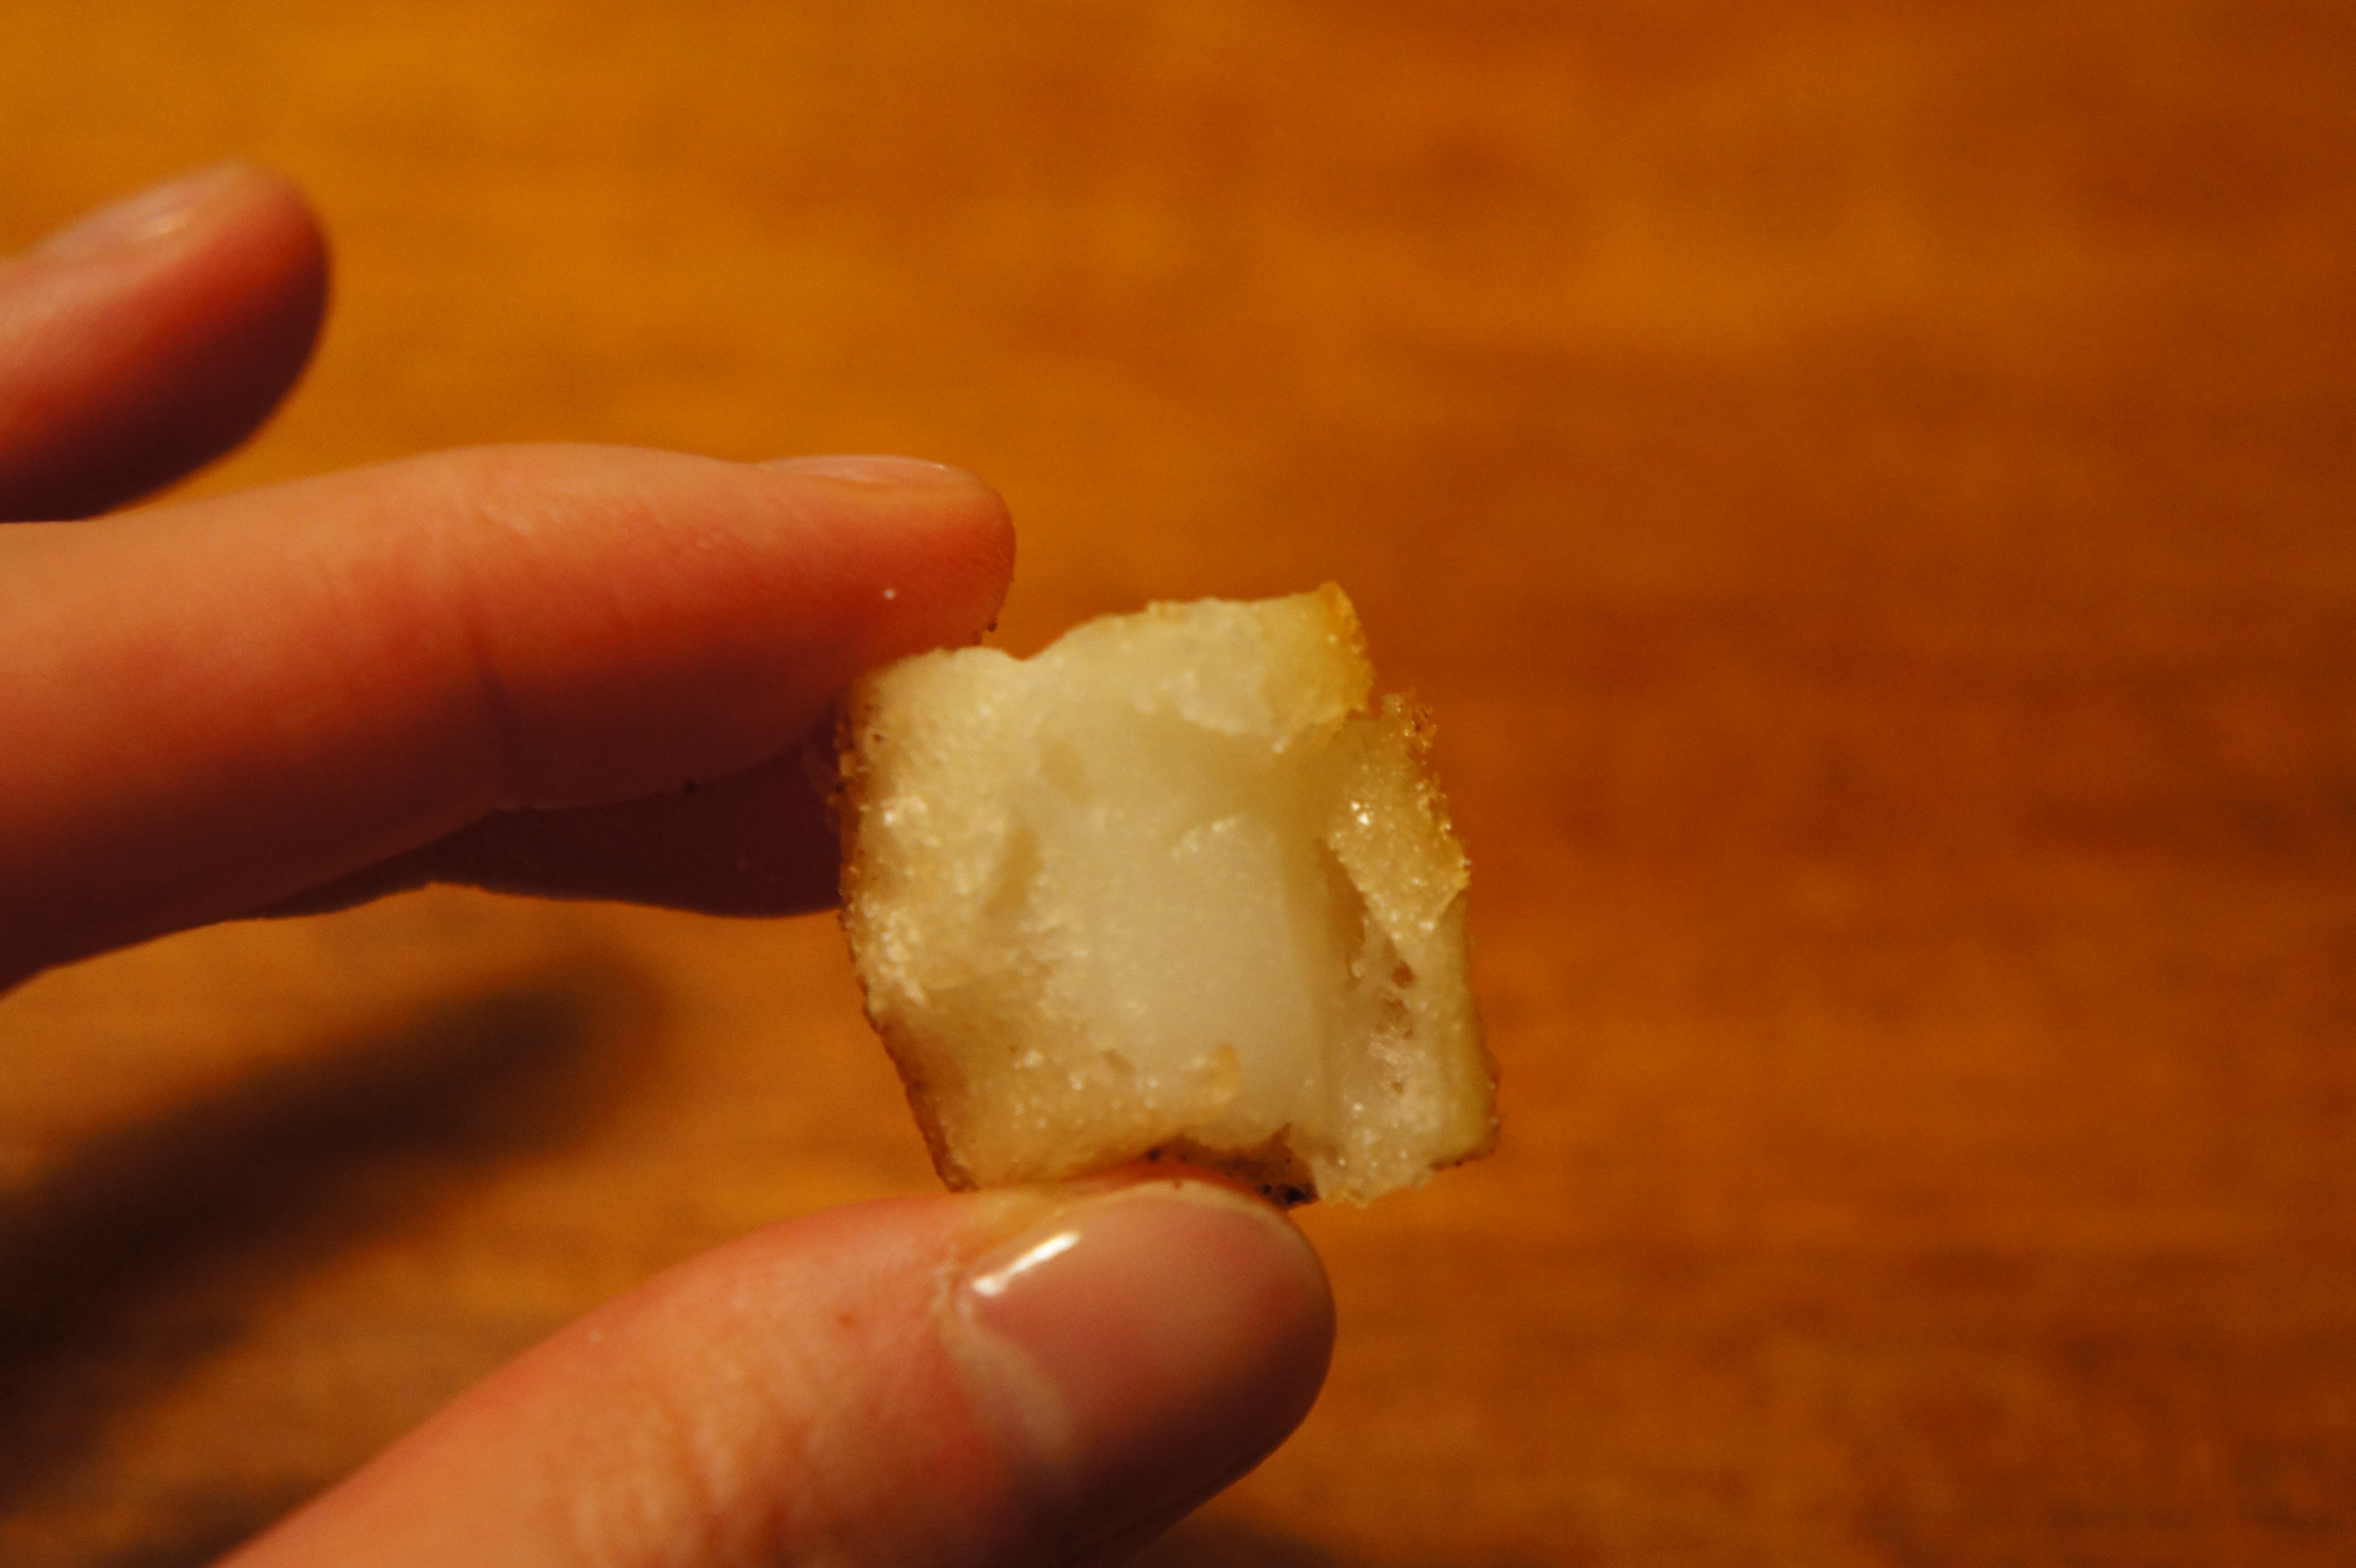
  • There are many varieties of Korean rice cakes… endless in fact. However, this recipe works best with the plain, white, string dduk. It is normally sold in Korean grocery stores in little styrofoam pans. I normally used left over dduk that has been refrigerated, so the dduk is hard. This helps the dduk crisp in the oil as you cook it. 
  • If you are unfamiliar with dduk, you can visit Maangachi to learn more about dduk. I believe that website uses the “tteok” spelling, but here are some links to the pages I thought were helpful: the dduk I used, how to make dduk-bokki, and how to make plain white dduk.

SONY DSC

SONY DSC

SONY DSC

SONY DSC

Have you ever tried dduk? Also, any miscellaneous questions about dduk, please let me know! I know it is still pretty novel in the States.

Dwan-Jjang Gook (Soybean Soup)

It’s really unclear how to spell Korean words in English. Sometimes I think they sound one way, but then the conventional spelling that most people online is completely different. Anyway – I think it should be spelled “dwan-jjang” but I have seen “doenjang” and “ddanjjang” and some others. Regardless of the English spelling, dwan-jjang is fermented soybean paste. It’s made in a variety of ways, but One Fork, One Spoon wrote a little bit about it, so hop on over to read up if you are interested.

Personally, I find the word “fermented” to be a bit off putting, which is why I excluded it from the title of my post. Anyway – this is a quick way to make dwan-jjang gook, or fermented soybean soup. From start to finish it takes less than 30 minutes. I start my rice first, and then start on the soup. I usually make my rice in a cast iron pot or a stoneware pot… Let me know if you want me to do a more in depth post on making rice without a rice cooker.

A quick note before I do get started, for people with gluten intolerance or sensitivity to wheat, this is NOT the soup for you. Many of the commercially manufactured dwan-jjang pastes include some form of wheat… if you are set on eating the soup, you will have to do significantly more research into what types of commercially produced paste do not contain gluten.

Dwan-Jjang Gook (the way my mother makes it)

  • 1/2 cup of dried anchovies, or “mael-chi” 
  • 4 cups of water
  • 3 tablespoons of dwan-jjang paste (I suggest started at 1 tablespoon and working your way up as your paste may differ in flavor and saltiness than mine.
  • Scallions (optional)
  • 1-3 teaspoons of soy sauce (also, for gluten sensitive folks, almost all commercially manufactured soy sauce contains wheat so watch out for this also)
  1. Boil4 cups of water with the anchovies for about 20 minutes
  2. Remove the anchovies from the water and discard
  3. Muddle the gwan-jjang paste 1 tablespoon at a time into the anchovy stock, and bring to a simmer
  4. Add soy sauce to taste
  5. You can add any variety of vegetable at this point. My favorite is spinach.
  6. Pour the soup over rice and enjoy!!

Easy right?!

Little anchovies in water

SONY DSC

Washed spinach leavesSONY DSC

Skimming the anchovies out of the soupSONY DSC

Dwan-jjang pasteSONY DSC

Adding the paste to the soupSONY DSC

White rice and spinach leaves (I usually just pour the hot soup over the leaves so my spinach is “just” wilted, but feel free to add them to your soup as it simmers.SONY DSC

Soup, rice, and spinachSONY DSC

Comfort Food: Galbi Jjim (Braised Short-ribs)

This is a recipe for Korean braised beef short-ribs… my way. My mother used to make this for me with the proper accoutrements (ginko, chestnuts, dried mushrooms, and Korean radish), but I was delirious, compliments of my cold, at the supermarket so I made do when I got home with a random assortment of food items. The recipe itself is pretty straightforward, but it is important to properly prep the short-ribs before braising them with the sauce and vegetables, otherwise your dish will been extremely greasy because of the heavy marbling in the beef.

Galbi Jjim

  • 2 pounds of bone-in beef short-ribs
  • 1 1/2 cups of filtered water
  • 1/4 cup of soy sauce
  • 2 tablespoons of sesame oil
  • 3 tablespoons of fresh chopped garlic
  • 1 small sliced onion
  • 1 teaspoon of brown sugar
  • 1 small bunch of sliced green onion
  • 2 King Oyster mushrooms, sliced
  • 2 red potatoes, cubed
  • 2 carrots, 1 inch slices
  1. Cut the short-ribs, one bone per piece.
  2. Place the short-ribs into a large pot, with the bone vertical. Fill the pot with cold water and allow the beef to soak for 1 hour. Change the water three to four times.
  3. Change the water in the pot one final time, and bring the pot of ribs and water to a rolling boil
  4. Simmer the ribs for 15 minutes
  5. During this time, whisk the water, soy sauce, sesame oil, garlic, and white onion into a bowl.
  6. Remove the ribs with tongs and place on a clean dish. (I also rinsed the ribs under cool water once more to remove a little extra fat)
  7. Pour the remaining liquid into a heat-proof bowl*(because of the high fat content, flushing the liquid down the sink will clog your drain. Instead, let the liquid cool and the fat to float to the service. Discard the fat in the trash. The remaining poaching liquid is beef stock that you can either keep for another dish, or discard. I kept it and put it in my beef stew I made the following morning)
  8. Clean out your pot, and then place the ribs back inside of the pot.
  9. Add the soy sauce mixture, and simmer over low heat for 15 minutes
  10. In the mean time, slice the potato, carrot, green onion, mushroom (and really any other vegetable that you want to add, just make sure it’s a sturdy vegetable that will hold up after simmer for an hour).
  11. Add the vegetables to the pot, and using a spoon drizzle some of the liquid over the vegetables
  12. Cover tightly and simmer over low heat for 1 hour. (DO NOT OPEN THE LID OF THE POT FOR ONE HOUR)
  13. Check the beef after 1 hour by sliding a knife into the meat. If your knife slides in the meat easily, the dish is ready. If the meat resists, then cover and simmer for another 15 to 30 minutes.
  14. Serve with steamed rice 🙂

Notes on this recipe:

  • This is not a traditional Galbi Jjim recipe… at all
  • Use a heavy pot, like a Le Creuset, with an equally heavy lid
  • Do NOT open the lid of the pot while the meat is simmering, the steam that forms inside of the pot is essential in allowing the meat to cook evenly.
  • Be sure to use LOW heat to ensure your braise doesn’t burn and that you have even cooking
  • Two pounds of short-ribs is enough for two to three people
  • Left-overs keep well for up to 3 days (That’s how long mine stayed in my fridge before I devoured it, I’m sure it’s good for up to a week, but I can’t guarantee past 3 days).

Links to Click