Bright Orange Kale Carrot Ribbon Salad

My father likes to say that when things are touted as “health” food it’s because “it tastes so bad that people will only eat it if you tell them it’s good for them.” And while I laugh a bit about that – I think that’s pretty fair because in a race between kale and brownies, you bet your butt I’ll be choosing brownies nearly every time. Well, that is until now since I’ve discovered that this bright citrusy kale carrot salad is amazingly easy to prep and eat and it’s all kinds of yummy.

I read a while back that there is a divide amongst the kale aficionados about how kale should be consumed… whether it should be eaten raw or cooked. Personally, I find that raw kale is a a bit difficult on my stomach, so I blanch it quickly here. However, if you feel strongly for raw kale, please feel free to skip the blanching step. I also included a giant pile of ribboned carrots, because my father loves (I mean… LOVES) carrots. And since I had to convince him to partake in a kale salad, when he is a solidly “anti-kale” camper… I knew I had to include carrots. Which brings me to my next little story (before I get into the recipe).  I have read and followed David Lebovitz’s namesake blog about food for as long as I can remember… so when it came to thinking about dressing carrots for a salad, I immediately referred myself to his post on how the French enjoy carrot salad and dressed my entire carroty kale salad in a likewise light and fresh way.

So… without any further asides, here is how I prepared my salad.

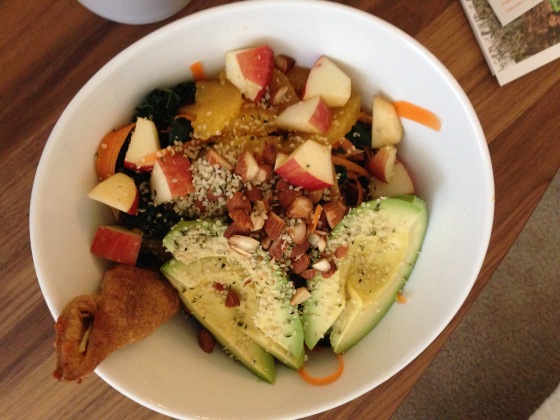
Bright Orange Kale Carrot Ribbon Salad (Kaprise Kitchen’s take on kale salad, with a little influence from David Lebovitz)

  • One bunch of dinosaur kale, thoroughly washed
  • 4 large carrots
  • 2 cara cara oranges (or whatever other sweet citrus you can get your hands on)
  • 1/4 cup of roasted almonds, coarsely chopped
  • 1 ripe avocado, sliced
  • 1/2 of a fuji apple, chopped
  • salt/pepper to taste
  • 1 tablespoon of good quality olive oil (less if you like)
  • 1 tablespoon of hemp seed
  • 1 tablespoon of chia seed
  1. After thoroughly scrubbing the debris out of your kale, cut it into thin ribbons, discarding the fibrous stalks where they are too tough (My sister loves the crunchiness, so if you do as well, please feel free to keep them!)
  2. In a pot of boiling water, gently toss the kale in and stir until the kale is just cooked. About 20-30 seconds. Immediately drain the kale and let it cool while you prepare the rest of the ingredients (Again, if you like raw kale, feel free to skip the first two steps)
  3. Ribbon the carrots – you can use a julienne slicer, box grater, or any method you prefer. I use a vegetable peeler to get thin, long ribbons of carrots – which I prefer to other methods… but again – please choose a method you like most. Set aside the ribbons
  4. Over a large bowl, supreme the cara cara oranges and squeeze the membrane and peel to extract the remaining juice into the large bowl. Set the orange segments aside. Alternatively you can use clementine segments instead of going through the mildly tedious process of segmenting your citrus… and to have enough citrus flavor, squeeze one fruit into the bowl (or a splash of juice will do)
  5. Peel and slice the apple and avocado into chunks/slices, tossing with the orange juices to prevent browning.
  6. Toss the drained kale and ribboned carrots with the orange juice dressed apple and avocado.
  7. Drizzle a little olive oil, salt, and pepper to taste.
  8. Top your salad with a healthy sprinkle of hemp and chia seed, and of course, my favorite, roasted almonds.
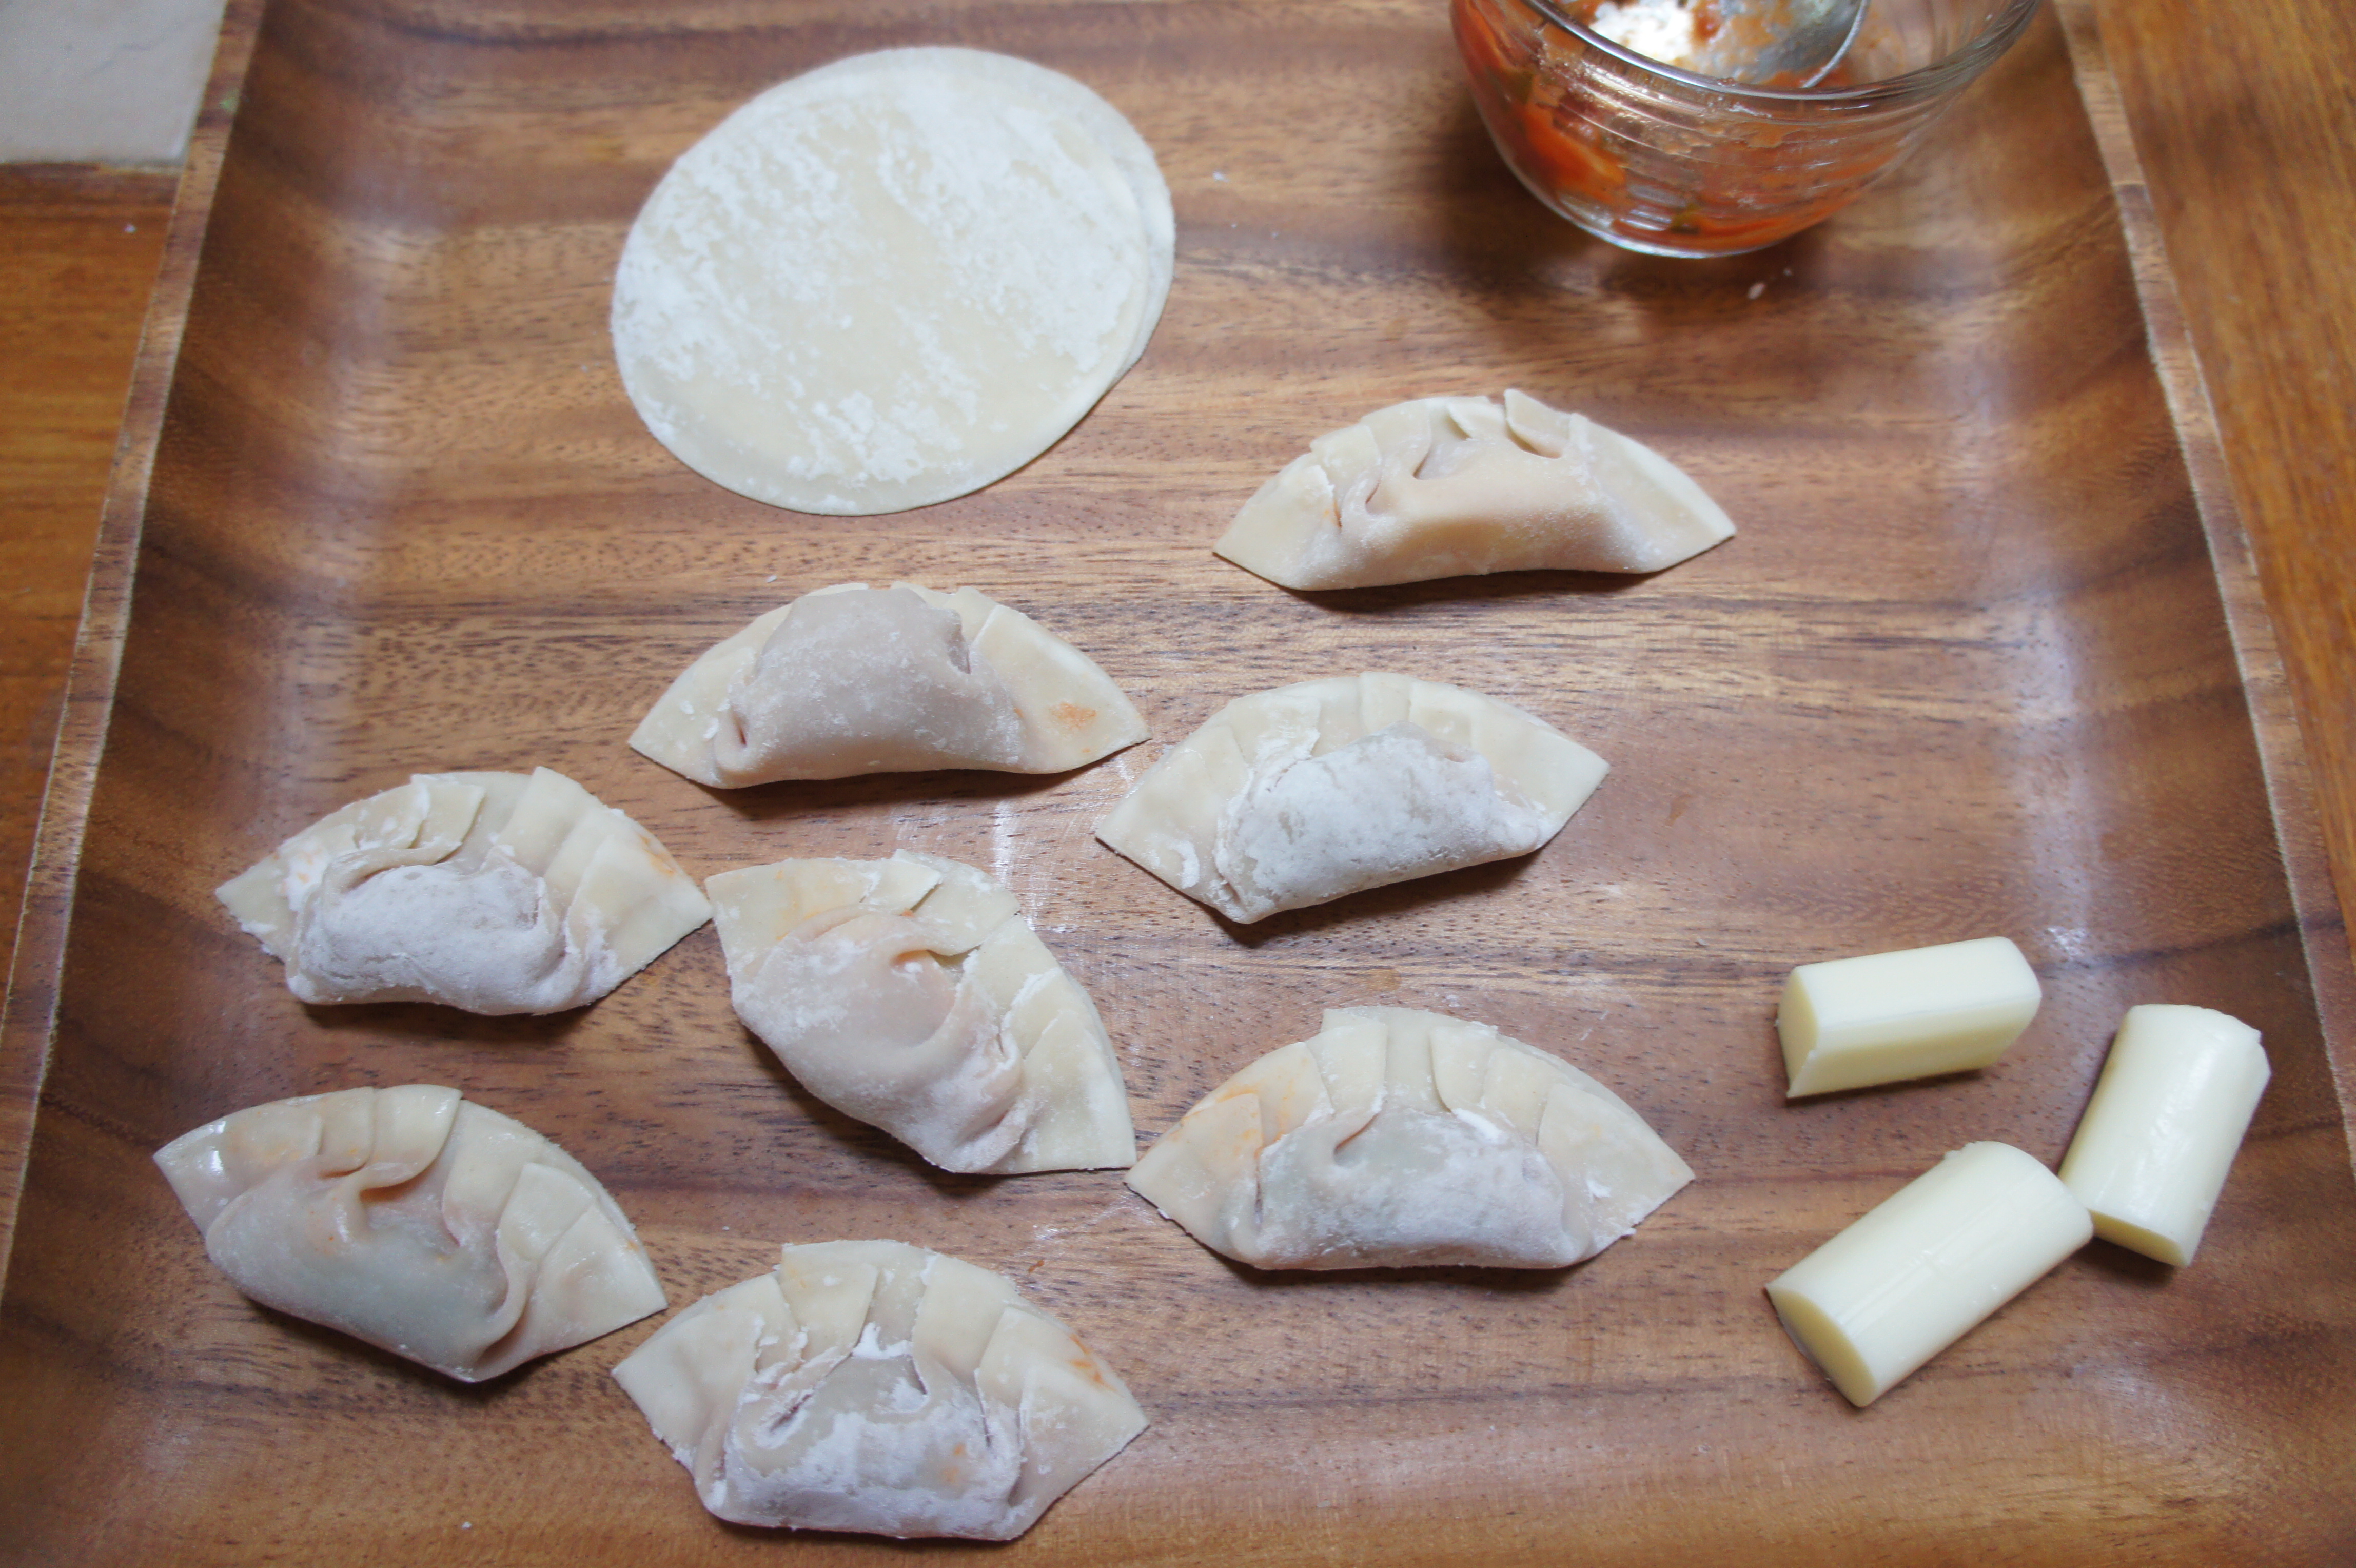
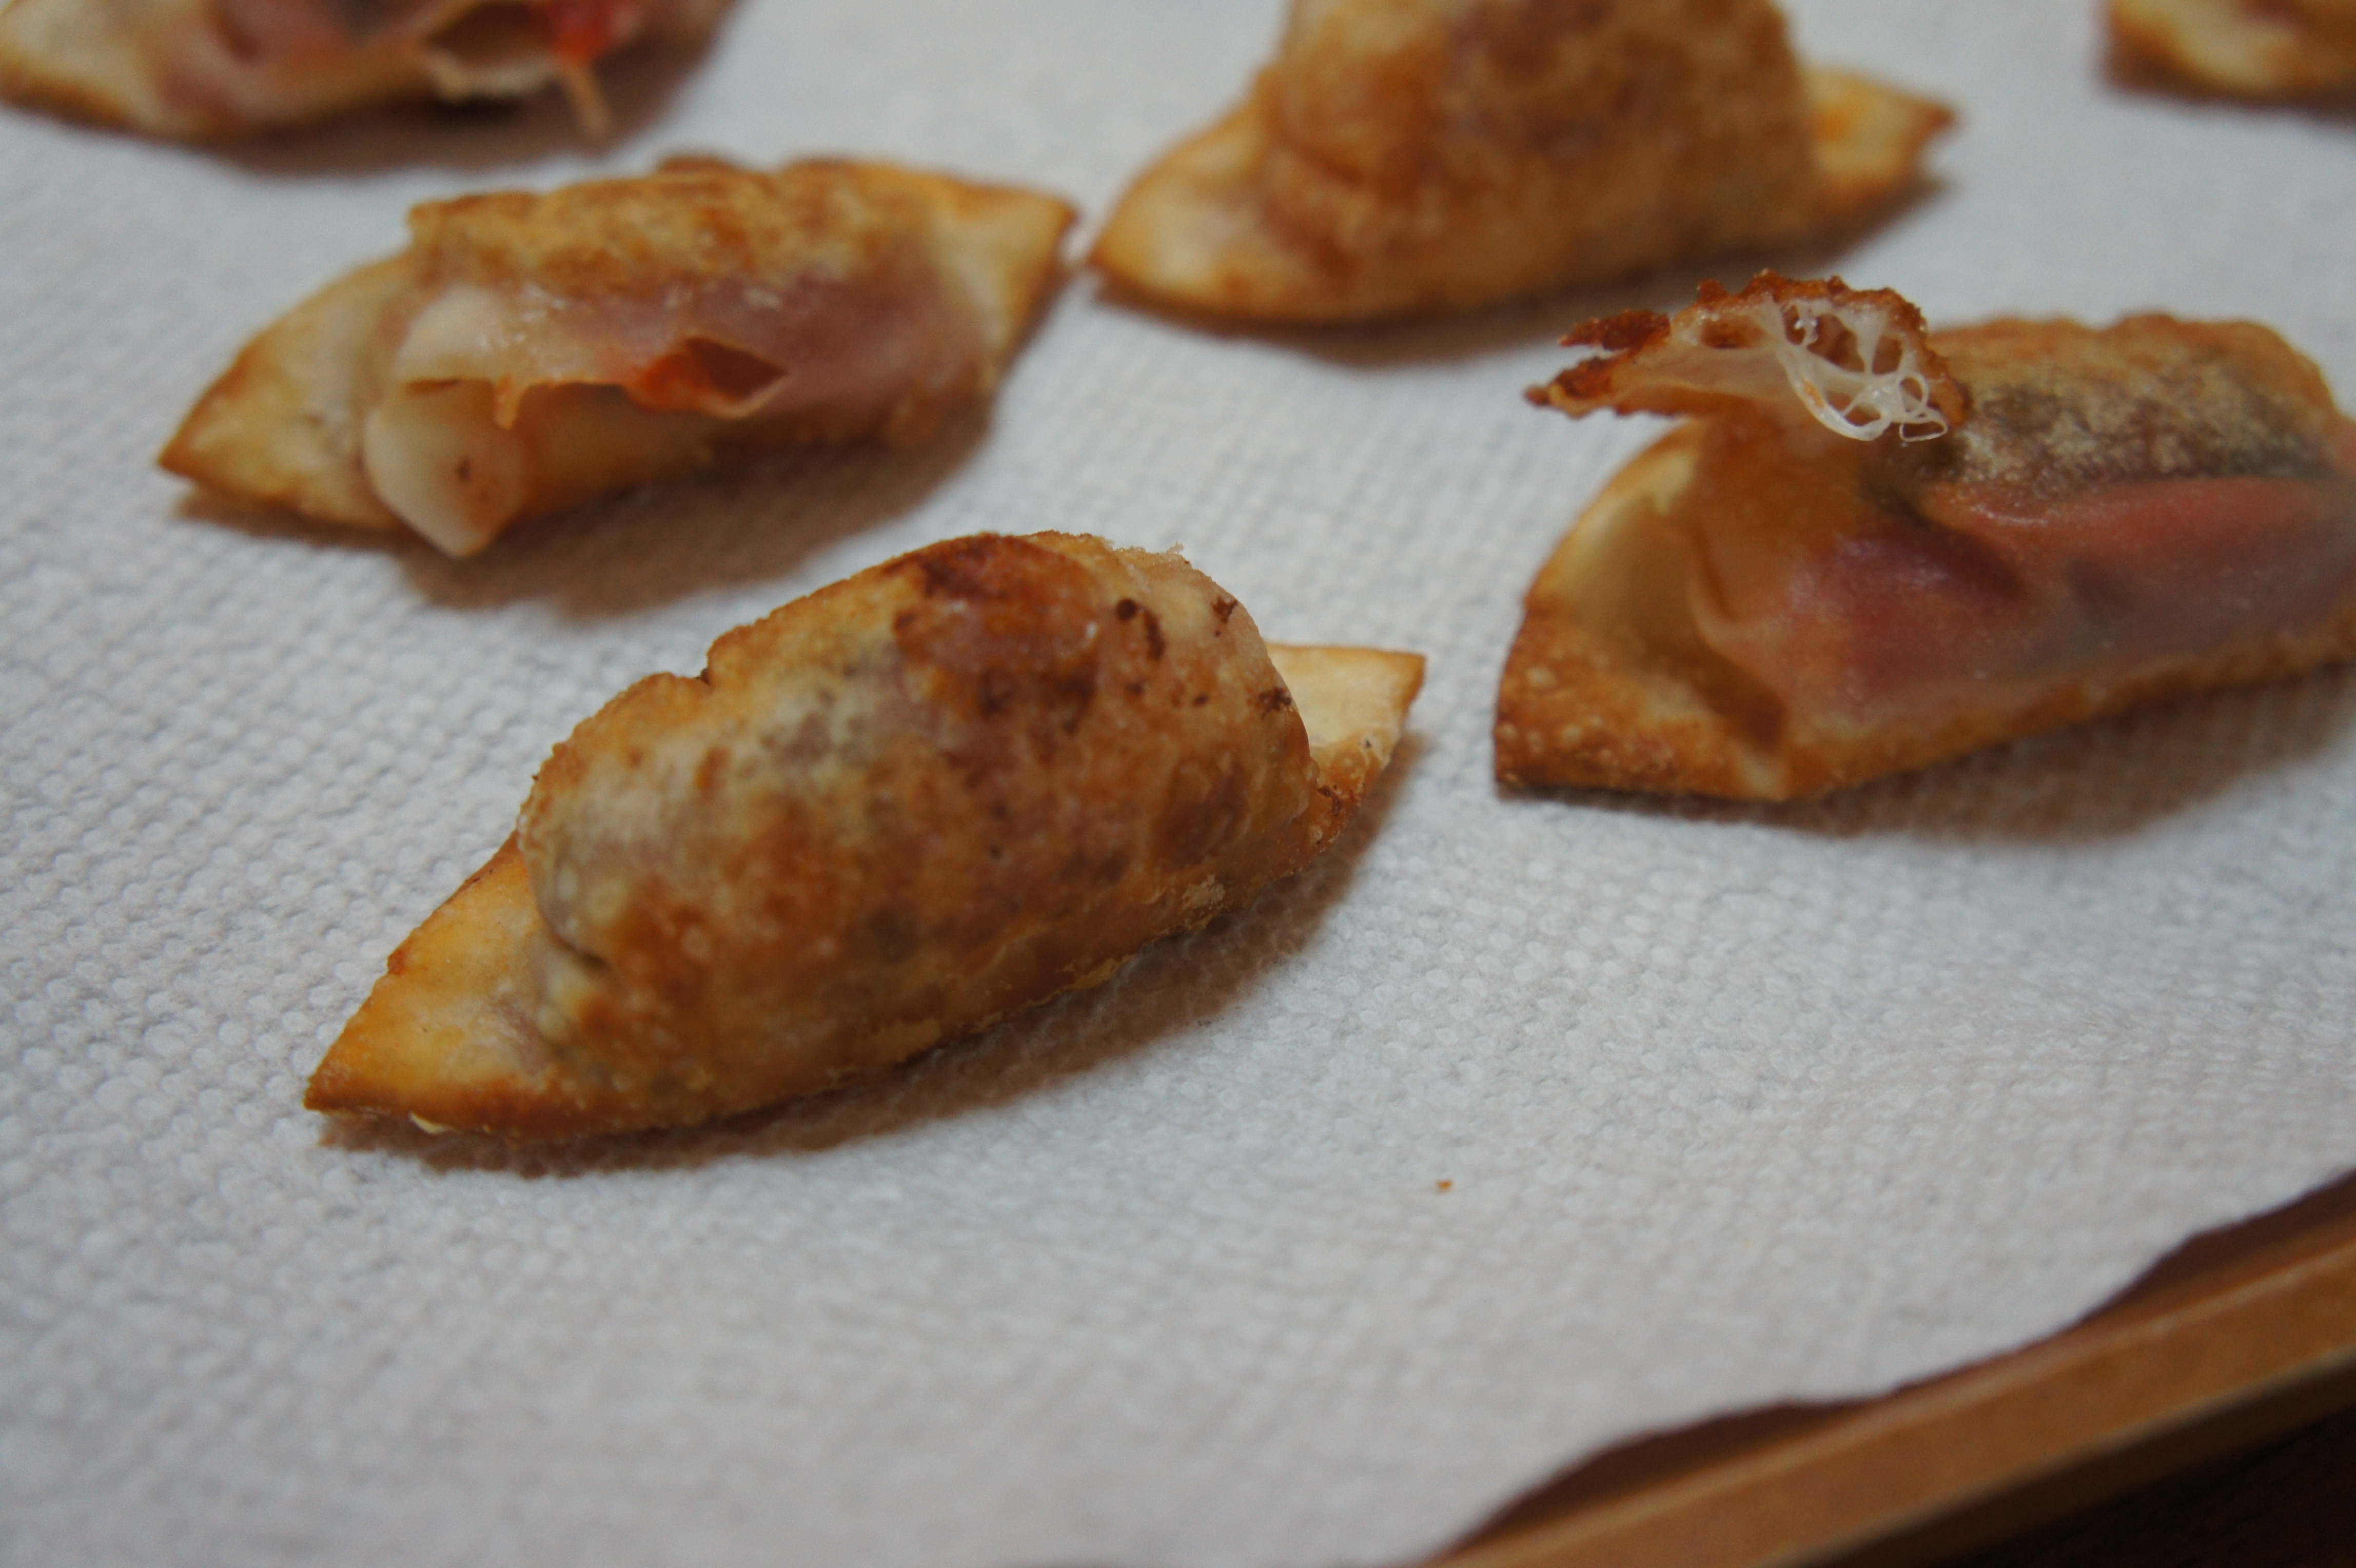
  9. ENJOY! (I’ve nestled a little cheese turnover in the salad here, and I’ll post a recipe on that soon!)

IMG_9489

How do YOU eat your vegetables? Do you eat your kale raw or cooked????


Grilled Nectarines

IMG_4533

What does SUMMER mean to you?

Since I grew up in New York, and have 4 seasons – summer is particularly nostalgic. Thunderstorms and hot, humid weather was always a sign that school was finishing up and it would soon be summer. Summer, when my parents would grill all sorts of delicious things and we would get to use the dying coals to roast marshmallows, and if you were a mischievous little one like me, you’d surreptitiously poke all sorts of things into the coals to watch them go up in flames. I loved poking sticks, leaves, and cardboard into the grill and watching the embers redden.

These days, instead of gooey marshmallows, I’ve been roasting fruit over the coals once my meal is done. Large chunks of fruit are perfect because they soften and char as you eat your meat and vegetables. Yesterday, I grilled petite steaks with some portabella mushrooms… and while my family and I feasted on the juicy steak and plump mushrooms, we let these nectarines caramelize and char a little bit.

I like to slice the fruit in half (big chunks = longer cooking time, and more time to enjoy the steak), and brush with a little avocado oil to prevent sticking. A healthy sprinkle of salt helps enhance the natural sweetness. I let my fruit blister and get soft before digging in – about 15 minutes on a medium flame.

(Oh yes… this is another “not recipe” recipe)

What does summer mean for you? Do you grill fruit too?

Sautéed Crispy Broccolini with Grey Salt

I get hung up on certain foods… during the winter, I’ll spend hours upon hours peeling pomegranate and slurping down the seeds. When I was a kid, my mother would buy bushels of corn… and I would spend the afternoon dropping ears into boiling water, and neatly cleaning the cobs of their juicy kernels while I read my novels. I have favorites, and once I start on a favorite, it might be weeks before I move on to something else.

This last month has been a month of charred and buttered broccolini with a little sprinkle of grey salt. I’m sure it’s not a groundbreaking, cutting edge process to cooking broccolini, nor is it the most sophisticated, but it is the perfect way to get some crunchy, crispy greens in your tummy. I’m not sure it really calls for a recipe, but I’ve written up my notes below.

Sautéed Crispy Broccolini with Grey Salt (Kaprise Kitchen’s current favorite)

  • A medium sized bunch of broccolini
  • 1 tablespoon of good quality butter
  • 1 tablespoon of good quality olive oil
  • 2 tablespoons of filtered water
  • a generous pinch of good grey sea salt – I used a Celtic light grey I found at my local natural foods store
  1. Thoroughly wash the broccolini is cool water, removing any damaged or wilted leaves
  2. Trim and chop the broccolini in 1 1/2 inch segments, stopping just short of the flowering tops. Divide the flowering tops into smaller bunches. The stem in this picture was a bit damaged, so I shaved the stem and removed the damaged flowered pieces – dividing the larger head into two smaller and easier to crisp segments. 
  3. In a large pan, heat two tablespoons of water on medium heat
  4. Add chopped broccolini to bubbling water, stir until bright green and tender
  5. Raise the heat to high and stir until all of the water has evaporated from the pan.
  6. Drizzle in the olive oil and butter. Stir until all of the pieces are coated with butter and oil – I like to set the flowering heads of broccolini on their top to help them crisp
  7. Let the broccolini crisp one side, without stirring. I like my broccolini quite crunchy, so I let the pieces crisp for about two to three minutes before tossing the pan. Stir and crisp until the desired level of crisp and char is acheived.
  8. Turn the heat off, sprinkle with the desired amount of grey salt
  9. Serve hot

Notes:

  • I imagine, in addition to a generous sprinkle of salt, that crushed red pepper flakes would be fantastic for a kickier version. I can also see a generous sprinkle of fresh herbs (say… tarragon, oregano, or basil) would be fantastic in this dish as well.
  • I’ve done a version with fresh sliced garlic, but toss the sliced garlic in a minute or two before your broccolini is done, or your garlic will be a very unforgivable black charcoal chip.

Why Did I Wait So Long?!!! The Story of My NEW Love

It all started when I googled recipes for cornmeal… then I found Alanna’s website The Bojon Gourmet. And true to my mildly obsessive reading habits, I spent the next two days reading all of the recipes on her website. I highly recommend spending some time to read her recipes. Beautiful photography, beautiful food… all sorts of goodies to be found.

So… it goes back to the cornmeal. I’ve been thinking about cornmeal, so when I found Alanna’s recipe for custardy cornmeal cake, I knew it was just right. The only problem? I didn’t have an 8 inch cast iron skillet… so of course I braved rush hour traffic to go hunt one down.

So when I got to Target and there was just ONE small cast iron skillet left without a barcode… I just bought it. The nice man there helped me, and after inspecting the bottom of the pan and seeing “8SK” stamped on the bottom, he decided it was in fact an 8 inch skilled at it would just be $10.99. So I popped it into my car, grabbed some grassfed buttermilk and cream and headed home.

SONY DSC

So. I mixed my batter, suspicious that it was such a little quantity of batter, but I proceeded anyway. I spread the batter thinly, and baked away.

When my cake baked up thin, contrary to Alanna’s beautiful pictures, I was indignant! I did everything right! I even followed the recipe!! I even bought the right pan!!!!!

SONY DSC

SONY DSC

But, I was immediately pacified when I ate a slice of my delicious creation. It was creamy, delicious and just perfect as a near-midnight snack.

SONY DSC

Then, after scrutinizing the recipe AGAIN, I noticed that the pan Alanna used looked much smaller than mine. So I whipped out my ruler and discovered I had in fact bought a 10 inch skillet. Oh dear…. that explains everything!!

The morale? Thin or thick, that beautiful cornbread studded with berries is an excellent dish.

So today, I meant to remake the cornbread with a double batch so I could have a thick and creamy slice of cake… but then I was thinking about asparagus and cheese.

SONY DSC

I did a little research on Alanna’s blog again, and baked up the crustless quiche in the SAME beautiful, cast iron skillet I bought.

SONY DSC

Let me tell you… Not only am I completely enamored with Alanna and her beautiful recipes, but I am absolutely head over heels with my new skillet.

Why ever did I wait so long to purchase this lovely skillet? Amazing. I love it. I can’t say enough good things.

So, my dear lovelies, this wasn’t a recipe post, but more of a review of The Bojon and Lodge skillets. Both? Excellent! Highly recommend.

I hope you all have a lovely weekend!

And for your patience reading my ramblings about my NEW love (10in Lodge skillet), here are some pictures! ❤


IMG_4032 IMG_4067 IMG_4074 IMG_4075 IMG_4078 IMG_4104 IMG_4116 IMG_4120 IMG_4128 IMG_4159 IMG_4202 IMG_4206 IMG_4209 IMG_4233 IMG_4260 IMG_4296 IMG_4385 IMG_4396 IMG_4400

Caramelized Peaches with Cinnamon

Oh hi friends. I meant to write you this amazing recipe for garlic scape pasta salad. I made it, tasted and yum-yummed, took pictures, and then put it in the fridge. The next day, I pulled it out for lunch and it was TERRIBLE. Seriously. What a waste of scapes.

Pantyways (I say that in real life… isn’t that embarrassing?) I went to the store and as I was floating past the fruit for the vegetables, these peaches caught my eye. PEACHES. People!!! Peaches are my ultimate food kryptonite because I’m allergic and I LOVE them. And you know I have so little control over my food-related impulses that before I knew it, I had paid and was loading a dozen beautiful and fuzzy peaches into my car.

So, like a lot of things I’m allergic too, I CAN eat them once the items are cooked. Unfortunately for most things this totally ruins it. Like seriously… the point of eating an apple is to get that juicy crunch and the satisfaction of crunching the fruit! CRUNCH man, CRUNCH! (Can you tell I drank a bit of caffeine today???).

Well… let me tell you, my friends, this? This is the absolute way one should consume peaches. I know it’s hot and gross out, but these hot little peach slices are just amazing over coconut ice cream and I don’t get hives from eating them! Win-win!

Now, I have a little convection toaster oven, which makes this particular dessert a snap to make. If you do not have one, feel free to use your oven. I would just suggest batching this baking with some other baking you need to do so that you optimize the time your oven is on and steaming you out of your home.

SONY DSC

Alright… This really isn’t much of a recipe, but it’s amazing!!

Caramelized Peaches with Cinnamon (Kaprise Kitchen’s solution to peaches)

  • 2 large peaches, firm
  • 1 teaspoon of cane sugar
  • 1/2 teaspoon of salt
  • 1 tablespoon of lemon juice
  • 1 teaspoon of cinnamon
  • 1 teaspoon of butter
  1. Slice peaches into 4 slices. I just mine in half and then half again.
  2. Sprinkle each slice with salt
  3. Sprinkle each slice with a little lemon juice and then the sugar.
  4. Dust cinnamon over the slices
  5. Dot the surface of the peaches with butter
  6. Bake at 400 degrees on a parchment lined pan for 50 minutes.
  7. Enjoy. Seriously… you should let it cool for like 10 minutes so you don’t burn yourself because I have a fat lip from burning it with peaches. True story bro.

SONY DSC SONY DSC SONY DSC SONY DSC SONY DSC SONY DSC

Itty Bitty One Bite Calzones (Kinda…)

You guys. I did a bad thing. I made these… and instead of sharing? I ate them all.

SONY DSC

So. First, these aren’t calzones. Sorry if I roped you in based on that information. Misleading title huh? But I didn’t actually know what to call these little things because they aren’t dumplings, or calzones, or really anything. Instead – it’s just a crispy shell filled with mozzarella and tomato sauce… which is really what a calzone is, but baked. These babies are fried.

Anyway… before we get to the recipe, as always I have some rambling to do (you love my rambles, you do!). In college, I used to order a pizza, sit, and eat each and every single piece by myself while I studied. I could normally polish off the entire pizza in an hour, sometimes longer if I was actually studying. Well, one day my best friend Corinne caught me in the act and to this day, she won’t let me live it down. She thinks it’s hilarious that I used to regularly stuff down entire pies of pizza. Small confession: I definitely did this in my last year of law school.

Oh right… back to the calzone-things. There used to be a delivery place that would deliver amazing calzones at my undergrad. I don’t know if they still do and it’s been so long that the name escapes me… but Corinne and I used to eat calzones in the library, hung over, and working. I know… I’m painting such an attractive picture of my college years, aren’t I? So, I’ve been thinking about teeny ones, like one bite calzones for the longest time because everyone likes finger food. And, for me, I like more sauce and more cheese and less bread than a normal calzone offers. Originally, I thought about doing this little recipe in actual yeast raised pizza dough, but then I forgot to buy yeast. So then I was thinking pie crust, but I got lazy and decided on wonton wrappers. I always have a package or two of wonton wrappers in my freezer, so it worked out. I’m cleaning my fridge and making my food-dreams come true.

Right on. Here we go. So before we get started, I highly recommend using a splatter guard. It’s one of those mesh things that you pop over the top of frying pans to prevent oil splatters. I really debated on making these at all because frying anything “wet” like tomato sauce can be a HUGE problem and lead to really dangerous splattering oil. And then after I made them, I debated on posting them here, because I don’t like the idea that anyone makes something I recommend and gets hurt. However… I decided as I was cleaning that you are ALL adults and I am giving you the appropriate warning so there it is. BE CAREFUL!

Kaprise Kitchen’s Itty Bitty One Bite Faux Calzones

  • 2 Mozzarella sticks
  • 16 small circular wonton wrappers
  • 1/4 cup of chunky tomato sauce*
  • 1/4 cup of vegetable oil

*** I recommend using the chunkiest sauce you have so that you can eliminate the more fluid and liquid-y parts of your sauce. I made sauce from whole canned tomatoes a few days ago, so I used the chunks of tomatoes from that sauce only. The reason for this is that in case your wrapper leaks as you fry, the sauce won’t hit the oil and turn into a fountain of spluttering hot oil.

  1. Cut the mozzarella sticks down the length and then into fourths. You should get 8 thin rectangles from each stick (16 total)
  2. Lay out the wonton wrappers and place one mozzarella segment in the center of each
  3. Using a small spoon, add a small dollop of sauce on each circle
  4. Seal the circles with a dab of water and press firmly so that the wrappers are 100% sealed. You want to give yourself a little room as you seal these. The sauce and cheese will puff a bit as you cook so you should give them room to move around without breaking the seal of the wrapper.
  5. In a pan, heat the oil and drop a piece of wrapper in to check the temperature. You want a gentle bubble of oil
  6. Gently place each “calzone” into the oil, giving plenty of space
  7. Fry on each side for about 1 minute, or until golden brown.
  8. If cheese or sauce leaks from your wrappers and causes the oil to splutter, step back until the oil has stopped spluttering before removing the little calzone. Better to have burnt food than burnt body parts.

SONY DSC SONY DSC SONY DSC SONY DSC SONY DSC SONY DSC SONY DSC SONY DSC SONY DSC

I hope you enjoy this recipe! I can see this being versatile and becoming as down to earth or as sophisticated as you want. This would even be good with a dollop of goat cheese and fig spread!!

Have a great weekend everyone!

xoxo-H


Listen When I Sing This Song (+ the BEST Baked Ziti)

Today… Today I was ravenous… After my run, I demolished an entire tray of sliced carrots and hummus. Then I ate a cheeseburger. Then I spent three hours thinking about how I was SO hungry. Clearly, my body was telling me to eat something! But then I got super, uber fixated on cheesy pasta. So. I made it.

The first time I had baked ziti was at my friend Deirdre’s house. Her mom asked me to come over to play, and I was SO excited. I shouldn’t have been so excited, the minute I arrived Deirdre and I were planted firmly at the kitchen table and told to work on Algebra together while Deirdre’s mother whipped up dinner. Despite being forced to do homework on my “play” date, I was thrilled because Deirdre’s mother made us this thing called “baked ziti.” I distinctly remember wolfing down more than my fair share. It was hot, cheesey, and absolutely amazing. I loved it.

I made baked ziti for years, and it has always been one of my favorites. I made it for my 16th birthday celebration, but I can’t remember having made it since (… seriously?!).  Anyway, I read a couple recipes on my phone before running through the grocery and grabbing the ingredients. From start to finish it took me about an hour and 15 minutes, but it was an active 1 hour and 15 minutes. Either way, baked ziti is always worth the elbow grease!

Kaprise Kitchen’s So-Hungry-I-Can’t-Focus-On-Anything-But-Food Ziti (inspired by several different recipes online, and Deirdre’s mom)

  • 28 oz can of whole tomatoes (you may choose to use more tomatoes if you like to keep extra sauce for rainy days. I did!!!)
  • 1 bunch of basil
  • 1 bunch of parsley
  • 1 bay leaf
  • 2 tablespoons of chopped garlic
  • 1 yellow onion, minced
  • 2 tablespoons of olive oil
  • salt/pepper
  • 1 pound of uncooked pasta
  • 15 oz of full fat ricotta cheese
  • 12 to 16 oz of full fat mozzarella, shredded (also. seriously. NEVER buy that preshredded stuff. It’s bad. VERY bad)
  1. If your oven takes 10000000 years to preheat, now is the time to fire up that babd boy. 375 degrees F.
  2. In a large pot, bring a large quantity (enough for 1 pound of pasta) to boil. Salt lightly.
  3. In another large pot, heat olive oil over medium heat
  4. Mince the onion (really more of a petit dice) and add to the olive oil.
  5. While your onion is softening, peel and smash about 3-4 cloves of garlic. Chop finely and add to onions. Continue to cook gently, be sure not to let the garlic or onion brown. You just want them to be nice and translucent.
  6. Add tomatoes to the garlic/onion. Break apart the whole tomatoes with a fork. Continue on medium/high heat
  7. While your tomato mixture is heating up, your water should boil. Add your pasta and cook for 2 minutes less than al dente. Set a timer so you don’t forget!
  8. As your tomatoes heat, finely chop your fresh basil and parsley. I added a very generous 1/4 cup of chopped herbs, but feel free to adjust based on your preferences.
  9. Add the herbs to the tomatoes, cover and bring the tomato sauce to a boil. I don’t like to cook the heck out of the sauce, so just as it gets to a boil, I turn the heat off.
  10. Now… your pasta timer should have beeped, so drain your pasta in a colander. Shake the excess water from the pasta and return to the pot.
  11. In the pot, add the ricotta cheese and 1/2 of the shredded mozzarella (I added some more chopped herbs too) and 1/2 of the tomato sauce. Stir until the noodles are evenly coated.
  12. Spread your pasta into a large casserole dish (or two separate ones like I did). Dot the top of the pasta with the remaining tomato sauce. Sprinkle with the remaining mozzarella.
  13. Pop into the over for 20 minutes, or until the cheese has bubbled a bit.
  14. ENJOY!

Leftovers keep well for up to 4 days in a tightly sealed container. When reheating, add a little extra tomato sauce to the pan/plate/whatever to help the pasta perk up a bit.

I would have taken pictures, but I was so busy burning my tongue and wolfing this down that I didn’t. Also. Baked ziti photographs pretty terribly, so I doubt you’re missing much.

What did you eat for dinner?


Double Dose of Vegetables Pad Thai

I went to Thailand last year, and for someone who had not really appreciated Thai food, I came back with an extremely healthy appetite for Thai food. Unfortunately, New York is not a bustling metropolis that contains much Thai food (please correct me if I’m wrong! I haven’t been able to find anywhere to remotely resembles delicious Thai food!).

My sister introduced this recipe to me a year ago, and it has been on steady rotation in my cooking repertoire. The recipe is simple and the result is a stunningly delicious rendition of Pad Thai. You can find the complete recipe at Health-Bent, an extremely well written and thought out Paleo blog with gorgeous pictures and recipes. Health-Bent’s Paleo Pad Thai.

Here are some pictures from my latest run at Paleo Pad Thai.


I normally make a double batch and store it in the refrigerator in 1 serving portions. I just grab a container at a time and toss it with some grilled shrimp or chicken over high heat and eat! Quick and delicious way to get your protein and vegetables in one delicious bowl!

Oh… and in case you find yourself in Bangkok? This is the Pad Thai I am raving about! It is seriously amazing.

SONY DSC

You can find this Pad Thai in Bangkok at  Pad Thai Thip Samai (aka Pad Thai Pra-Too Pee). Located at Khaosarn Road. Here is the address and website:  313 Mahachai Road, Phra Nakorn (http://www.thipsamai.com/)

Mascarpone Chicken Salad with Lettuce Cups and Sweet Potato Circles

I have been sick for over a week, and have spent a great deal of time sleeping… but yesterday I was feeling so stir crazy from not having left the house in so long. My first stop was the grocery store… I was planning on browsing at the mall, but I broke out in a cold sweat from just driving to the grocery so I came home right after.

I have been thinking a lot about mascarpone cheese lately… I thought about fluffing it with ricotta and making cheesecake or whipping it with maple syrup and peach preserves to make a decadent frosting for pancakes. I thought a lot about what I would do with mascarpone… but when it came down to it I chose something simple where the delicate flavor of the cheese would be unexpected and delicious.

SONY DSC

I’ve written about chicken salad here before shortly after my friend Jon visited, and this recipe is quite similar. However, as will all chicken salad recipes, this is really more of a suggestion than a recipe. It’s infinitely adaptable to suit your tastes, and if the mascarpone isn’t your style you can always use plain greek yogurt or the standard mayo instead.

I served mine with crisp lettuce leaves and roasted sweet potato, but feel free to use bread or wraps!

Mascarpone Chicken Salad with Lettuce Cups and Sweet Potato Circles (Kaprise Kitchen original)

  • 1 pound of chicken tenderloins
  • 1 tablespoon of Worcestershire sauce
  • 1 tablespoon of your favorite salad dressing (I used balsamic vinaigrette)
  • 3 stalks of celery
  • 3 carrots
  • 1 bunch of basil
  • ½ cup of mayo
  • ½ cup of mascarpone cheese
  • 1 tablespoon of mustard
  • salt/pepper
  • 1 head of iceberg lettuce
  • 2 medium sweet potatoes
  • 4-5 tablespoons of olive oil

I wrote these directions in the order that I made my meal, so while the circles bake you can assemble the rest of your meal.

  1. Wash and slice the head of lettuce in half. Submerse the halves into cold water. Cover and refrigerate. (This helps your lettuce perk up and stay crisp)
  2. Heat your oven to 400F. 
  3. Peel and slice the sweet potatoes into 3/4 inch coins (thinner if you want a faster baking time).
  4. Toss the sweet potato with olive oil and salt. Roast at 400F for 30 minutes, or until golden and soft. (See more about roasting vegetables here)
  5. Heat a little olive oil in a nonstick pan.  Toss the chicken in the Worcestershire and salad dressing.
  6. Lay the chicken tenderloins in the pan flat and cook at medium heat until cooked completely
  7. Remove the chicken from heat and allow it to cool.
  8. Wash and peel the carrots and celery (no peeling for the celery!!). Wash the basil and remove any woody stems.
  9. Dice the carrots and celery. Chop the basil into small pieces.
  10. Let the vegetables rest for about 10 minutes in a clean dishcloth to remove any excess moisture.
  11. Chop the chicken into 1/4 inch cubes.
  12. In a bowl, combine the chicken and diced vegetables and basil.
  13. Add the mascarpone cheese and mustard and stir until the mixture is evenly coated.
  14. Salt and pepper to taste
  15. Add tablespoon increments of mayo until the desired consistency and flavor is achieved. (You may choose to simply use mascarpone, but I found it just a bit too rich and sweet for the salad.) You may also add more mustard as needed.
  16. Pop the chicken salad into the fridge while you gather the rest of the ingredients.
  17. Remove the sweet potato from the oven and allow it to cool.
  18. Gently drain and spin (or shake) the moisture from the iceberg lettuce.
  19. Arrange plates with iceberg lettuce cups and coins of roasted sweet potato. Top each with a tablespoon or two of chicken salad and a basil leaf for presentation.
  20. Serve!!!

SONY DSC

Thank you so much for visiting. I hope you enjoyed this recipe! Let me know if you decide to try it! Or if you would like to share your chicken salad recipes!!!

xoxo -H

Spiced Pea Stew

I don’t really like the idea of pea soup. I find it is always a bit too creamy or sweet or weird. Anyway, it was raining yesterday and I felt like soup. I was going to make chicken-something-something soup with some leftover chicken I had in the freezer, but then I found two bags of sad little peas and immediately changed my mind.

SONY DSC

This soup isn’t pretty… but it sure beats the hell out of those weird pea soup recipes you see. It’s chunky, spicy and just delicious.

Spice Pea Stew (Kaprise Kitchen Original)

  • 3 cups of frozen peas, rinsed under cold water
  • 1 medium onion, diced
  • 1 cup of chopped beet greens (you can use spinach, kale, or any other green you would like)
  • 3 stalks of celery, diced
  • 1 teaspoon of cumin
  • 1 teaspoon of paprika
  • 1/2 teaspoon of spicy pepper flakes
  • 3 tablespoons of butter (or olive oil)
  • 1 teaspoon of salt
  • 1 teaspoon of cracked black pepper
  1. In a heavy bottomed pan, melt butter over medium heat
  2. Saute onions until soft and translucent
  3. Add beet greens and continue to saute over medium heat until soft
  4. Add in celery and peas
  5. Smoosh (hehe… smush? squish?) the peas with the back of a ladle. I squish about 1/2 so that there is texture to my stew (Alternatively, you could blend 1/2 of the mixture with an immersion blender or other device for a smoother texture).
  6. Add all of the spices (you may want to add in increments so that you can adjust accordingly). Taste, and adjust the seasonings as needed.
  7. Just cover the vegetables in filtered water, cover and bring to a boil
  8. Lower the temperature and simmer for 20 minutes
  9. Serve and enjoy!

SONY DSC

SONY DSC

SONY DSC

SONY DSC

SONY DSC

SONY DSC