I noticed I haven’t posted many pictures recently, so I figured I’d post just a few.
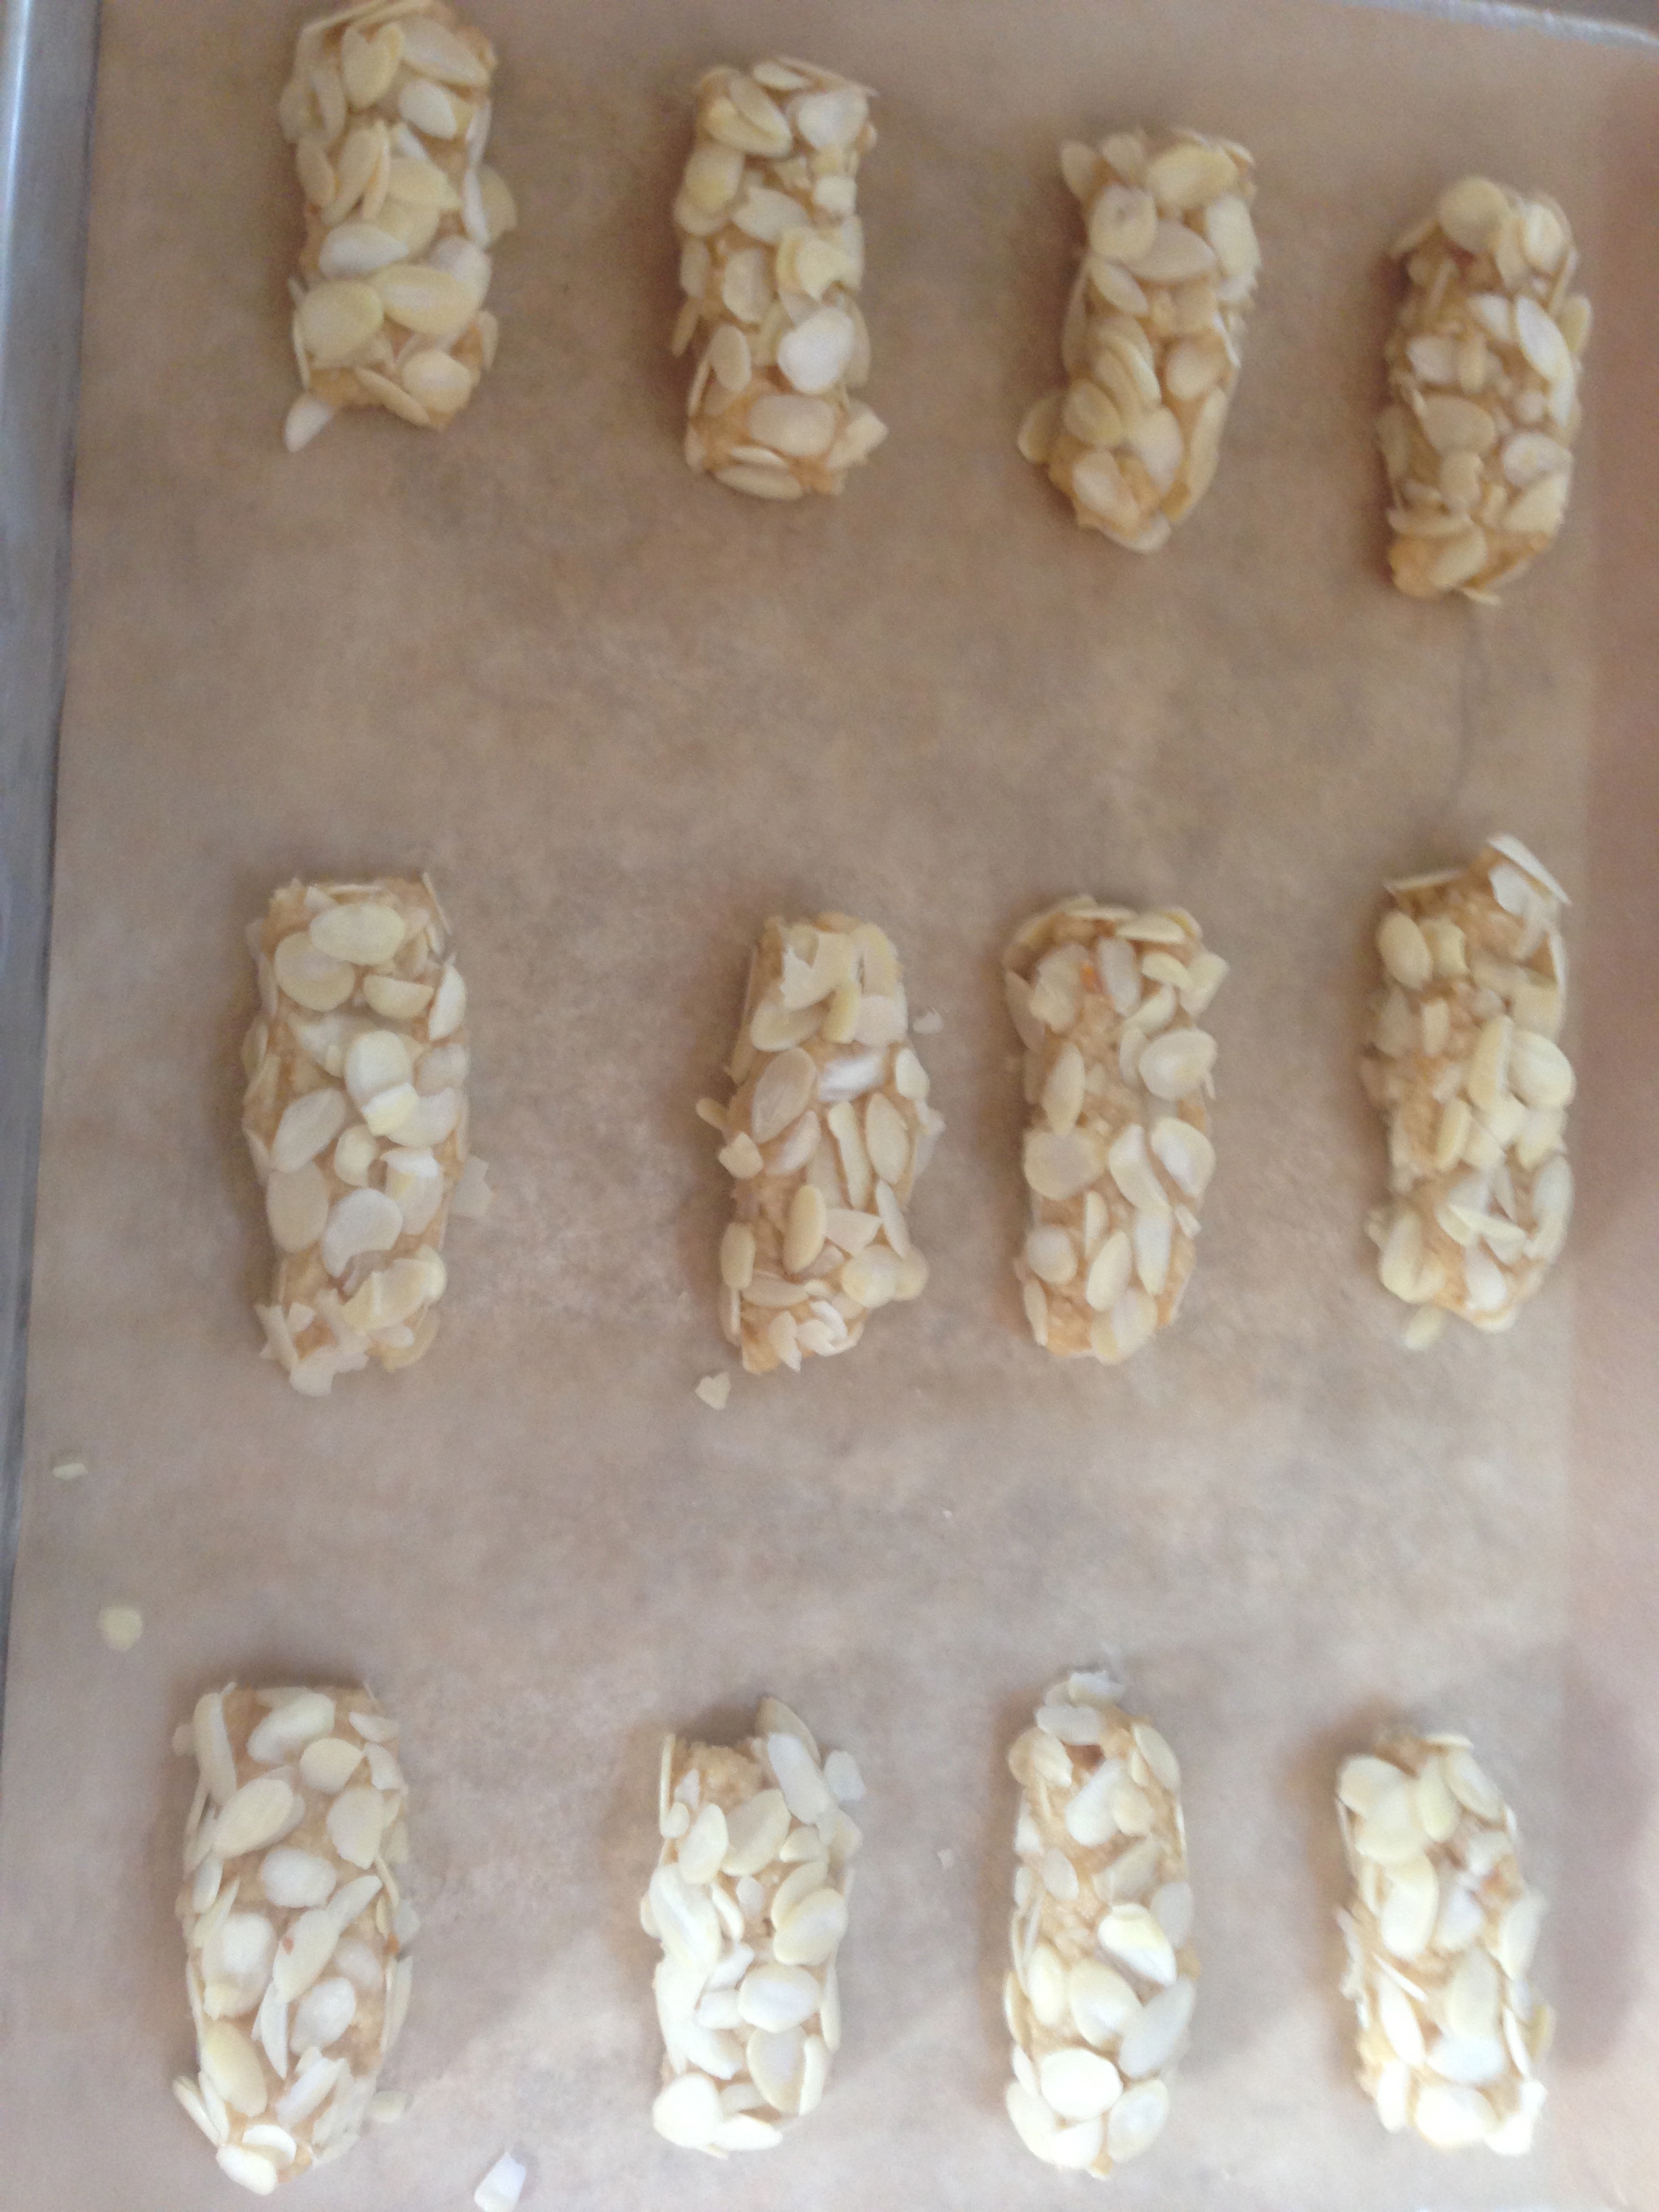
Happy Tuesday everyone! I’ll be back later this week with almond and pine nut cookies! 🙂


I noticed I haven’t posted many pictures recently, so I figured I’d post just a few.
Happy Tuesday everyone! I’ll be back later this week with almond and pine nut cookies! 🙂
It all started when I googled recipes for cornmeal… then I found Alanna’s website The Bojon Gourmet. And true to my mildly obsessive reading habits, I spent the next two days reading all of the recipes on her website. I highly recommend spending some time to read her recipes. Beautiful photography, beautiful food… all sorts of goodies to be found.
So… it goes back to the cornmeal. I’ve been thinking about cornmeal, so when I found Alanna’s recipe for custardy cornmeal cake, I knew it was just right. The only problem? I didn’t have an 8 inch cast iron skillet… so of course I braved rush hour traffic to go hunt one down.
So when I got to Target and there was just ONE small cast iron skillet left without a barcode… I just bought it. The nice man there helped me, and after inspecting the bottom of the pan and seeing “8SK” stamped on the bottom, he decided it was in fact an 8 inch skilled at it would just be $10.99. So I popped it into my car, grabbed some grassfed buttermilk and cream and headed home.

So. I mixed my batter, suspicious that it was such a little quantity of batter, but I proceeded anyway. I spread the batter thinly, and baked away.
When my cake baked up thin, contrary to Alanna’s beautiful pictures, I was indignant! I did everything right! I even followed the recipe!! I even bought the right pan!!!!!


But, I was immediately pacified when I ate a slice of my delicious creation. It was creamy, delicious and just perfect as a near-midnight snack.
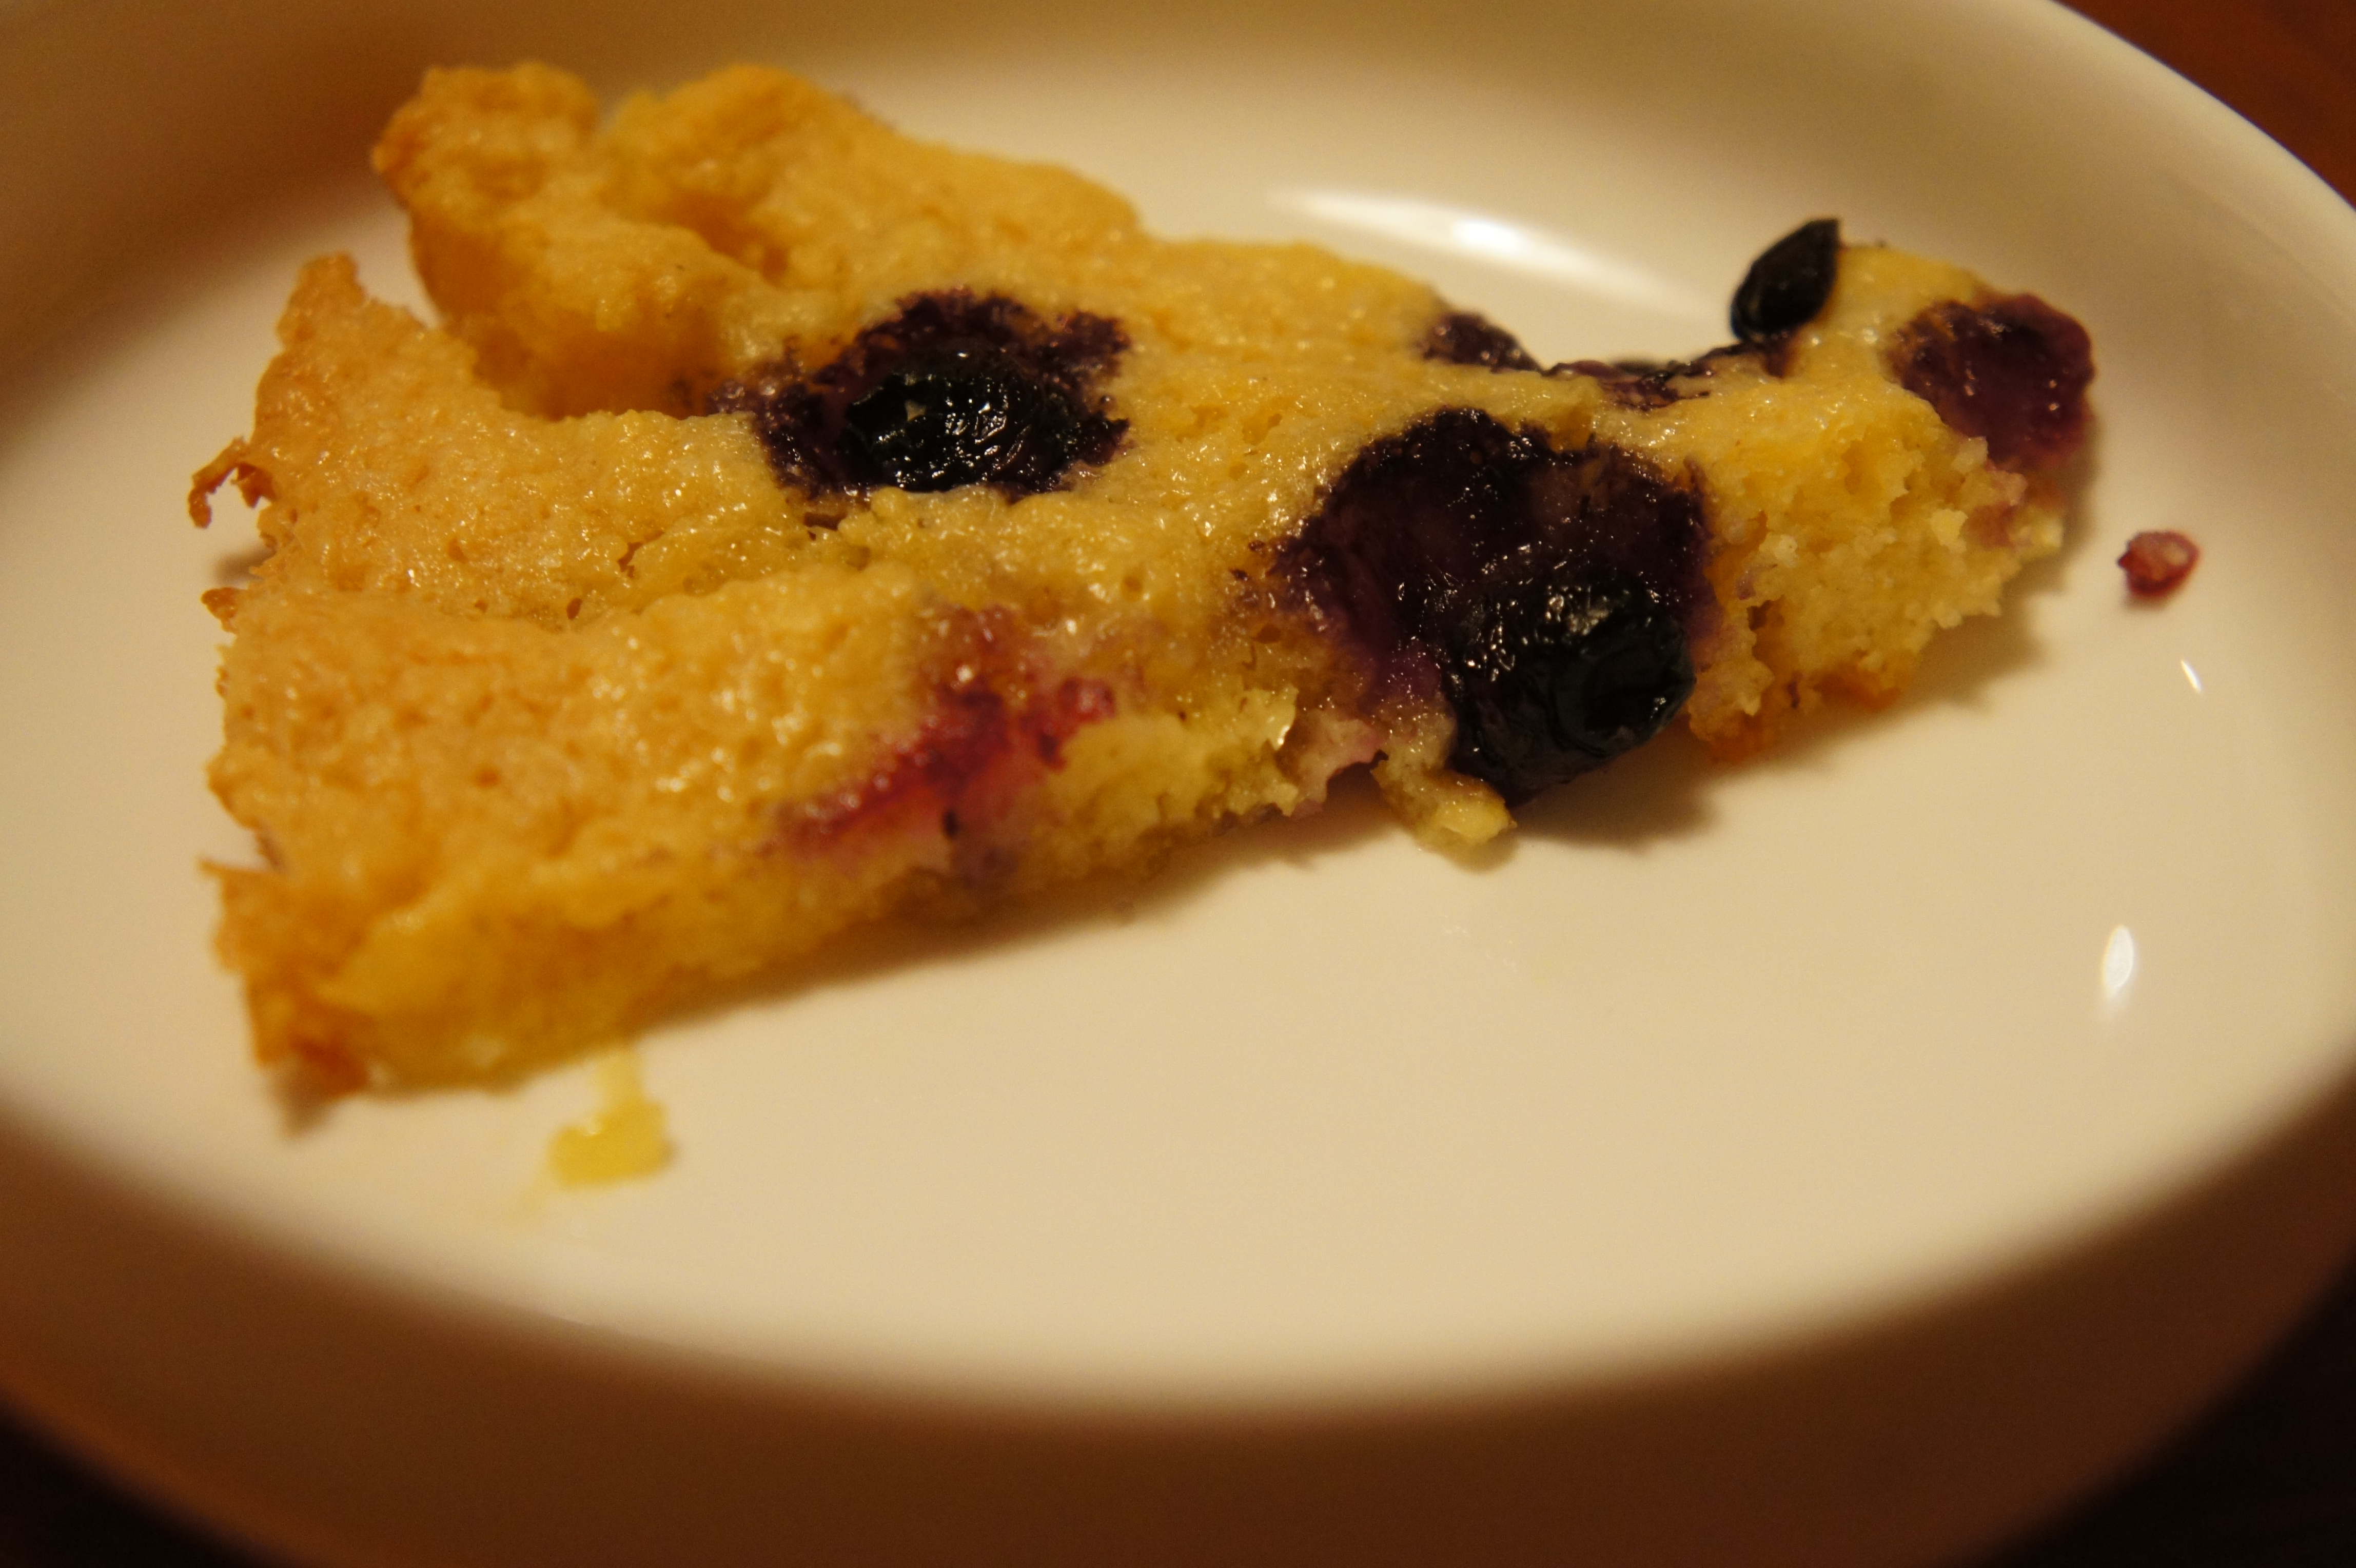
Then, after scrutinizing the recipe AGAIN, I noticed that the pan Alanna used looked much smaller than mine. So I whipped out my ruler and discovered I had in fact bought a 10 inch skillet. Oh dear…. that explains everything!!
The morale? Thin or thick, that beautiful cornbread studded with berries is an excellent dish.
So today, I meant to remake the cornbread with a double batch so I could have a thick and creamy slice of cake… but then I was thinking about asparagus and cheese.
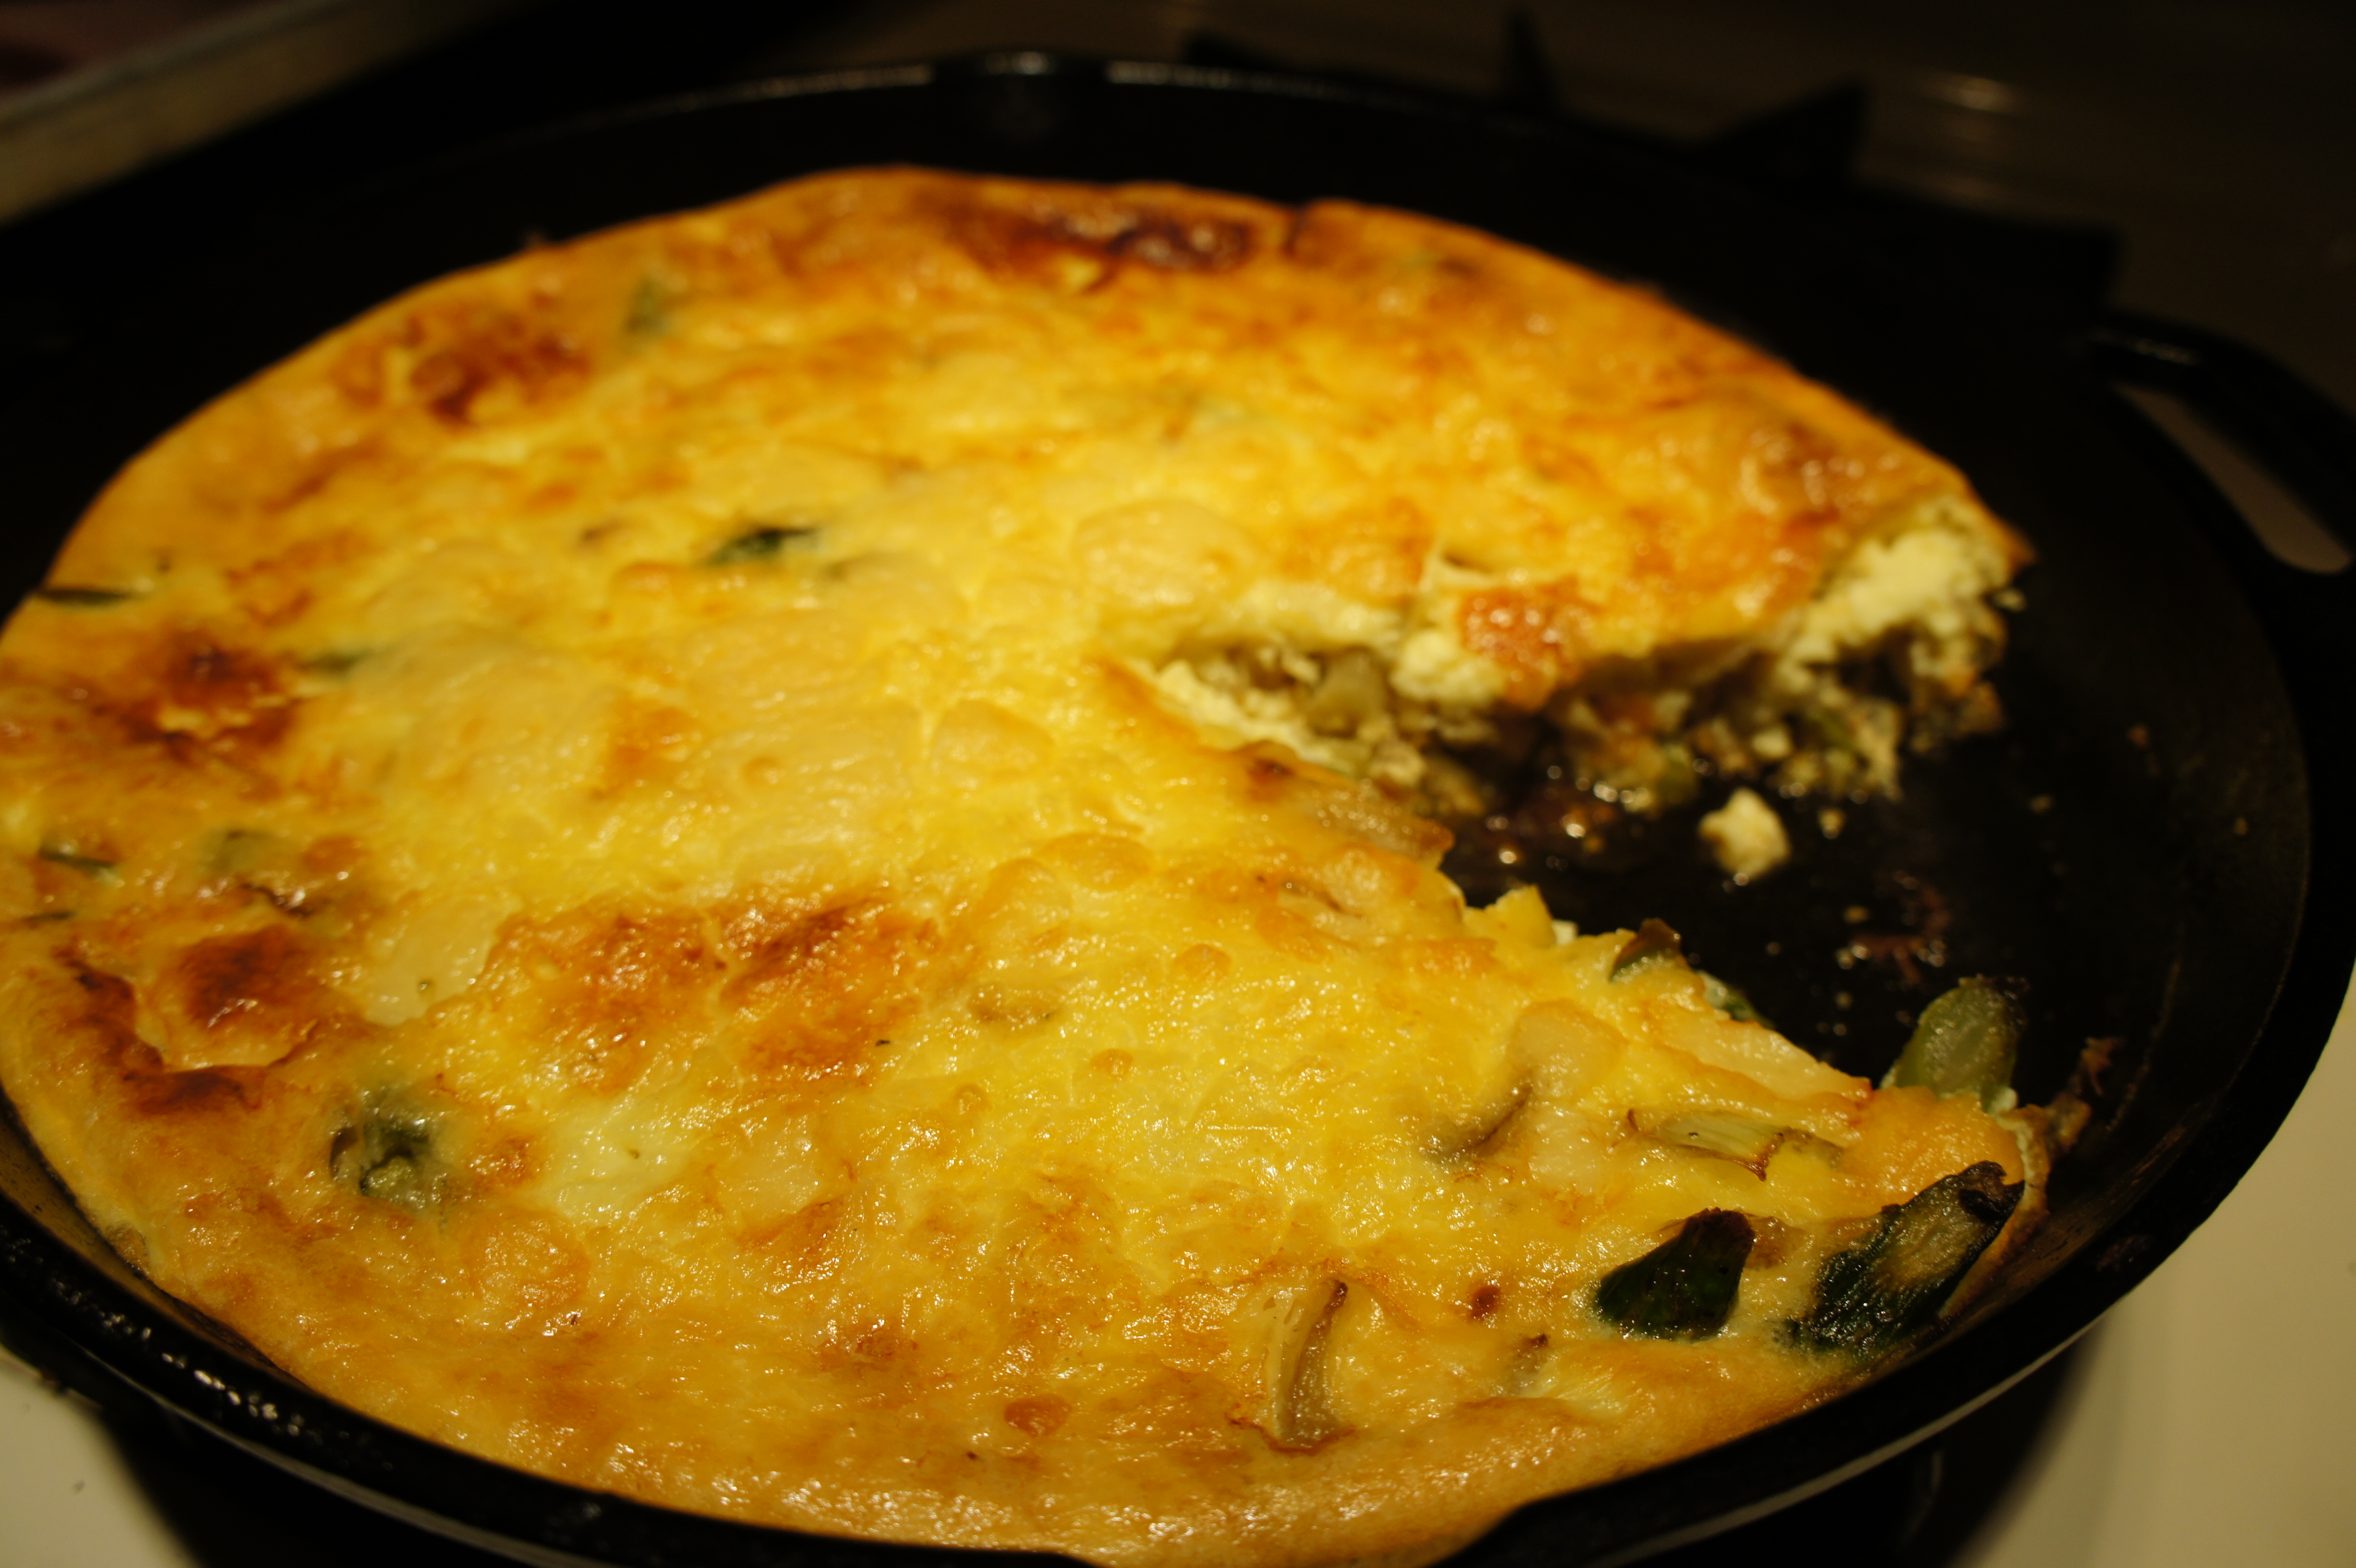
I did a little research on Alanna’s blog again, and baked up the crustless quiche in the SAME beautiful, cast iron skillet I bought.

Let me tell you… Not only am I completely enamored with Alanna and her beautiful recipes, but I am absolutely head over heels with my new skillet.
Why ever did I wait so long to purchase this lovely skillet? Amazing. I love it. I can’t say enough good things.
So, my dear lovelies, this wasn’t a recipe post, but more of a review of The Bojon and Lodge skillets. Both? Excellent! Highly recommend.
I hope you all have a lovely weekend!
And for your patience reading my ramblings about my NEW love (10in Lodge skillet), here are some pictures! ❤
What a mouthful!!!
Do you say ice pop or popsicle? The area I grew up in has some quirky vernacular, or so I’m told. When I first moved to Baltimore, someone told me that I spoke funny. Haha.
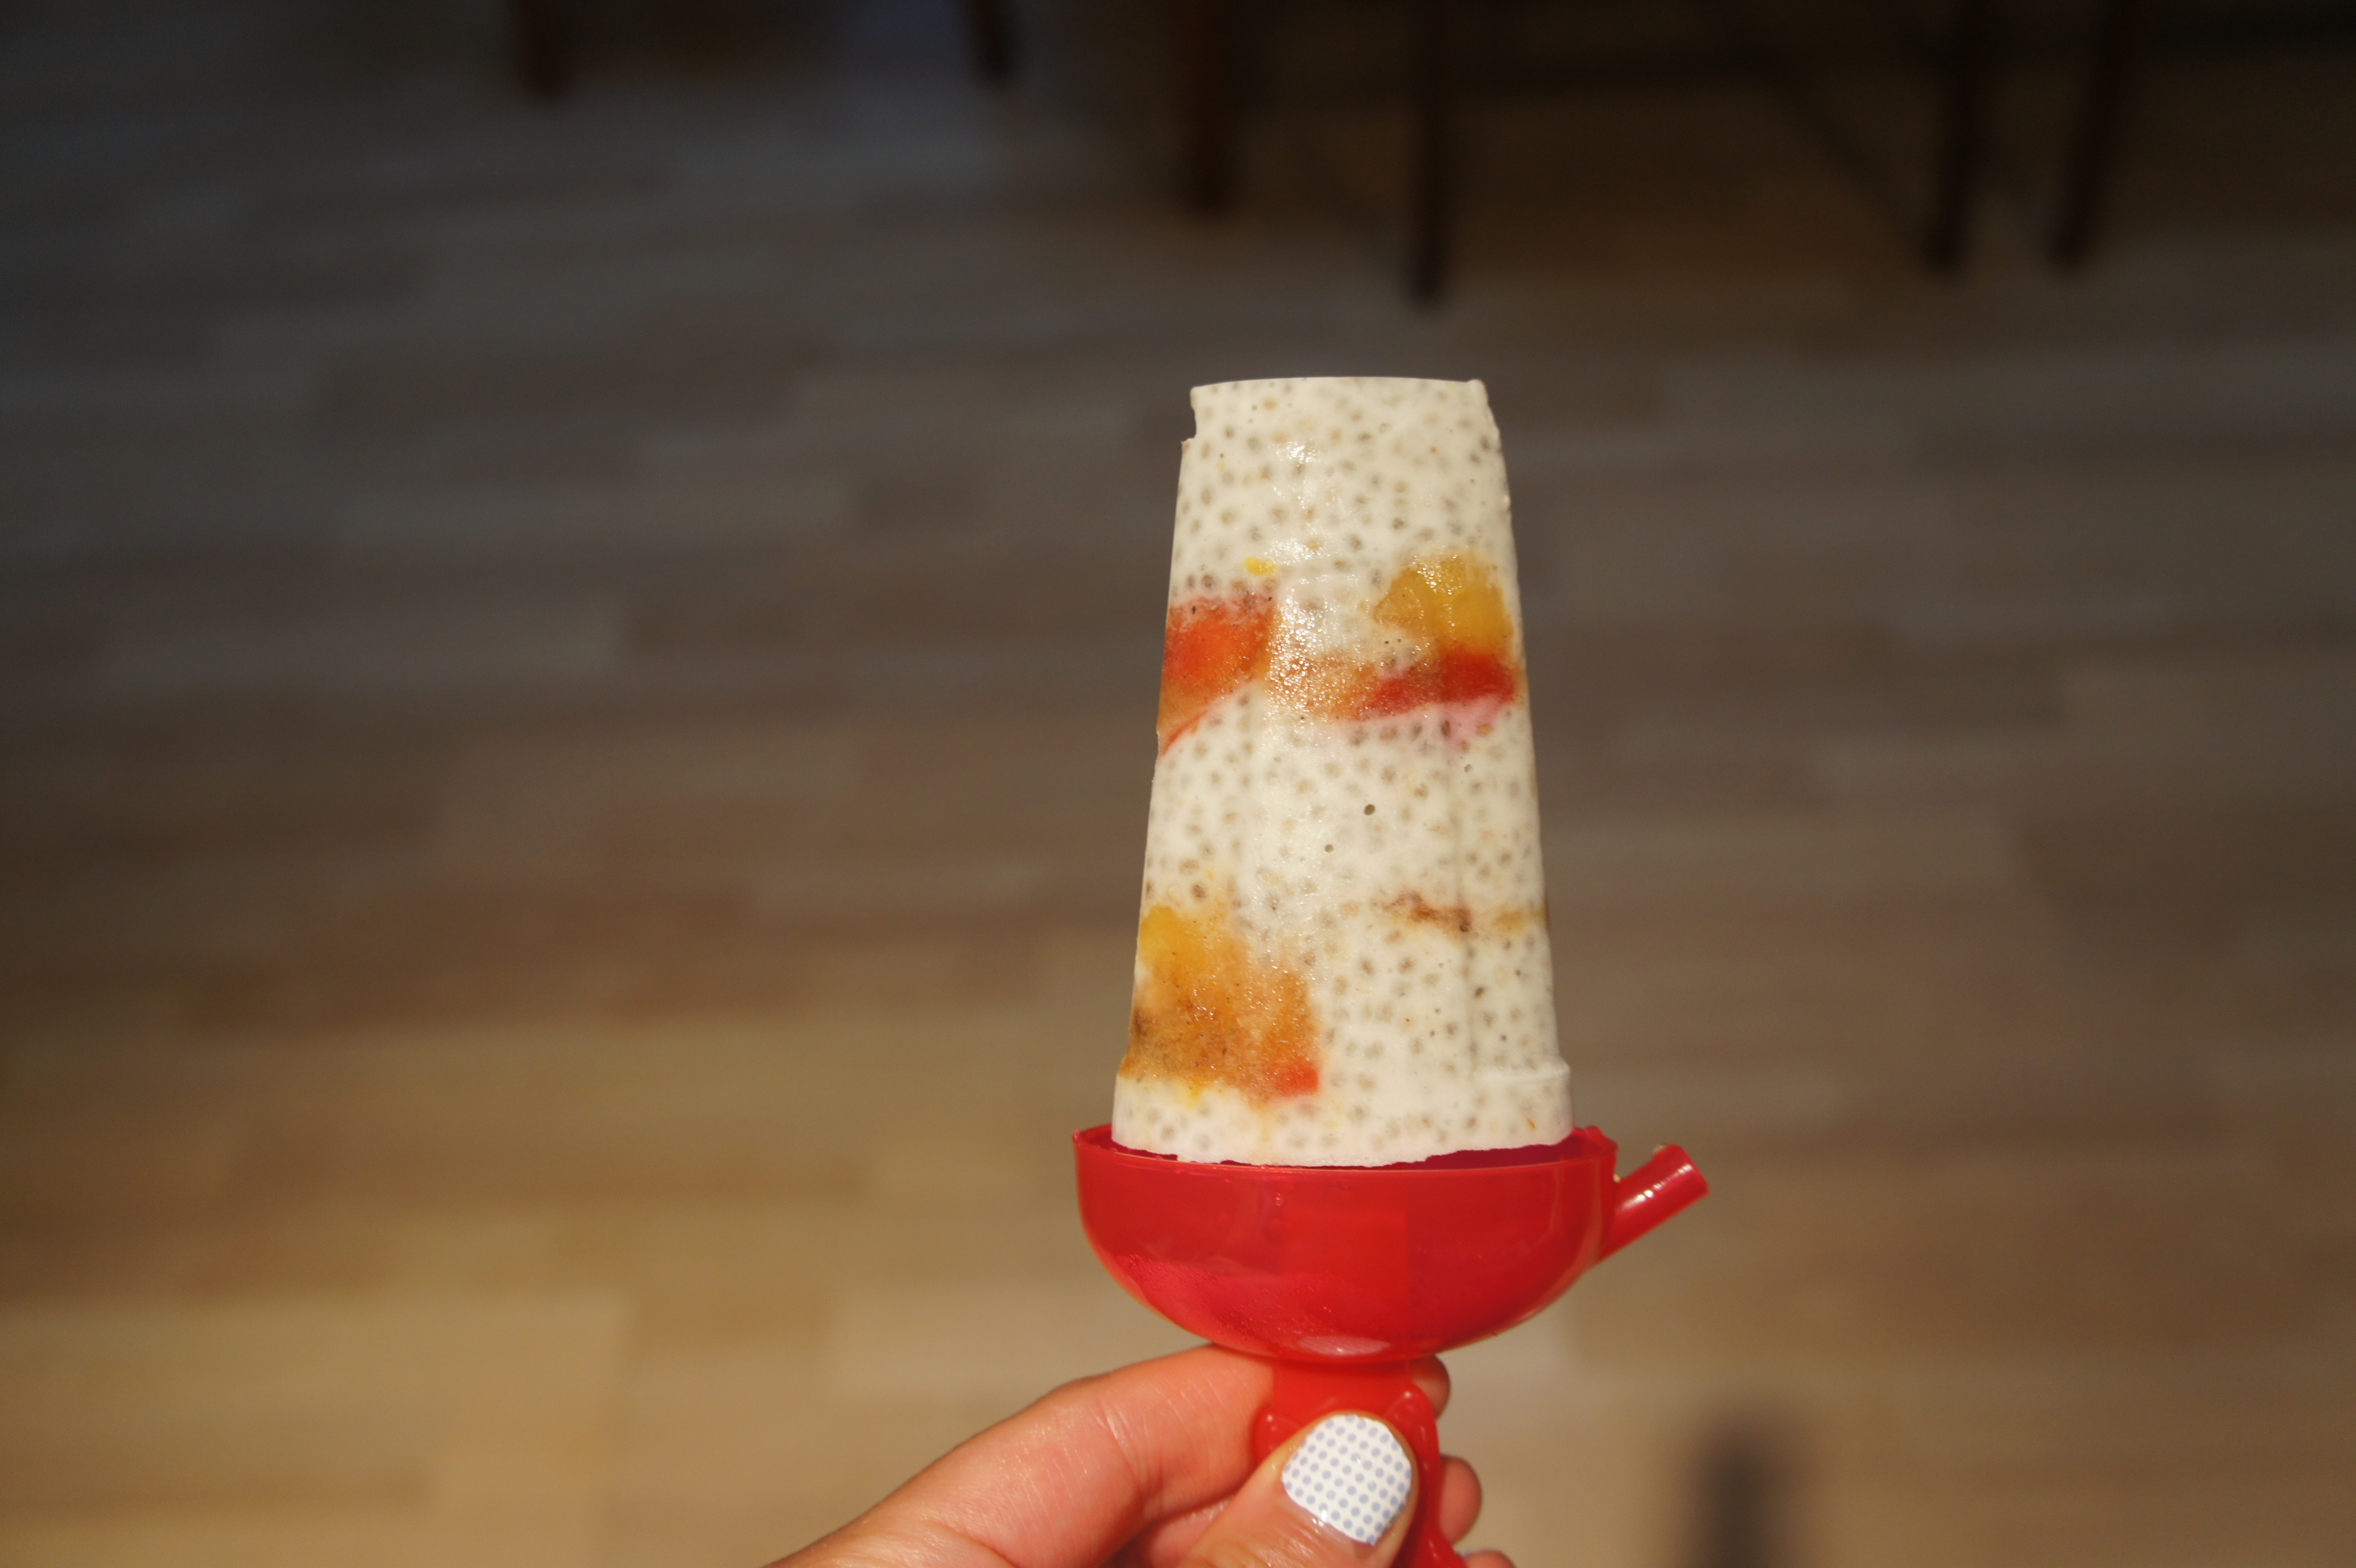
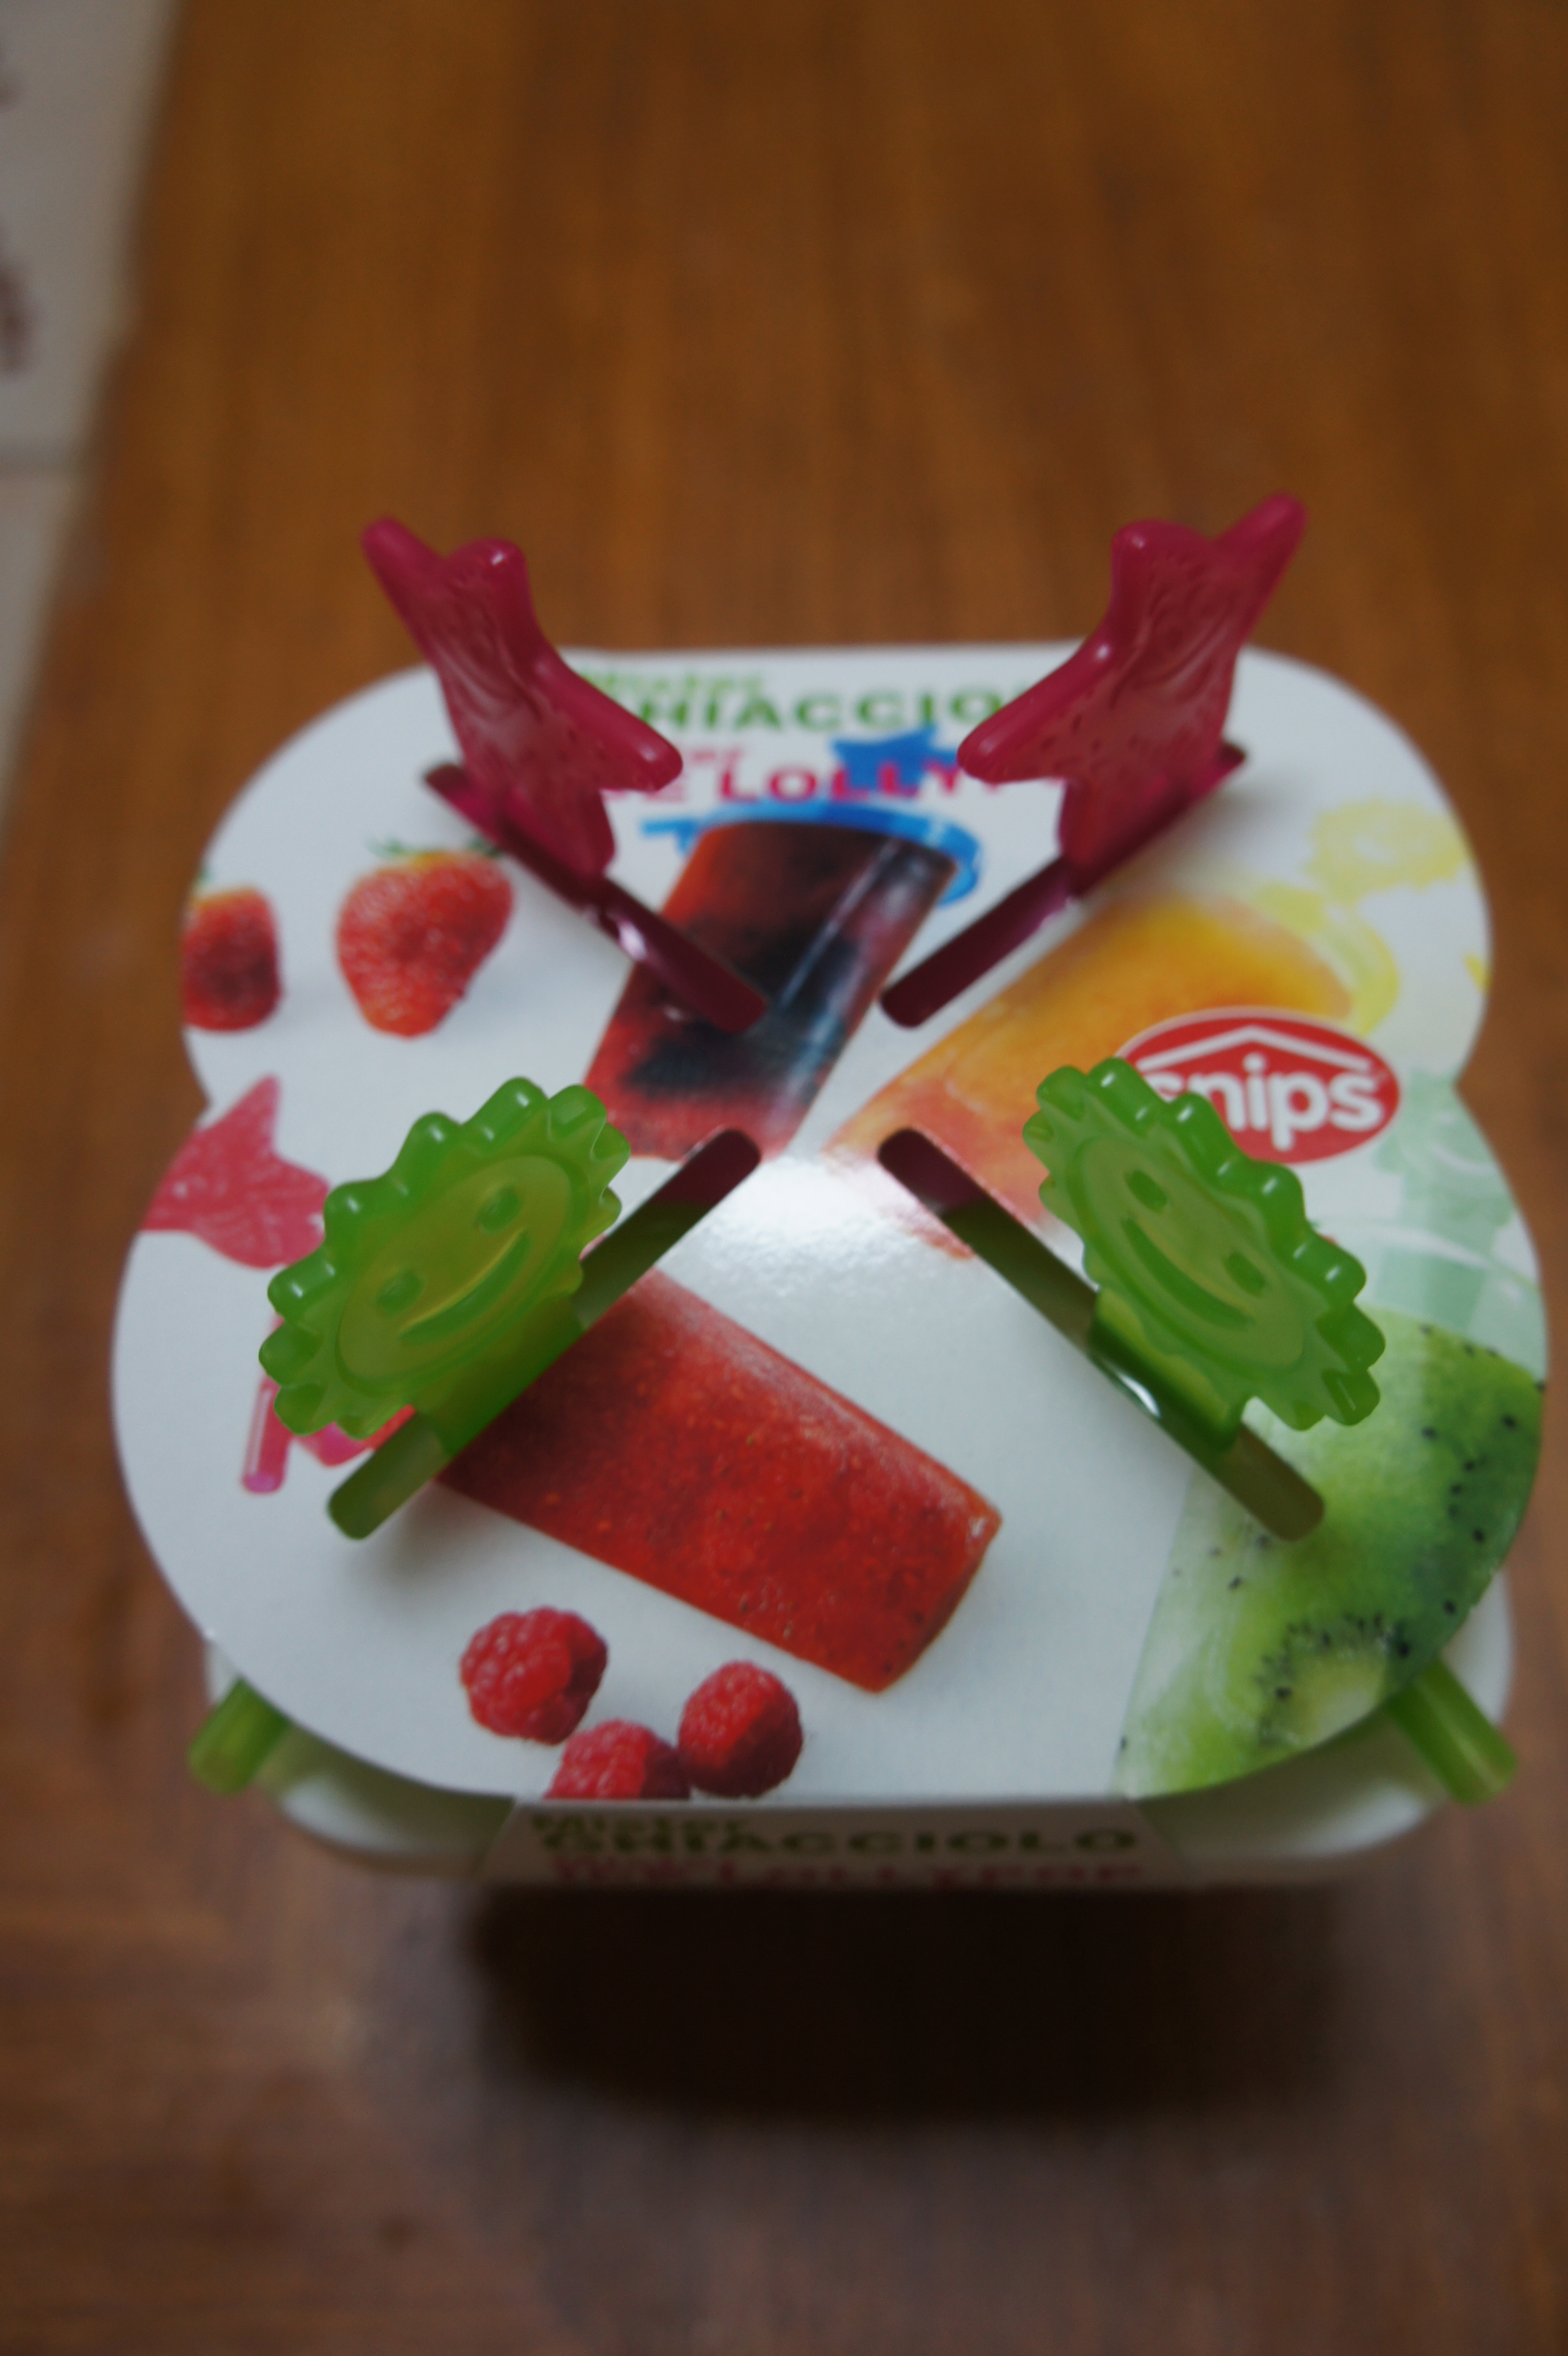
Anyway. I’ve been looking at ice pop recipes all over the internet and really getting into them, but when I saw Joy’s gorgeous Roasted Strawberry Popsicles I immediately got my butt in gear to make them. I didn’t have a popsicle mold, so I spent the better part of the morning hunting one down. The one I found at the craft store was hideous, but I found this adorable one at Marshall’s. It was 2xs more expensive… but you know, I have little control over my food-related impulses. Very little.
Right on. Here we go.
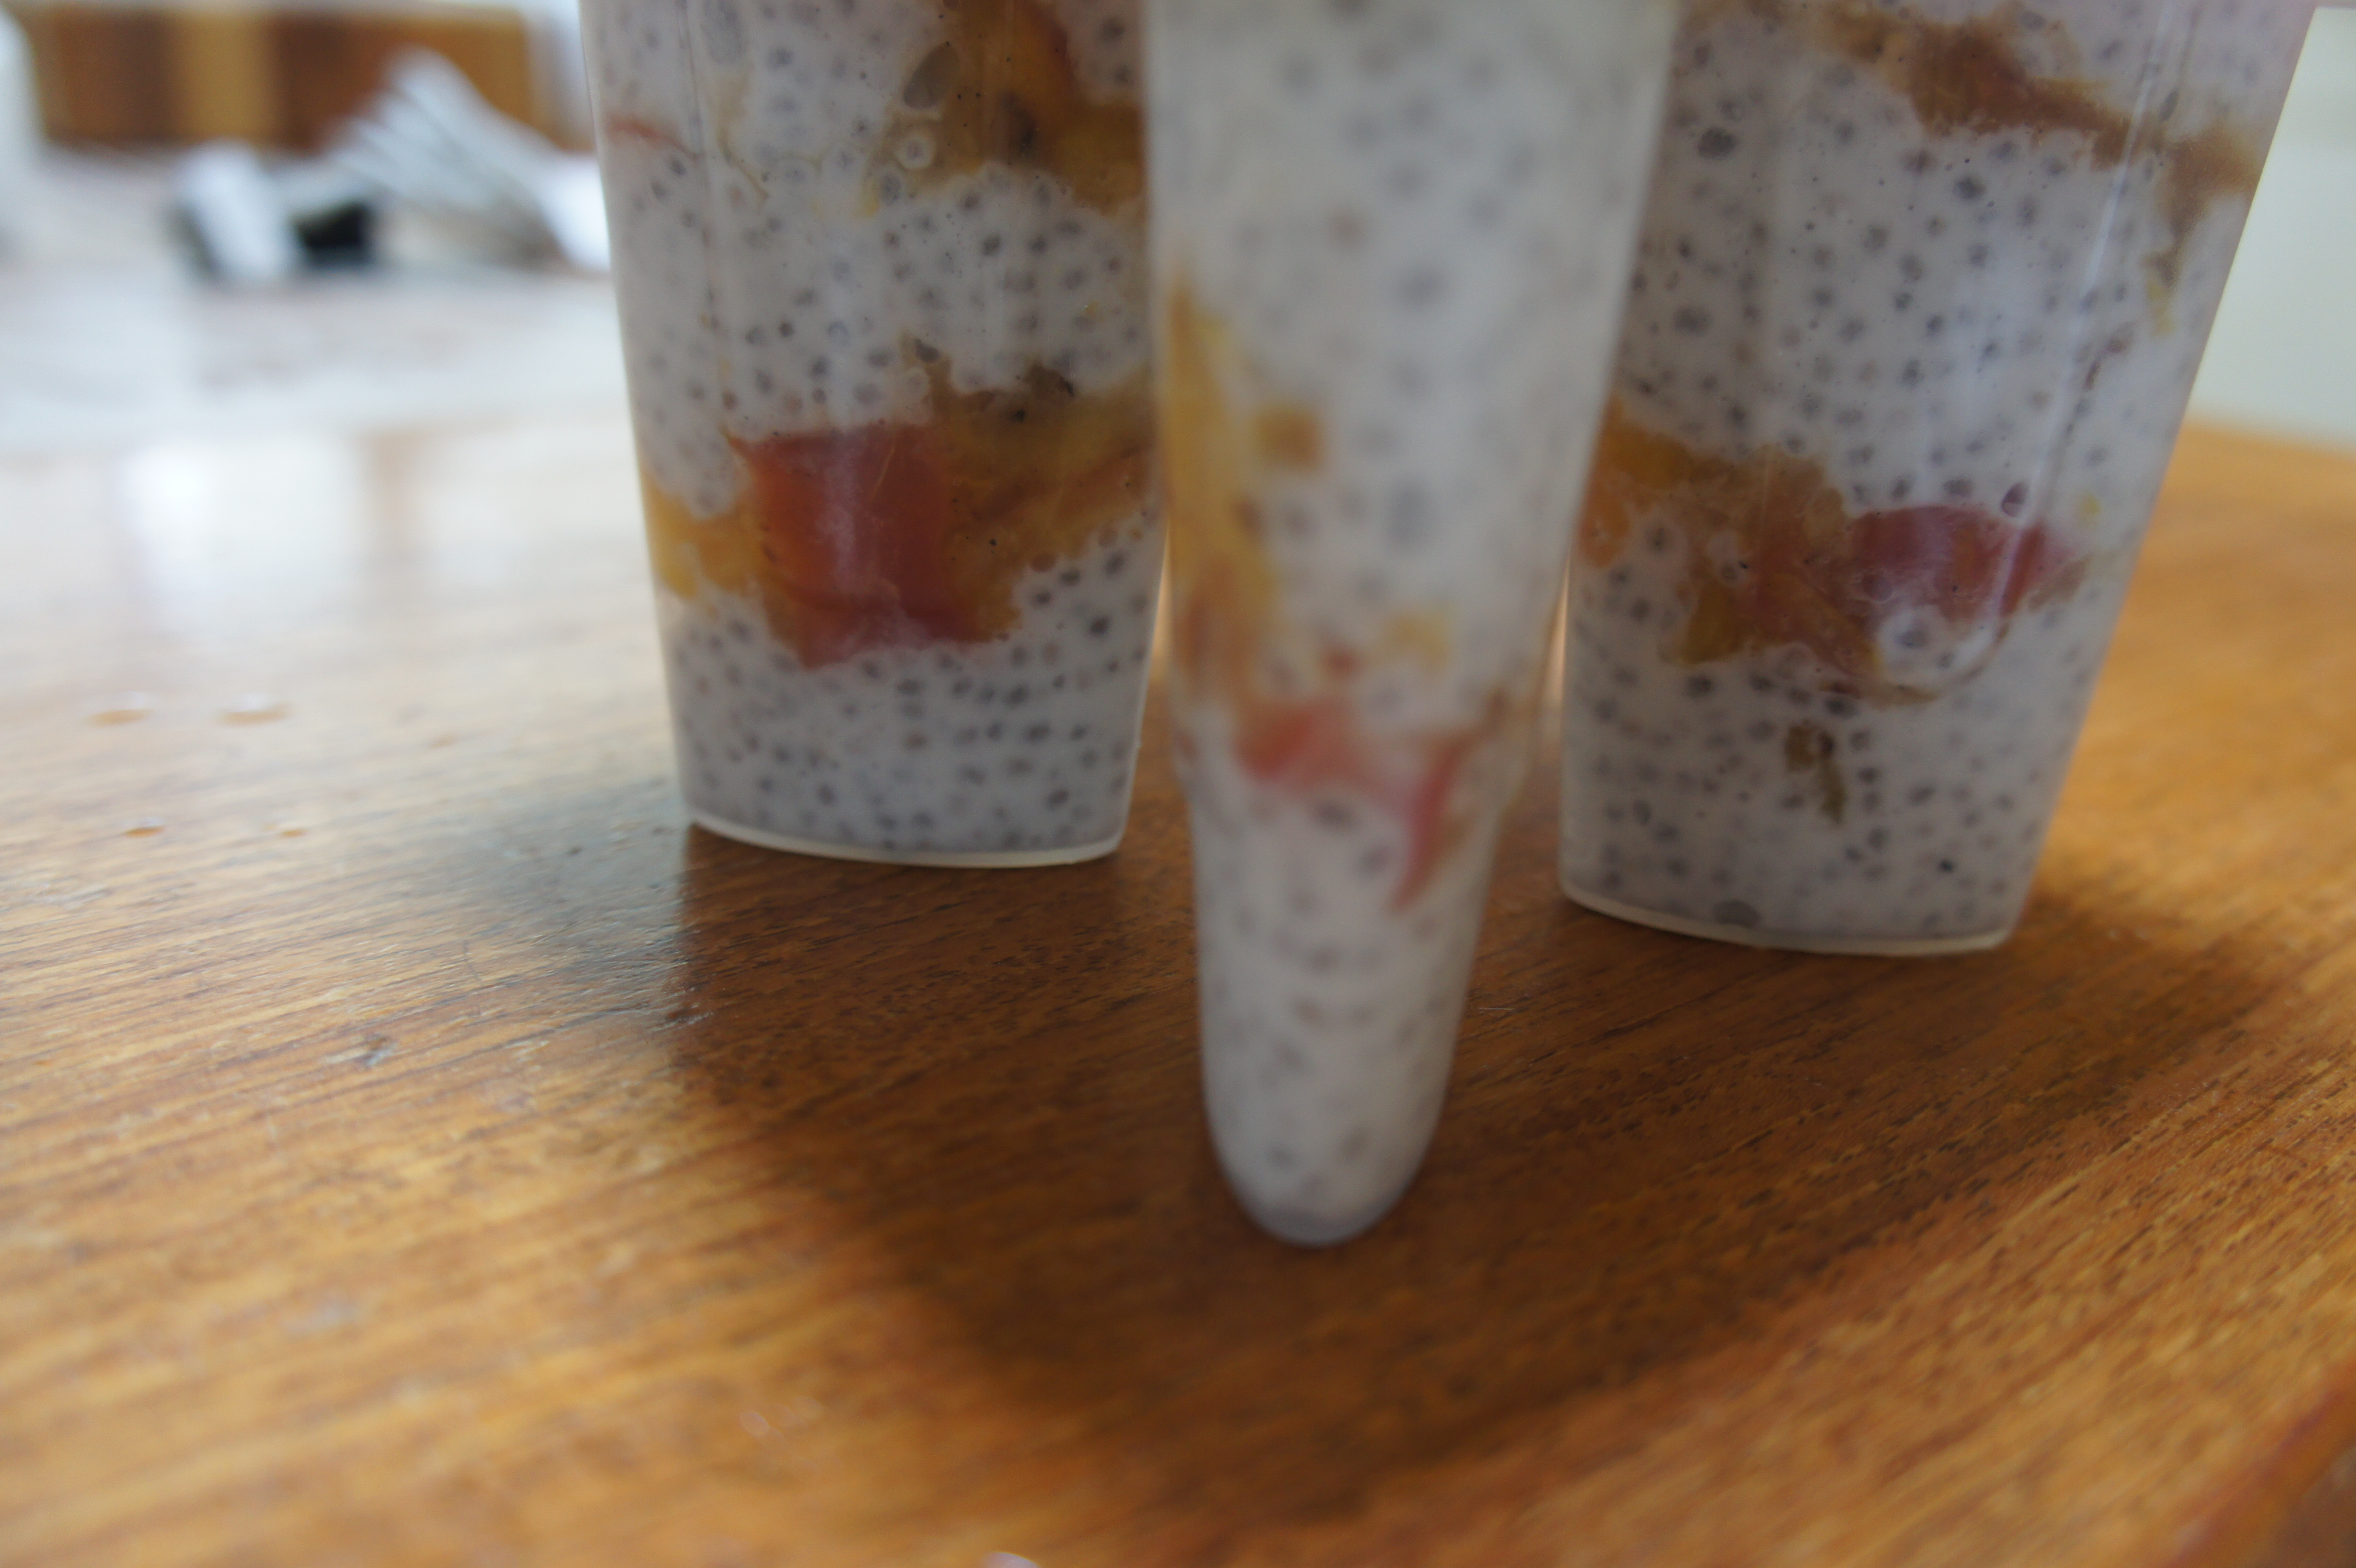
Grilled Nectarine Coconut Lemon Chia Seed Ice Pops (Inspired by Joy)
Enjoy!!!!!
You guys. I did a bad thing. I made these… and instead of sharing? I ate them all.

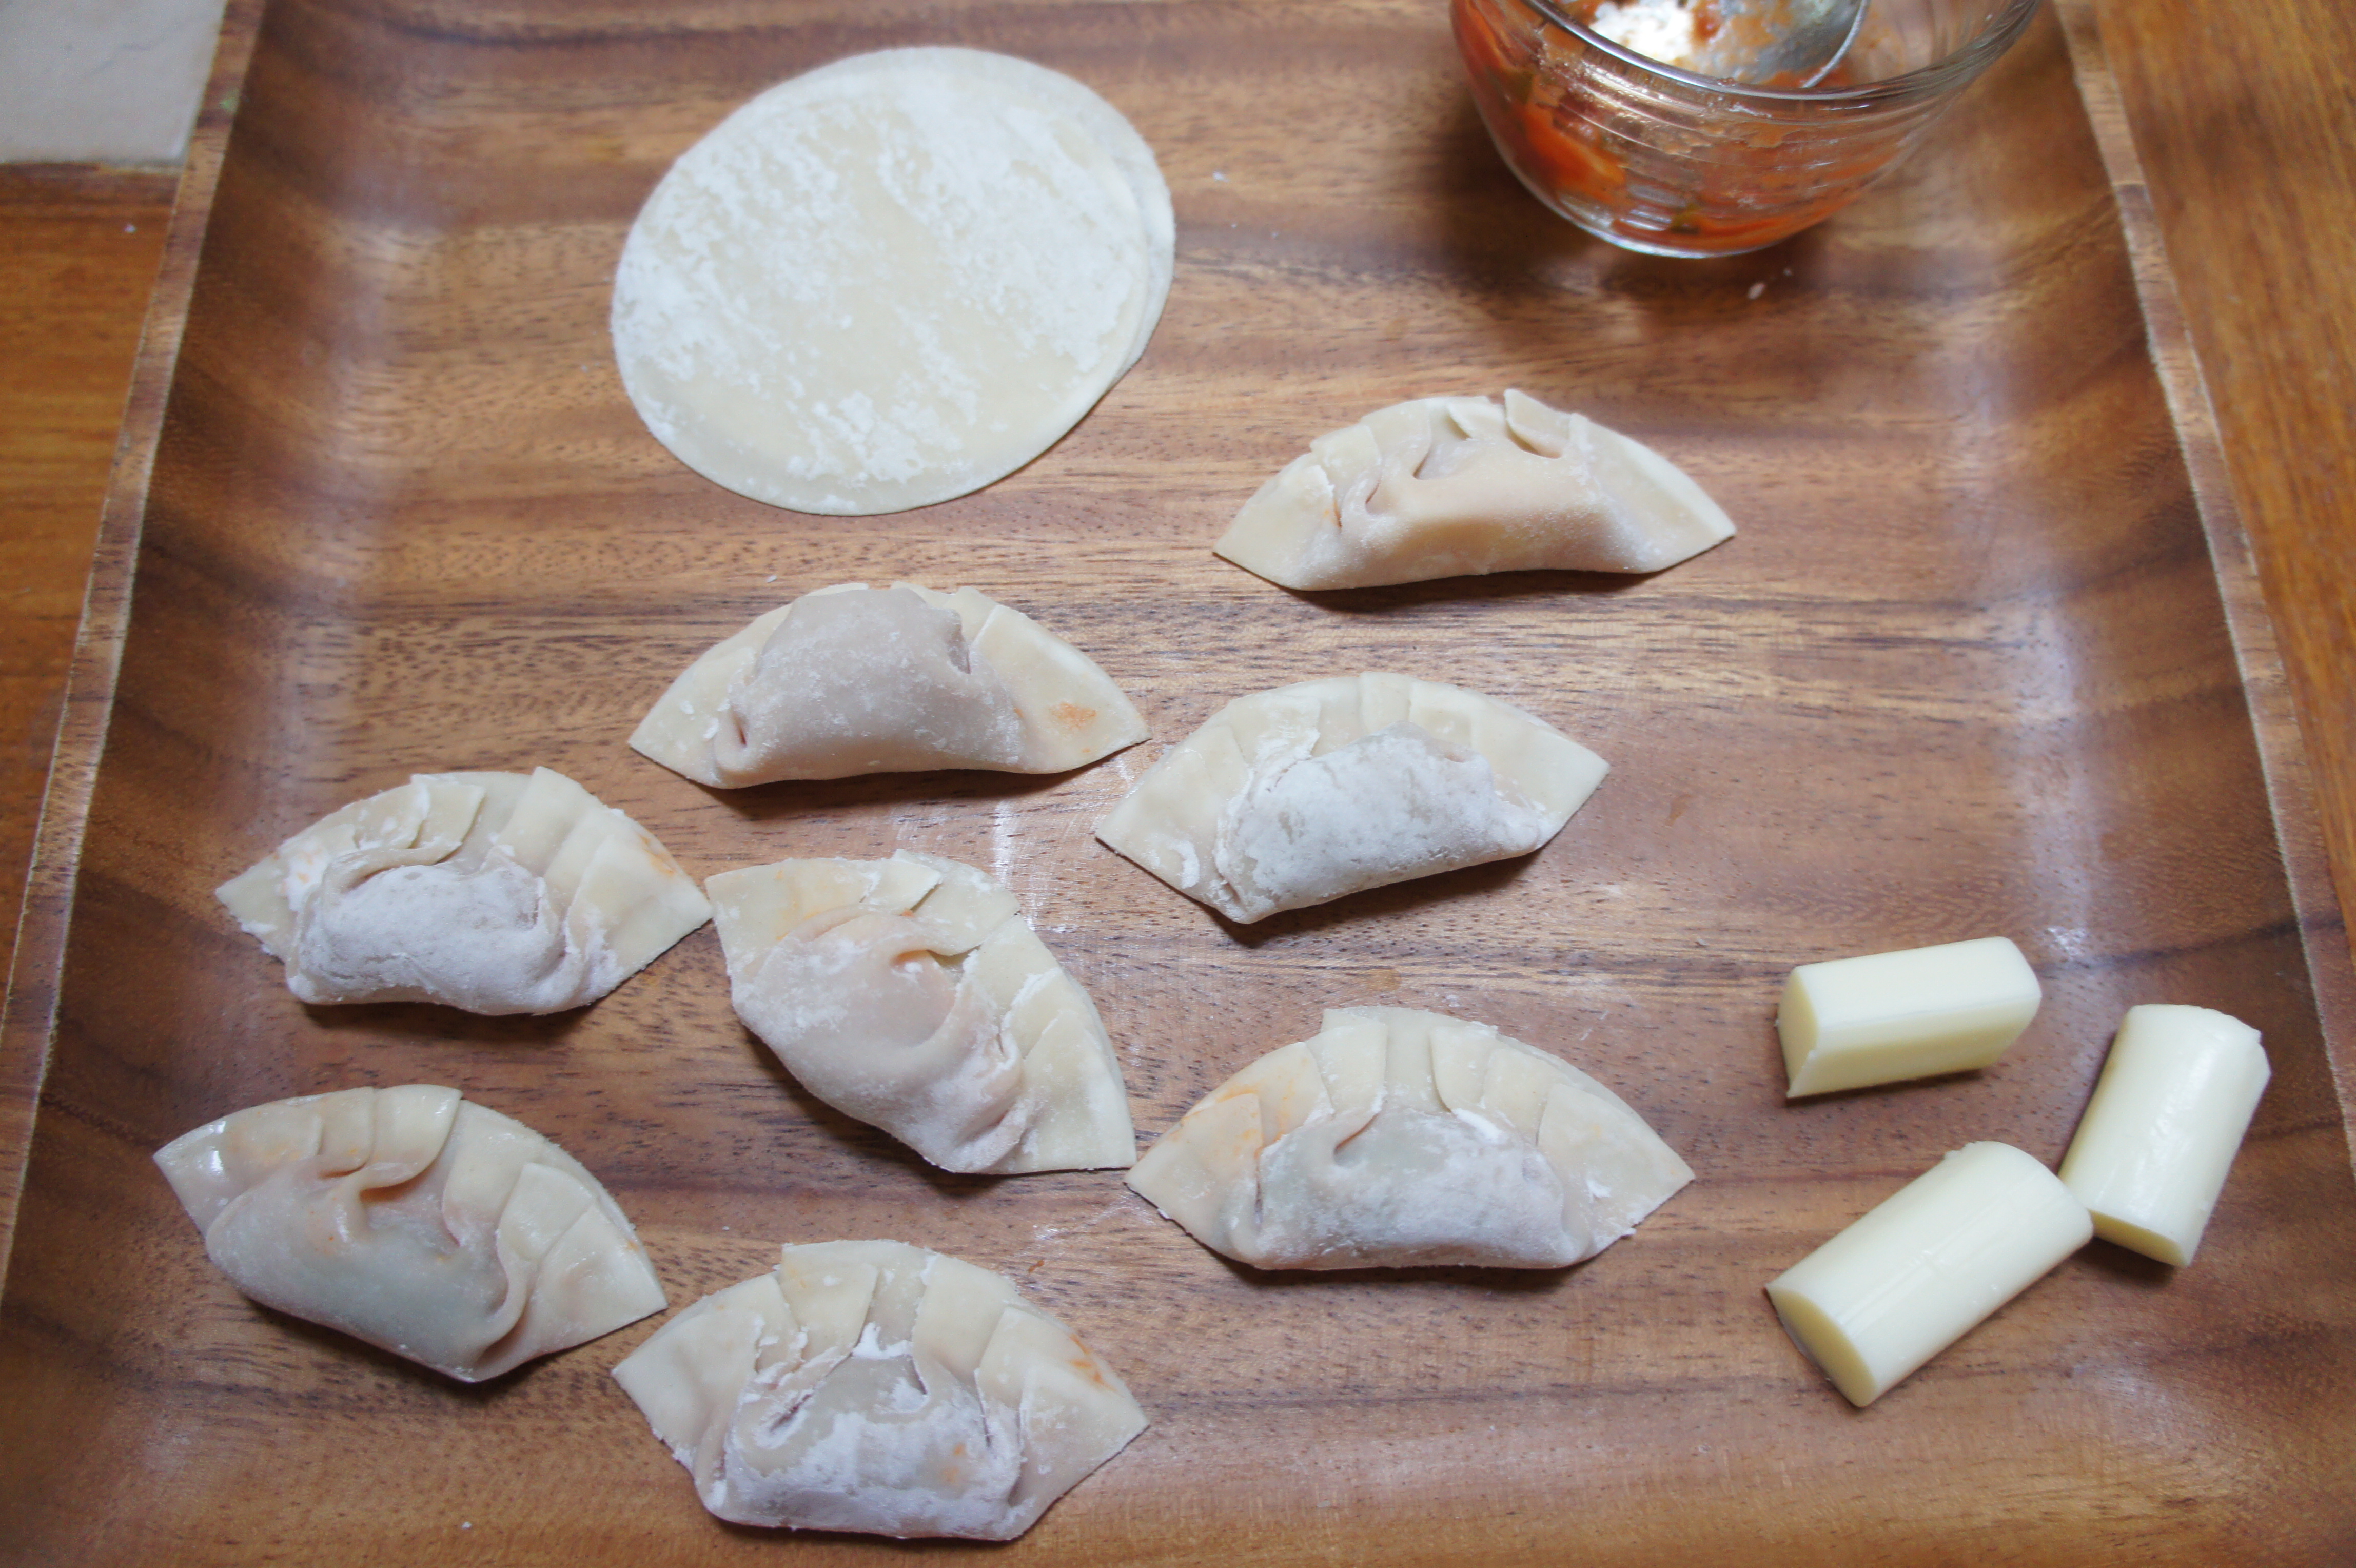
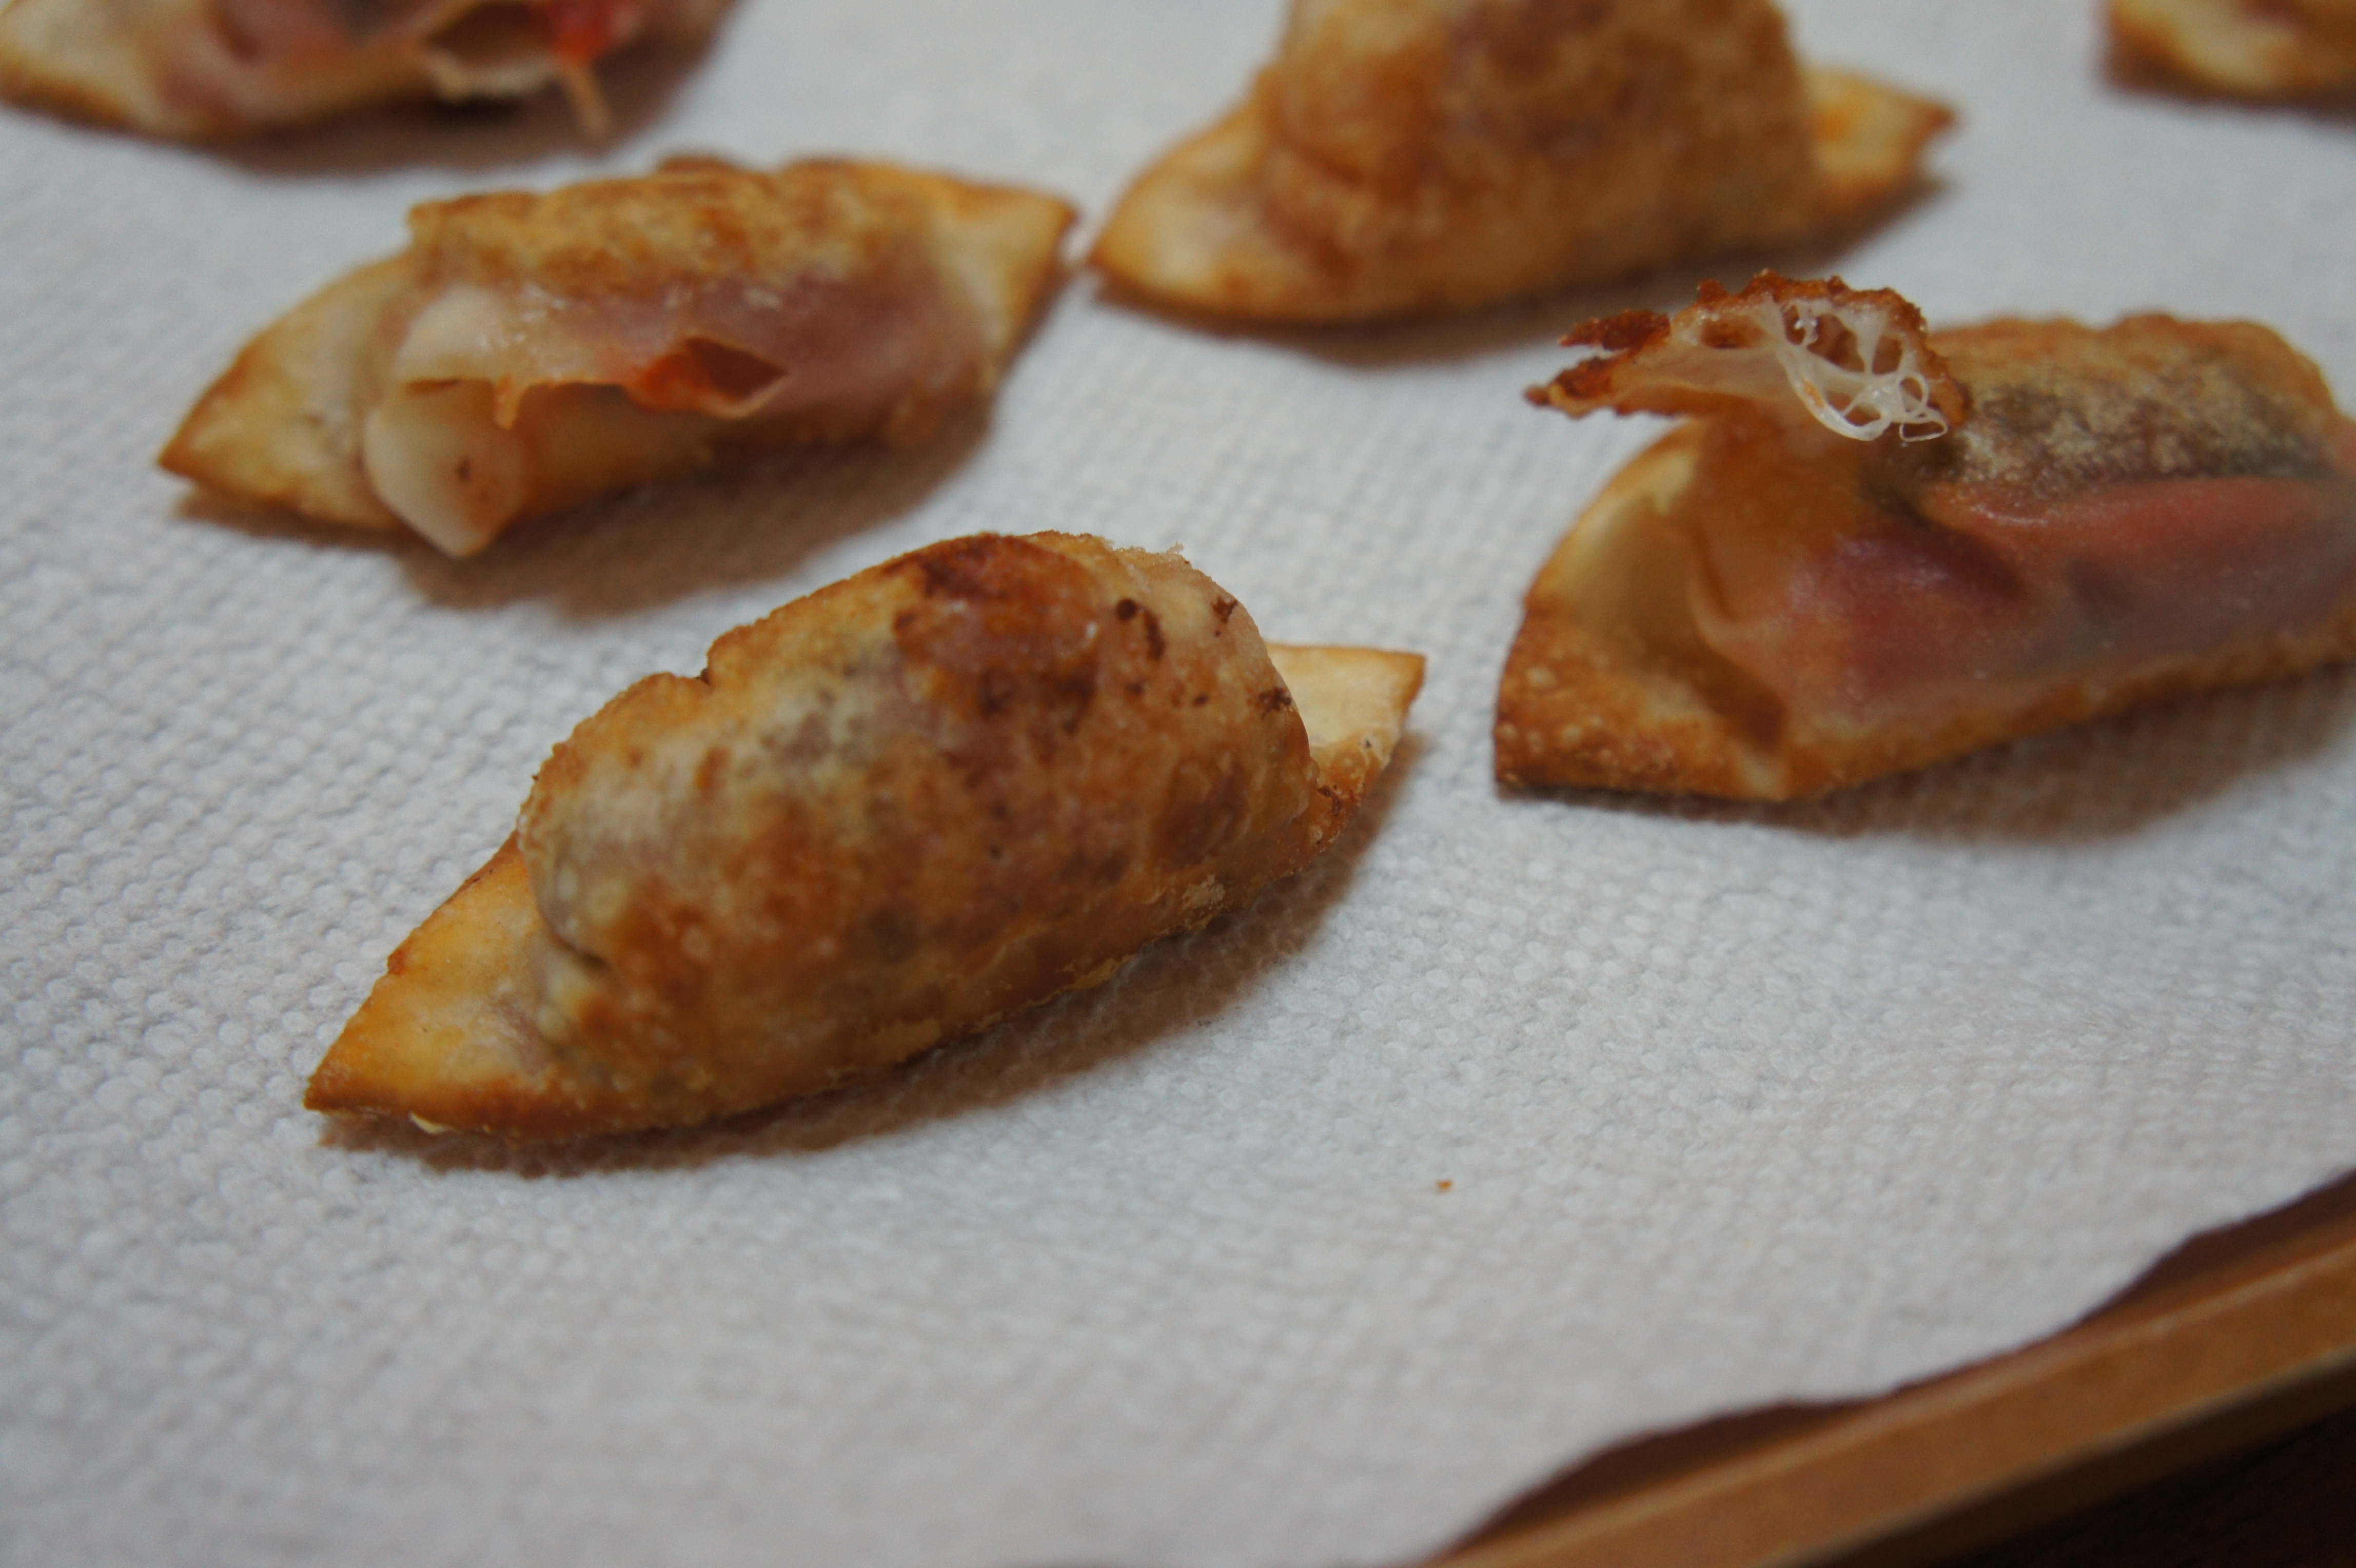
So. First, these aren’t calzones. Sorry if I roped you in based on that information. Misleading title huh? But I didn’t actually know what to call these little things because they aren’t dumplings, or calzones, or really anything. Instead – it’s just a crispy shell filled with mozzarella and tomato sauce… which is really what a calzone is, but baked. These babies are fried.
Anyway… before we get to the recipe, as always I have some rambling to do (you love my rambles, you do!). In college, I used to order a pizza, sit, and eat each and every single piece by myself while I studied. I could normally polish off the entire pizza in an hour, sometimes longer if I was actually studying. Well, one day my best friend Corinne caught me in the act and to this day, she won’t let me live it down. She thinks it’s hilarious that I used to regularly stuff down entire pies of pizza. Small confession: I definitely did this in my last year of law school.
Oh right… back to the calzone-things. There used to be a delivery place that would deliver amazing calzones at my undergrad. I don’t know if they still do and it’s been so long that the name escapes me… but Corinne and I used to eat calzones in the library, hung over, and working. I know… I’m painting such an attractive picture of my college years, aren’t I? So, I’ve been thinking about teeny ones, like one bite calzones for the longest time because everyone likes finger food. And, for me, I like more sauce and more cheese and less bread than a normal calzone offers. Originally, I thought about doing this little recipe in actual yeast raised pizza dough, but then I forgot to buy yeast. So then I was thinking pie crust, but I got lazy and decided on wonton wrappers. I always have a package or two of wonton wrappers in my freezer, so it worked out. I’m cleaning my fridge and making my food-dreams come true.
Right on. Here we go. So before we get started, I highly recommend using a splatter guard. It’s one of those mesh things that you pop over the top of frying pans to prevent oil splatters. I really debated on making these at all because frying anything “wet” like tomato sauce can be a HUGE problem and lead to really dangerous splattering oil. And then after I made them, I debated on posting them here, because I don’t like the idea that anyone makes something I recommend and gets hurt. However… I decided as I was cleaning that you are ALL adults and I am giving you the appropriate warning so there it is. BE CAREFUL!
Kaprise Kitchen’s Itty Bitty One Bite Faux Calzones
*** I recommend using the chunkiest sauce you have so that you can eliminate the more fluid and liquid-y parts of your sauce. I made sauce from whole canned tomatoes a few days ago, so I used the chunks of tomatoes from that sauce only. The reason for this is that in case your wrapper leaks as you fry, the sauce won’t hit the oil and turn into a fountain of spluttering hot oil.


I hope you enjoy this recipe! I can see this being versatile and becoming as down to earth or as sophisticated as you want. This would even be good with a dollop of goat cheese and fig spread!!
Have a great weekend everyone!
xoxo-H
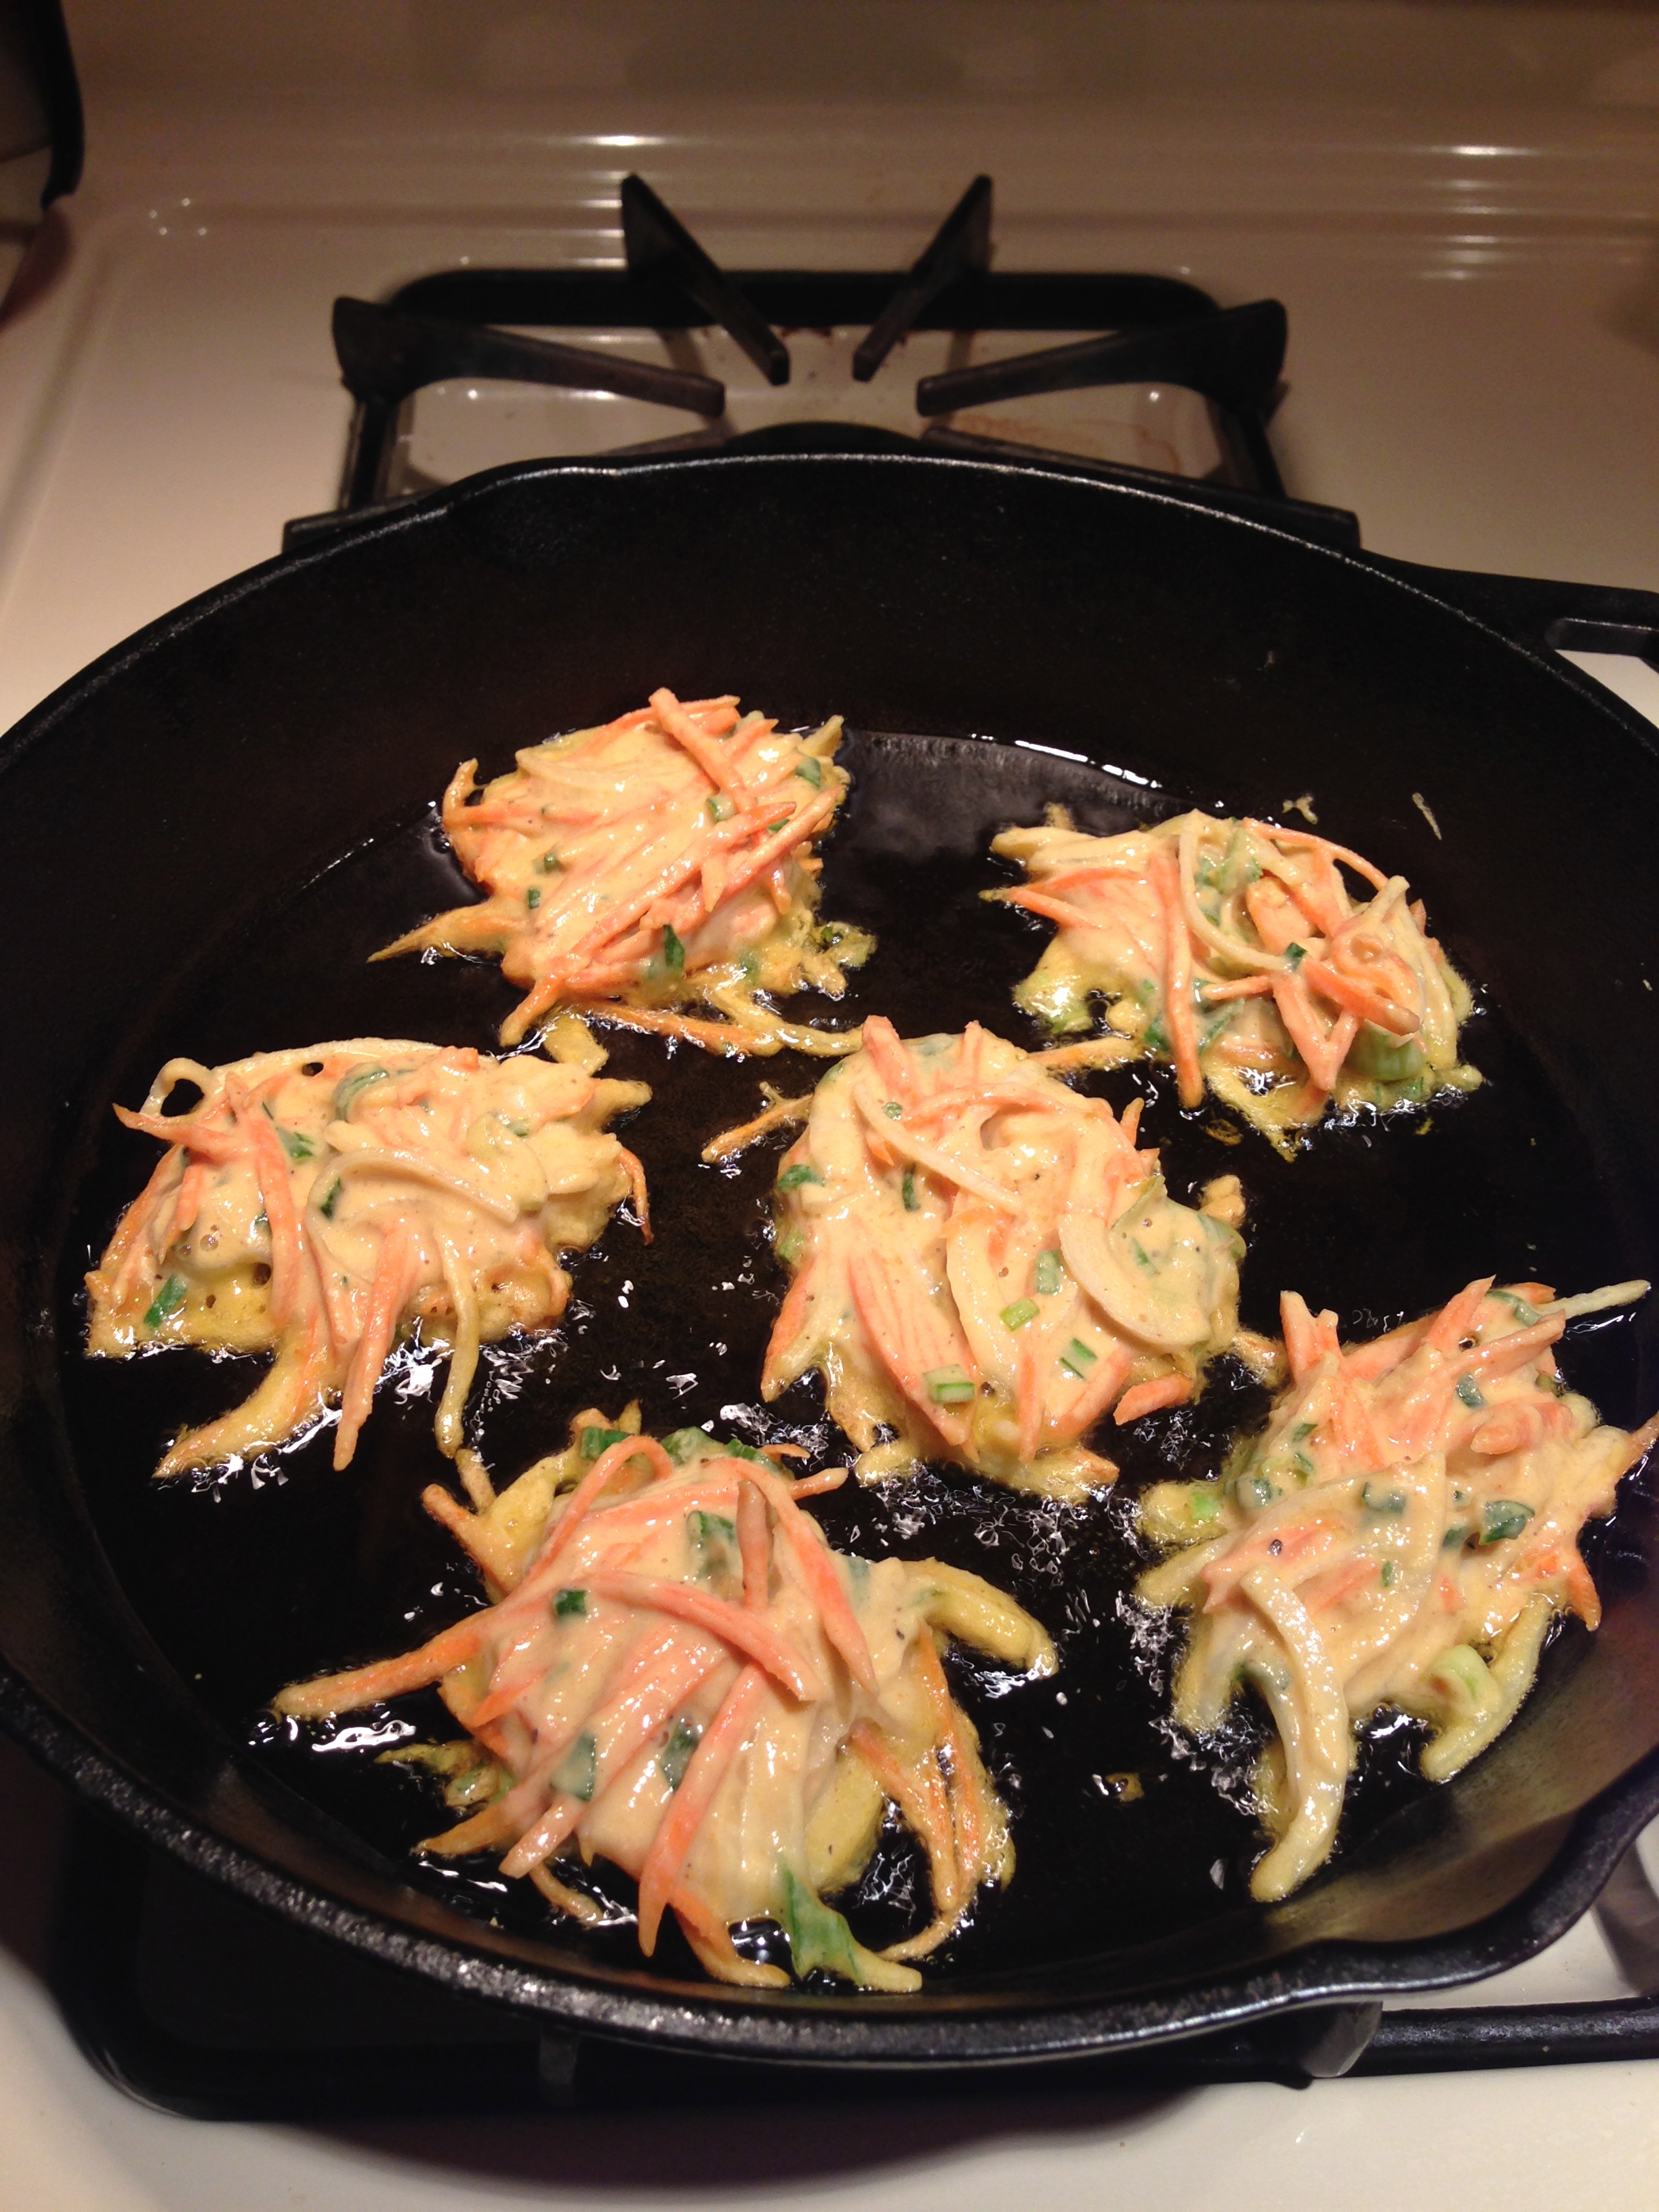
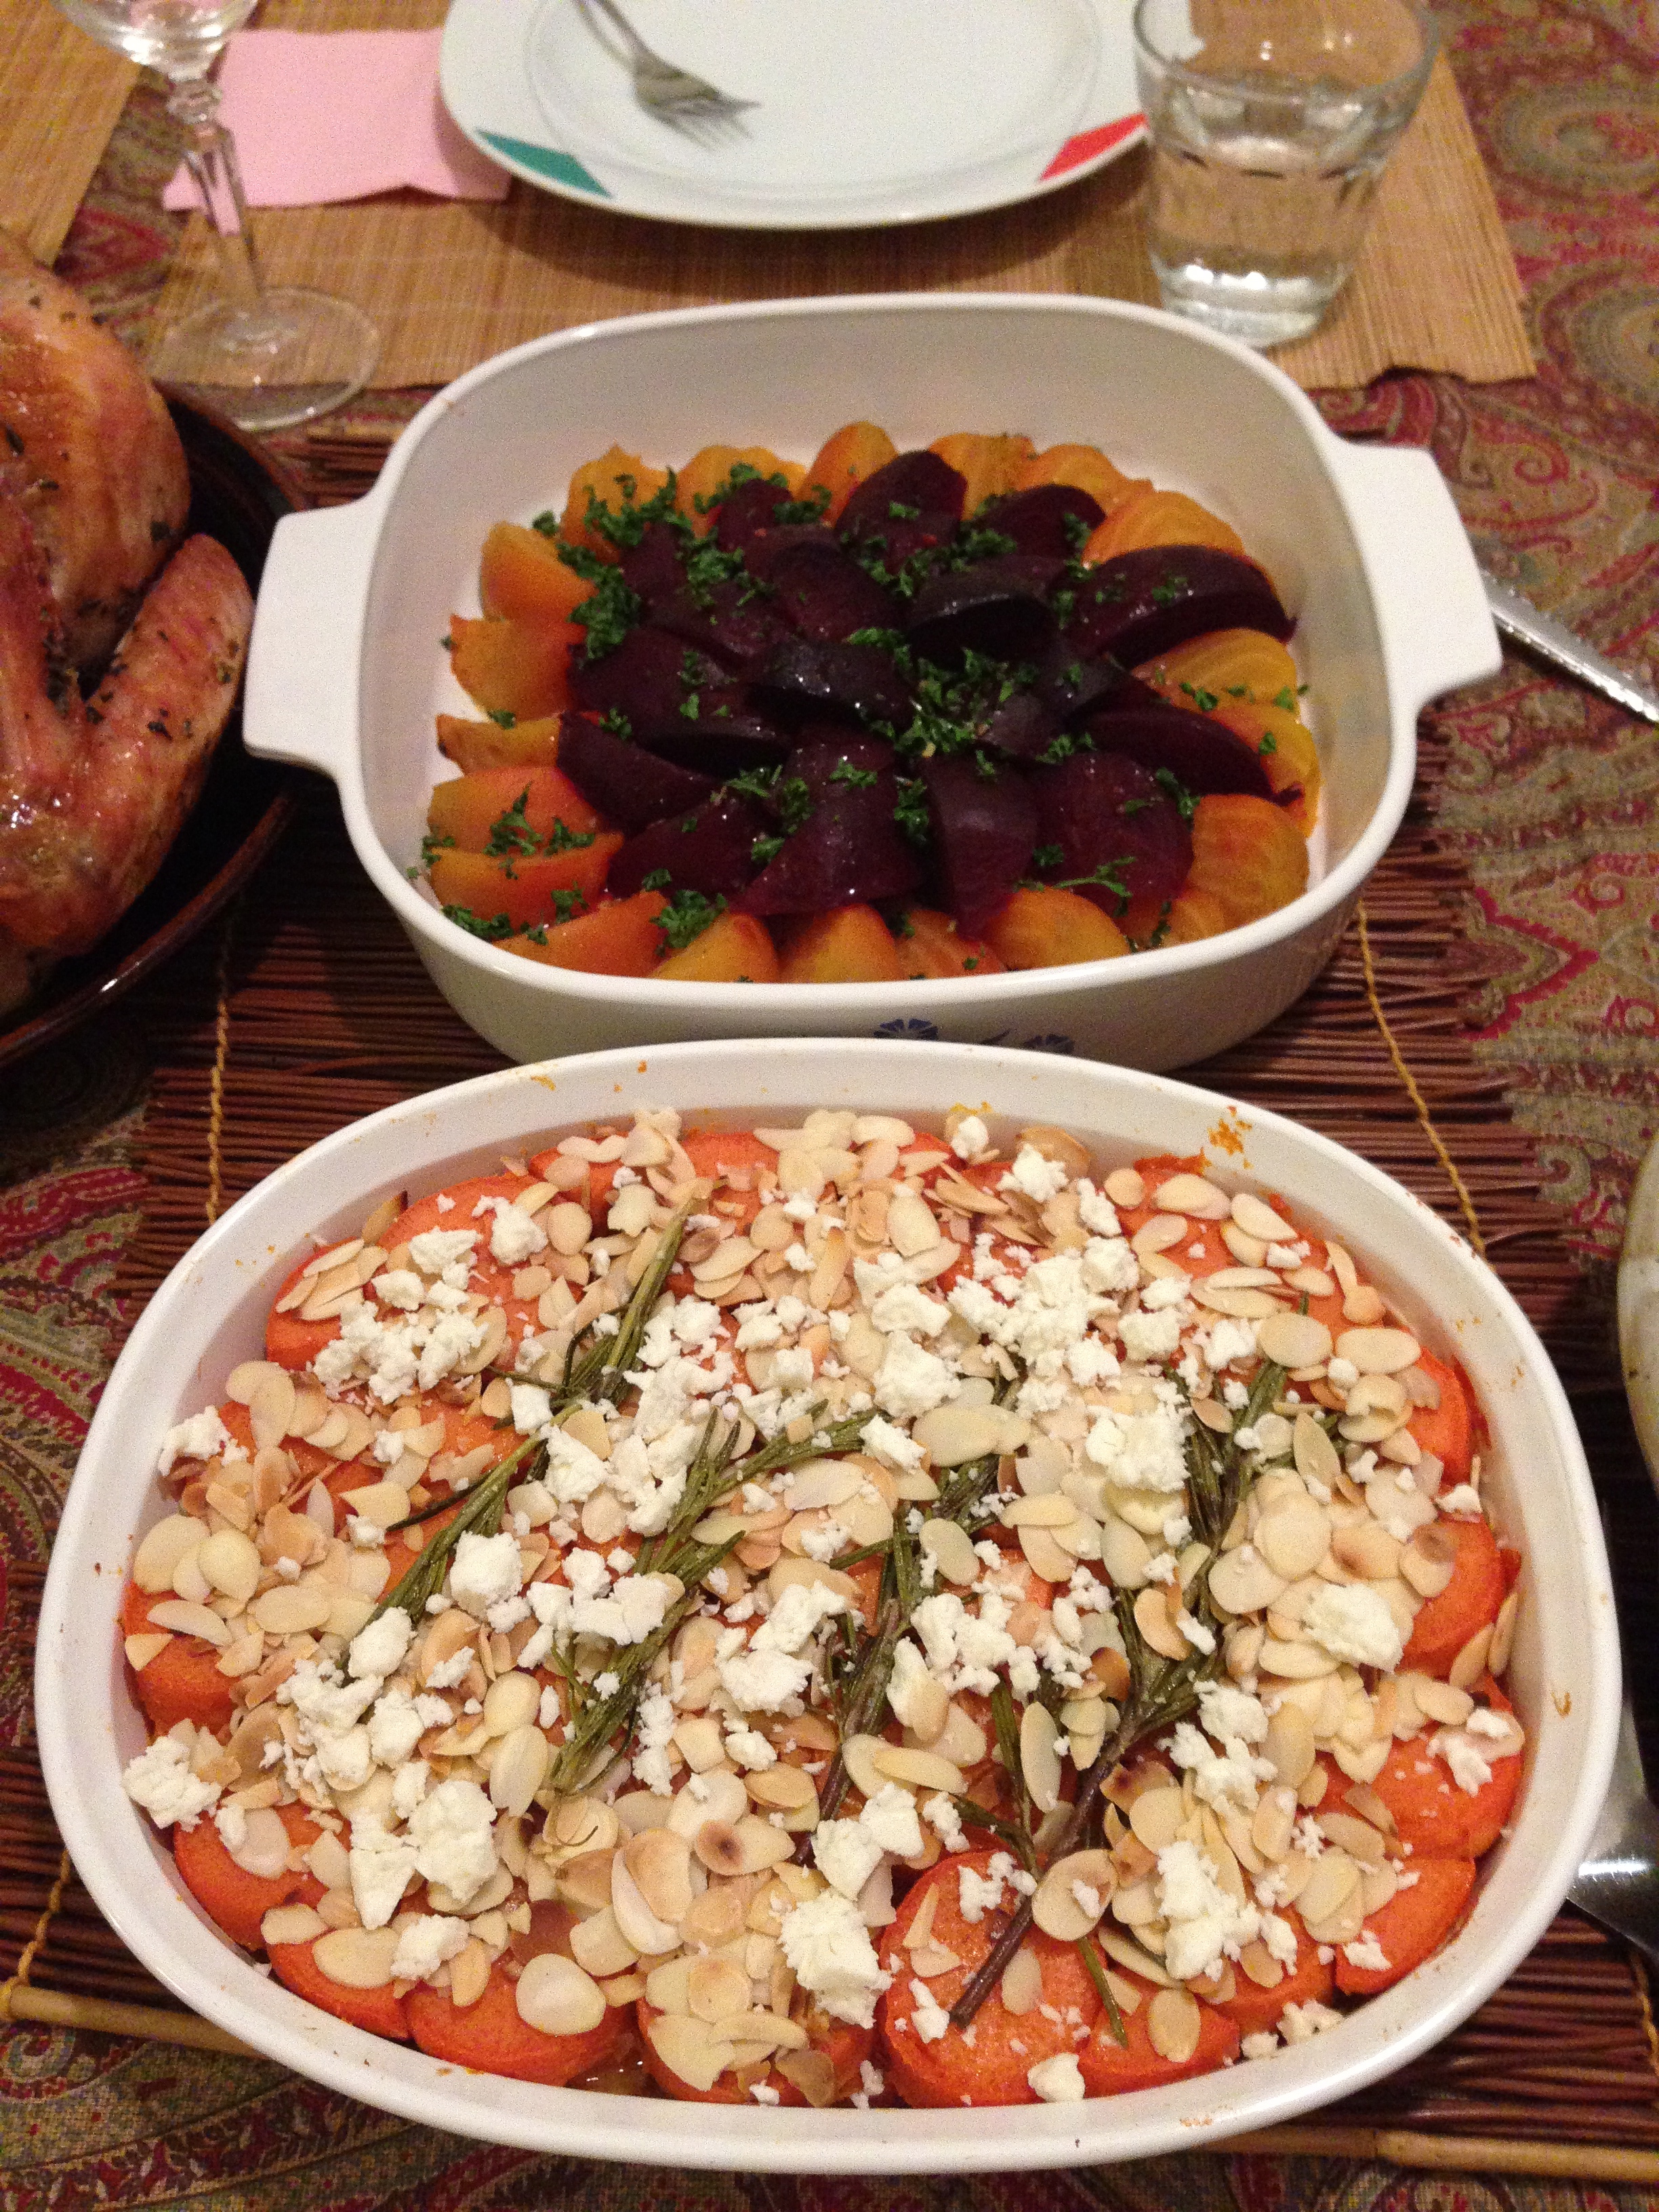
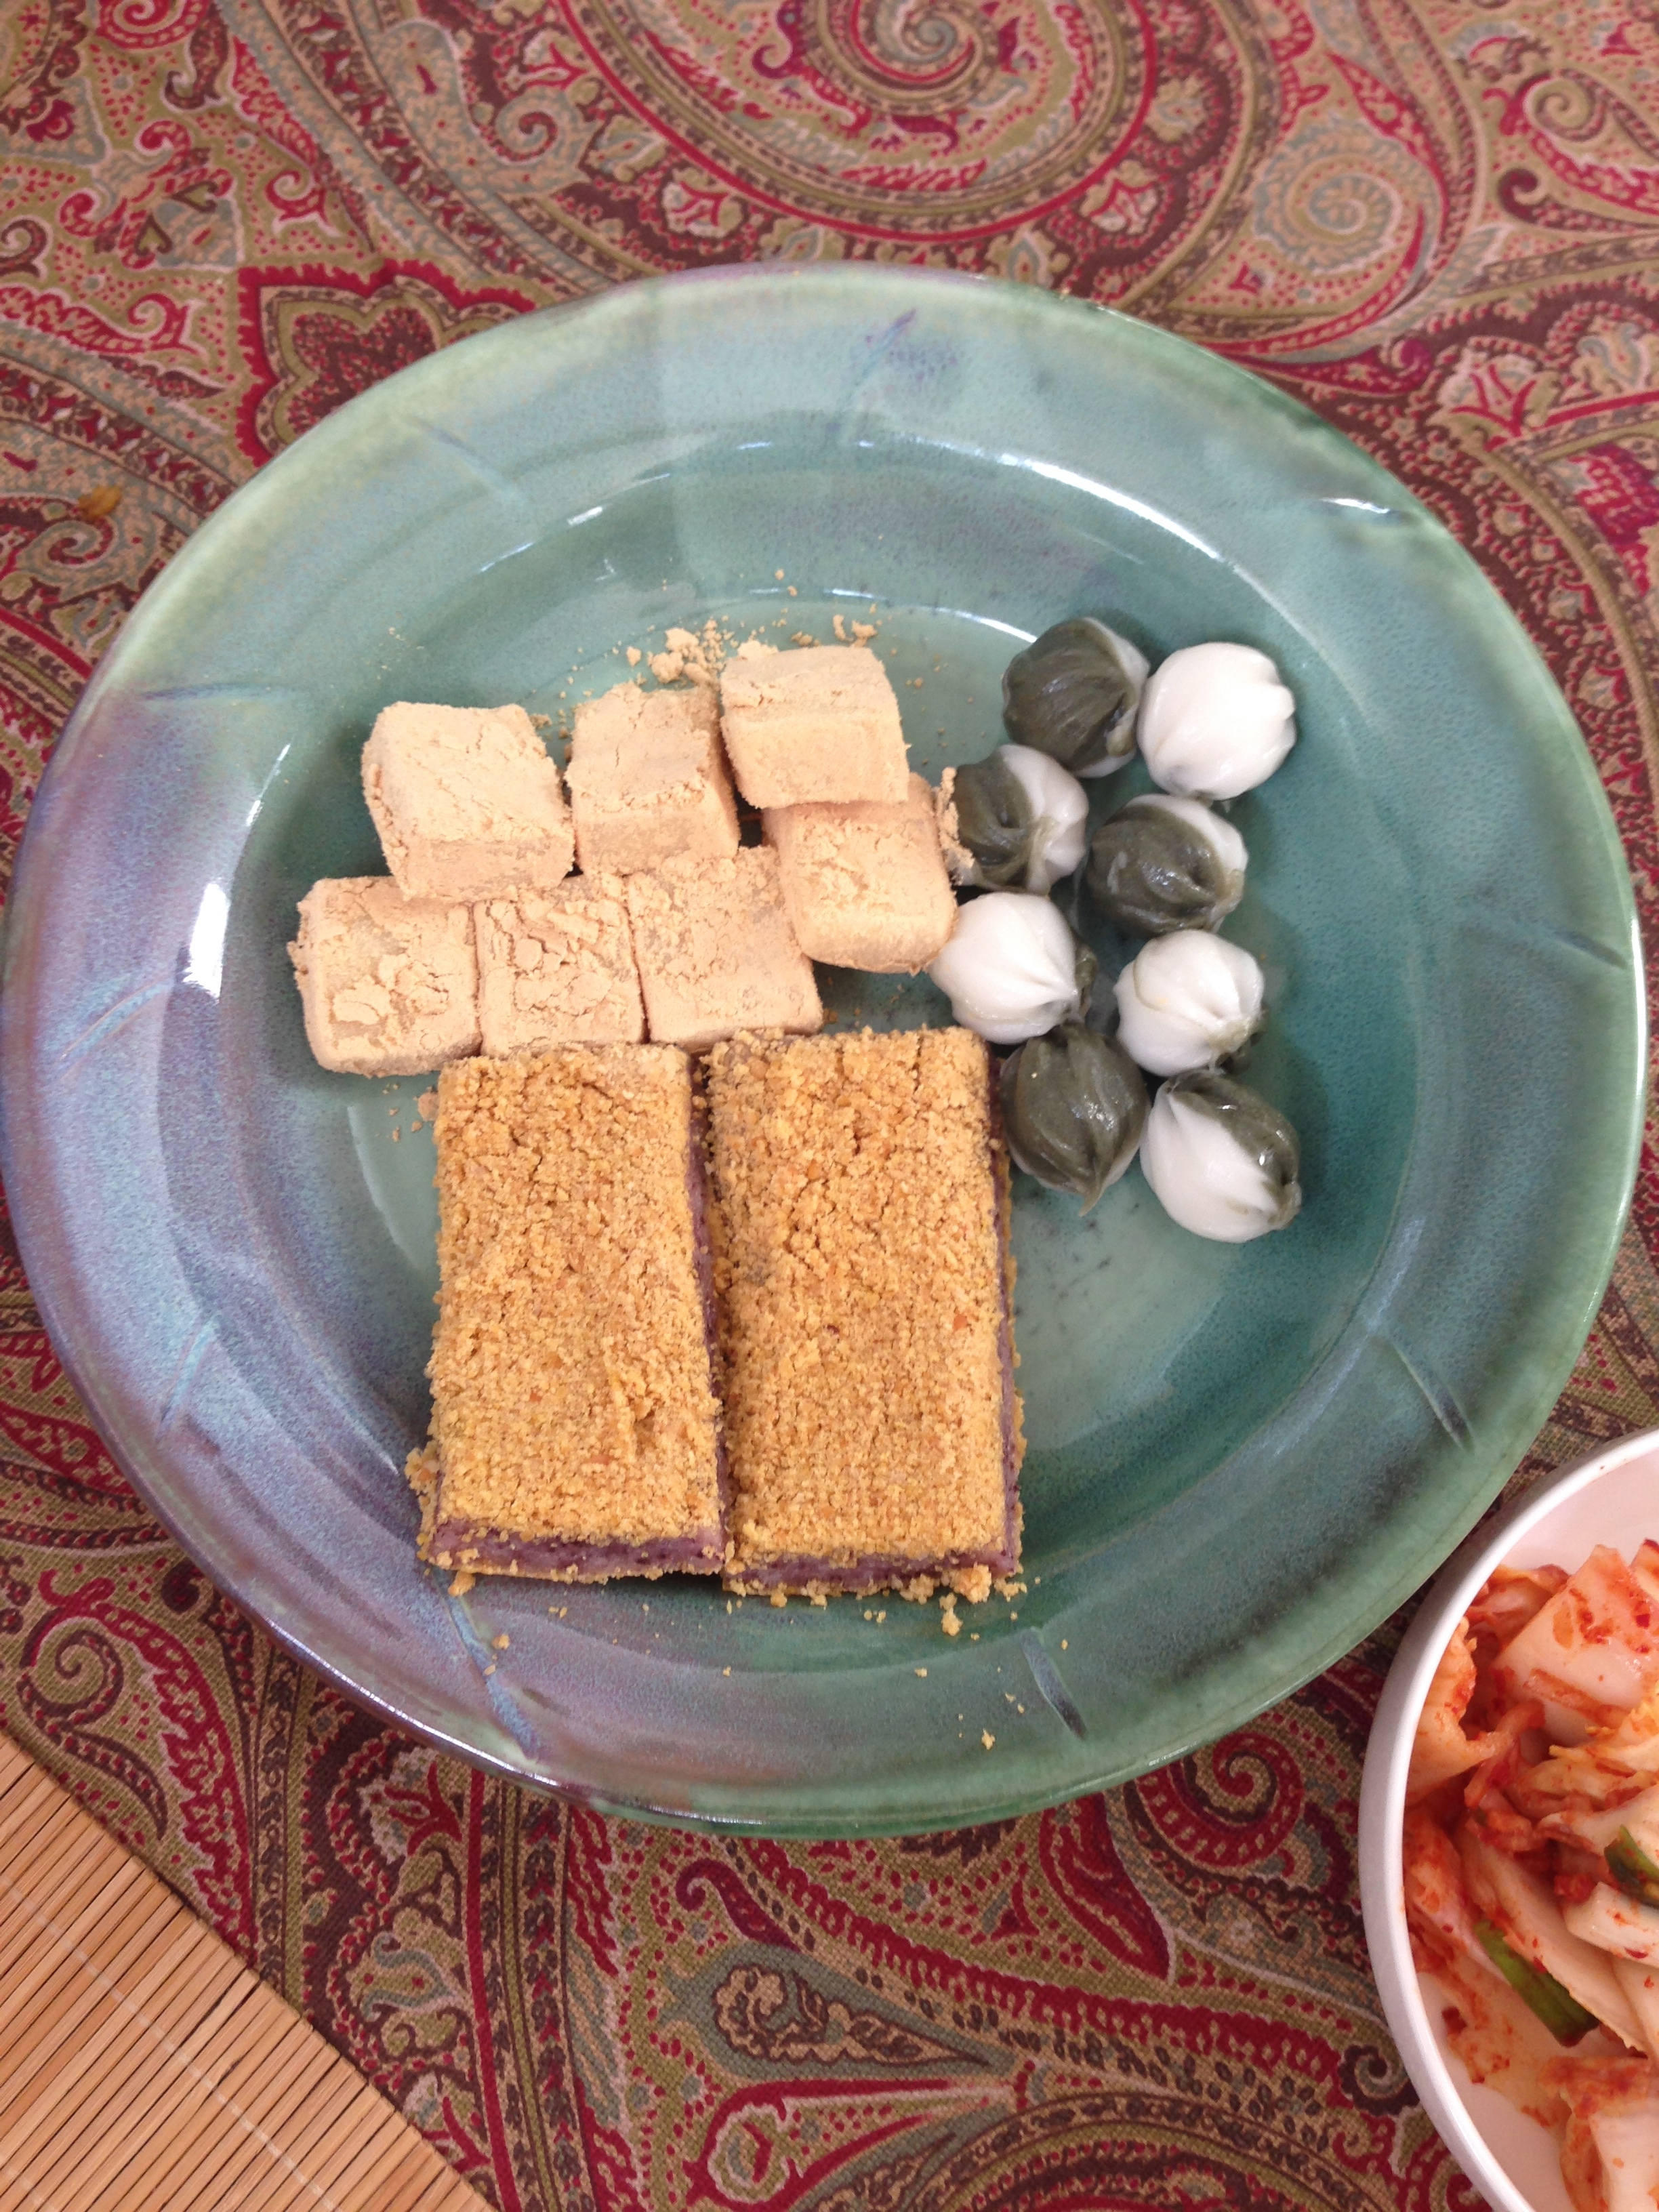
I’m a huge snack person. Until recently, I was really into chewy and sweet snacks – the kind that put your dentist’s kids through school. All through undergrad I ate jelly beans while I studied, and then through law school I ate gummy bears in the library. However, as I continue to slog through studying, I’ve been more and more attracted to crunchy and savory snacks. So. In light of that change, I’ve been sampling many different kinds of snacks. I really like potato chips. Like… REALLY like them, but since eating mounds of chips is really not too good for your waistline, I’ve been trying to find other delicious and more healthful things to snack on as a study.
Yesterday, I hit on two that I am completely infatuated with!

I would definitely recommend both of these snacks for people who are trying to get away from potato chips and other unhealthy snacks. I am really enjoying both of these, so I hope you get a chance to try them also! What are the snacks you are into these days? What else should I try?
Hello hello my friends! Today was Day 1 of the 30 Day Fitness Challenge. I’ll post about that shortly in a separate post.
But, before we get into the running, I wanted to share this quick little recipe. It’s a riff off of the Nom Nom Paleo Scones which I made a while back with a couple tweaks. Those scones are sweet, but these are savory and stuffed with smokey gouda cheese.
Smoked Gouda Almond Flour Scones with Tarragon and Thyme (Paleo)
Enjoy!!!
I’m sure you guys have gathered that I LOVE steak, avocado, and ginger… so naturally I put them all together in this salad for lunch. With ice cold tea, this was the perfect springy lunch. I splurged and bought an organic, grass fed Australian steak.
*The grilled ginger is rather bitter, but tossed with the salad it imparts a light gingery flavor.
🙂 Enjoy!


After months of putting off using the bike my sister gifted me, I finally got it out and took it for a good, long ride. Turns out, biking is super fun. I did 9 miles in 40 minutes and felt great. My knees definitely appreciated the break.
Anyway, after working out I bought a mini salad spinner and whipped up some salad. I thought I’d share what I made.
Steak Salad with Mint and Shaved Goat Cheese (Kaprise Kitchen original)
Easy Peasy and delicious. The mint definitely adds a unique punch and freshens up the salad.

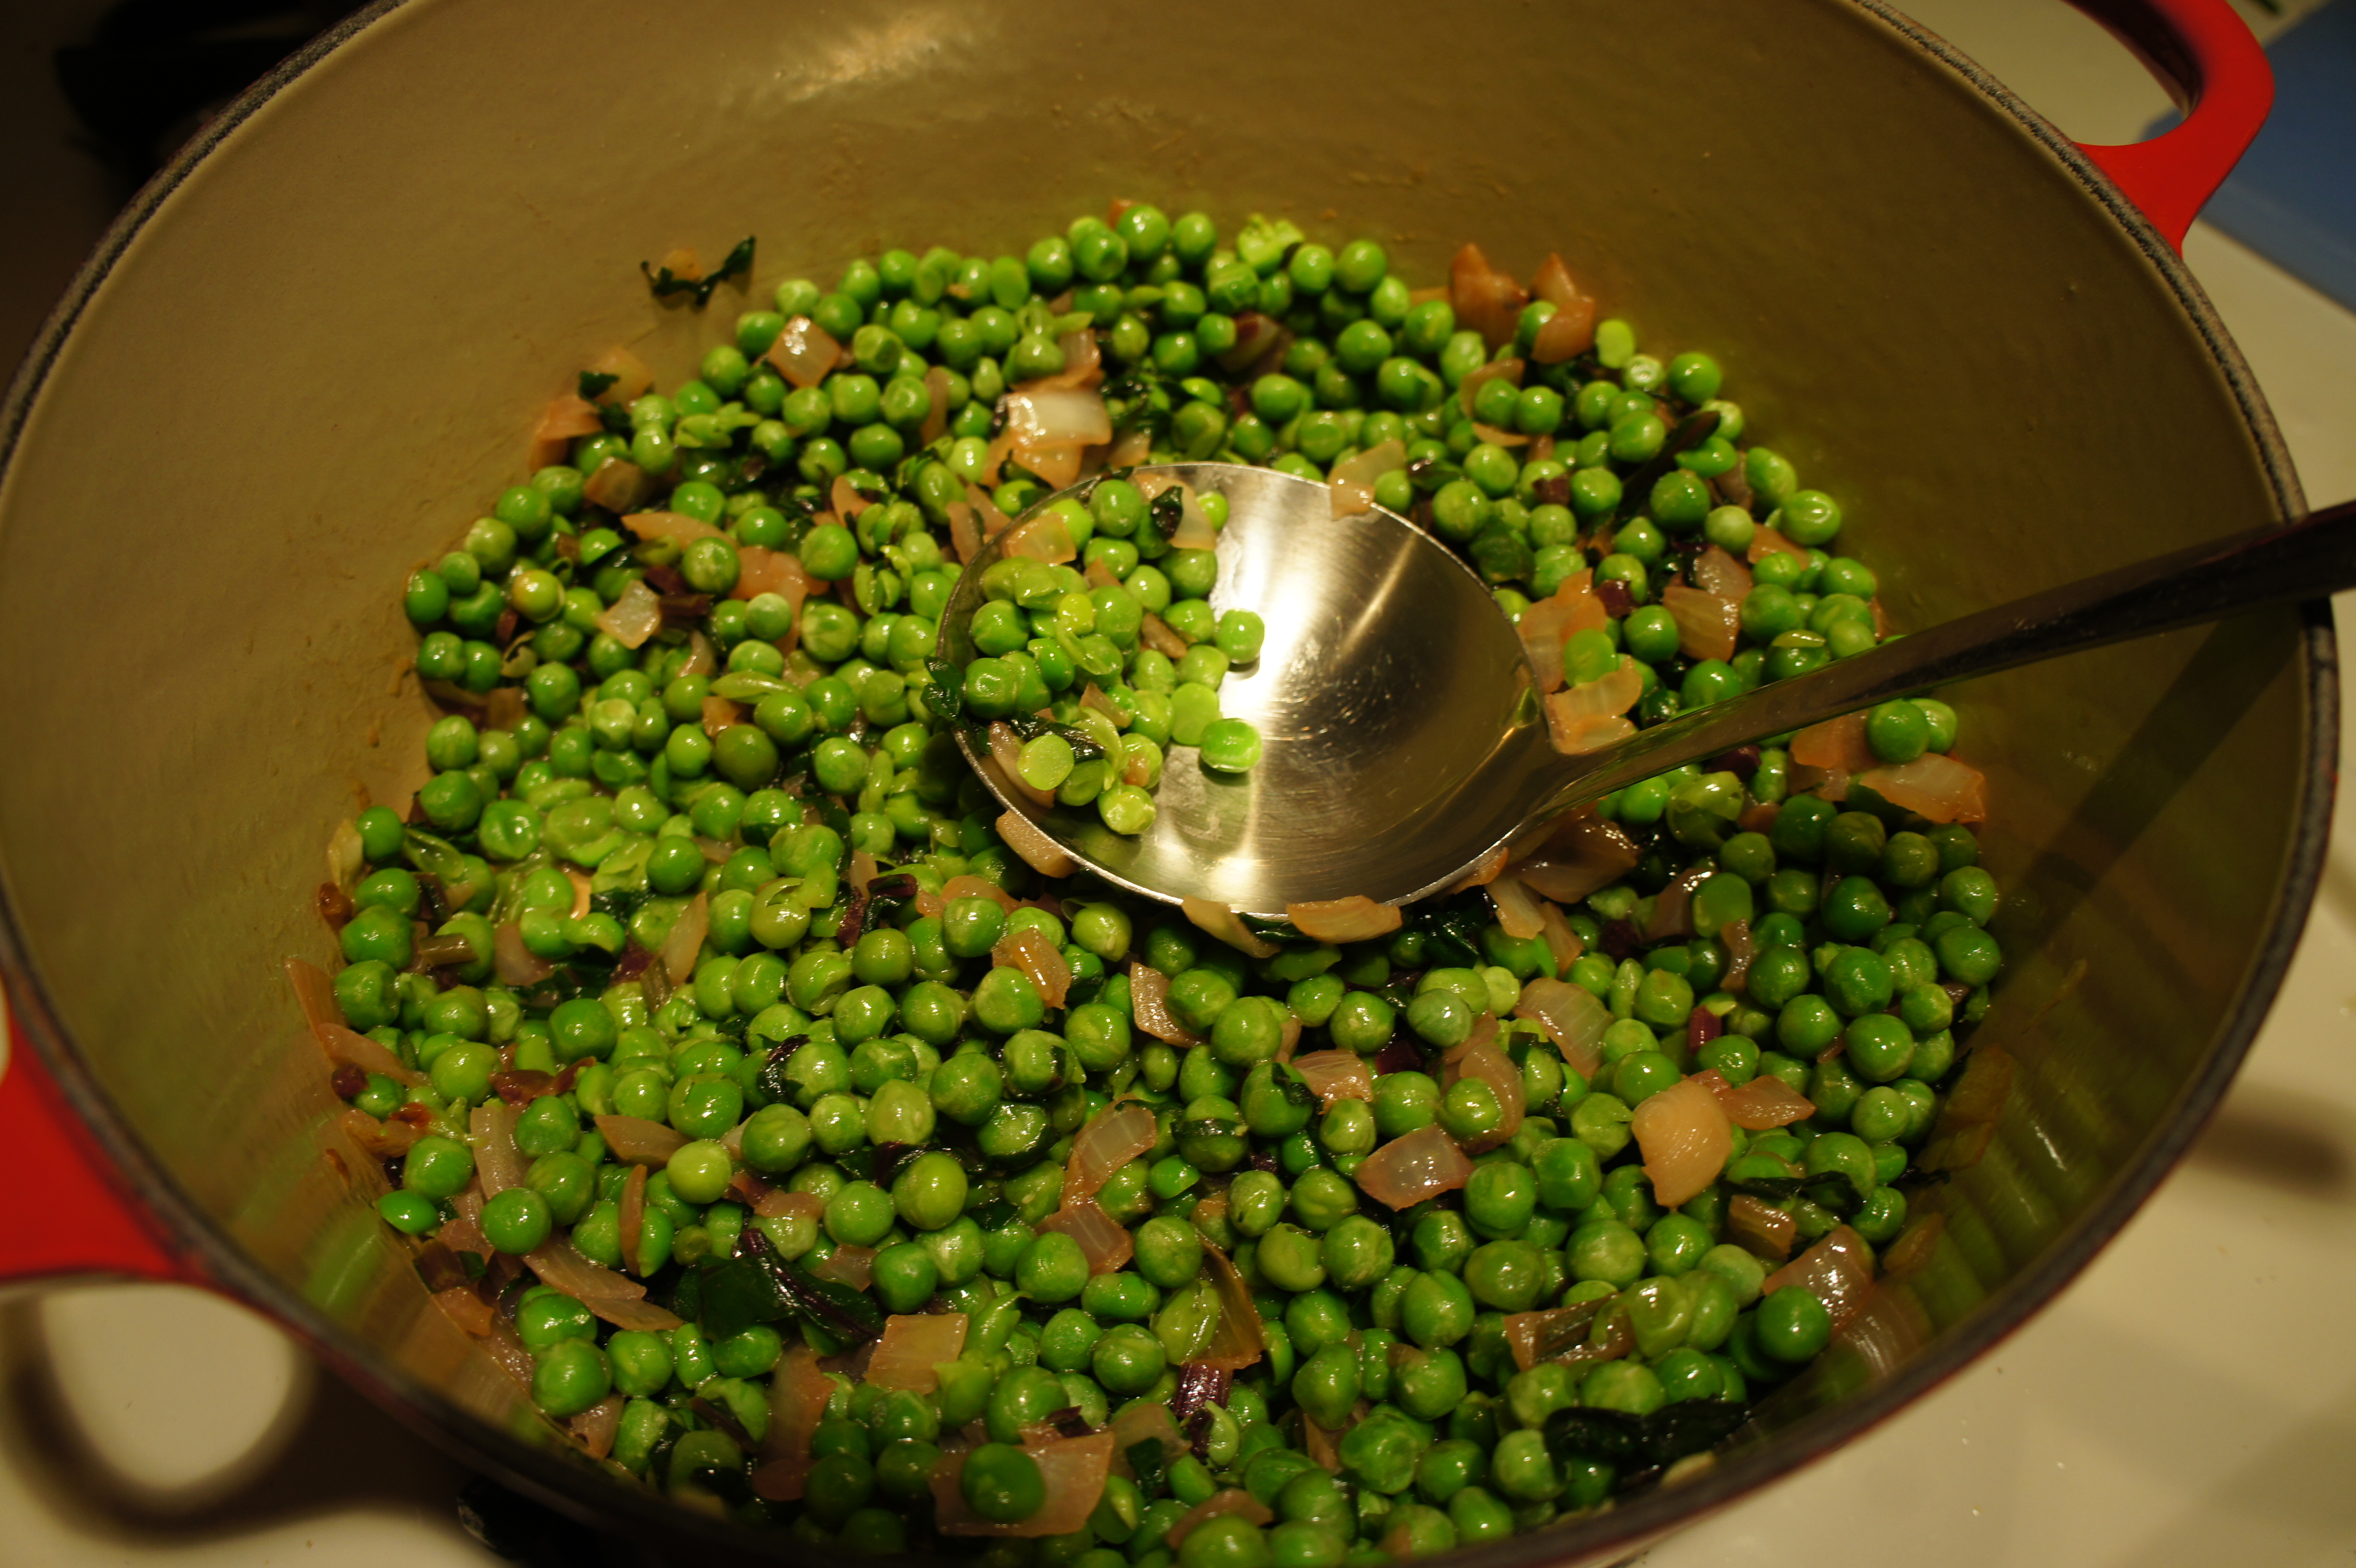
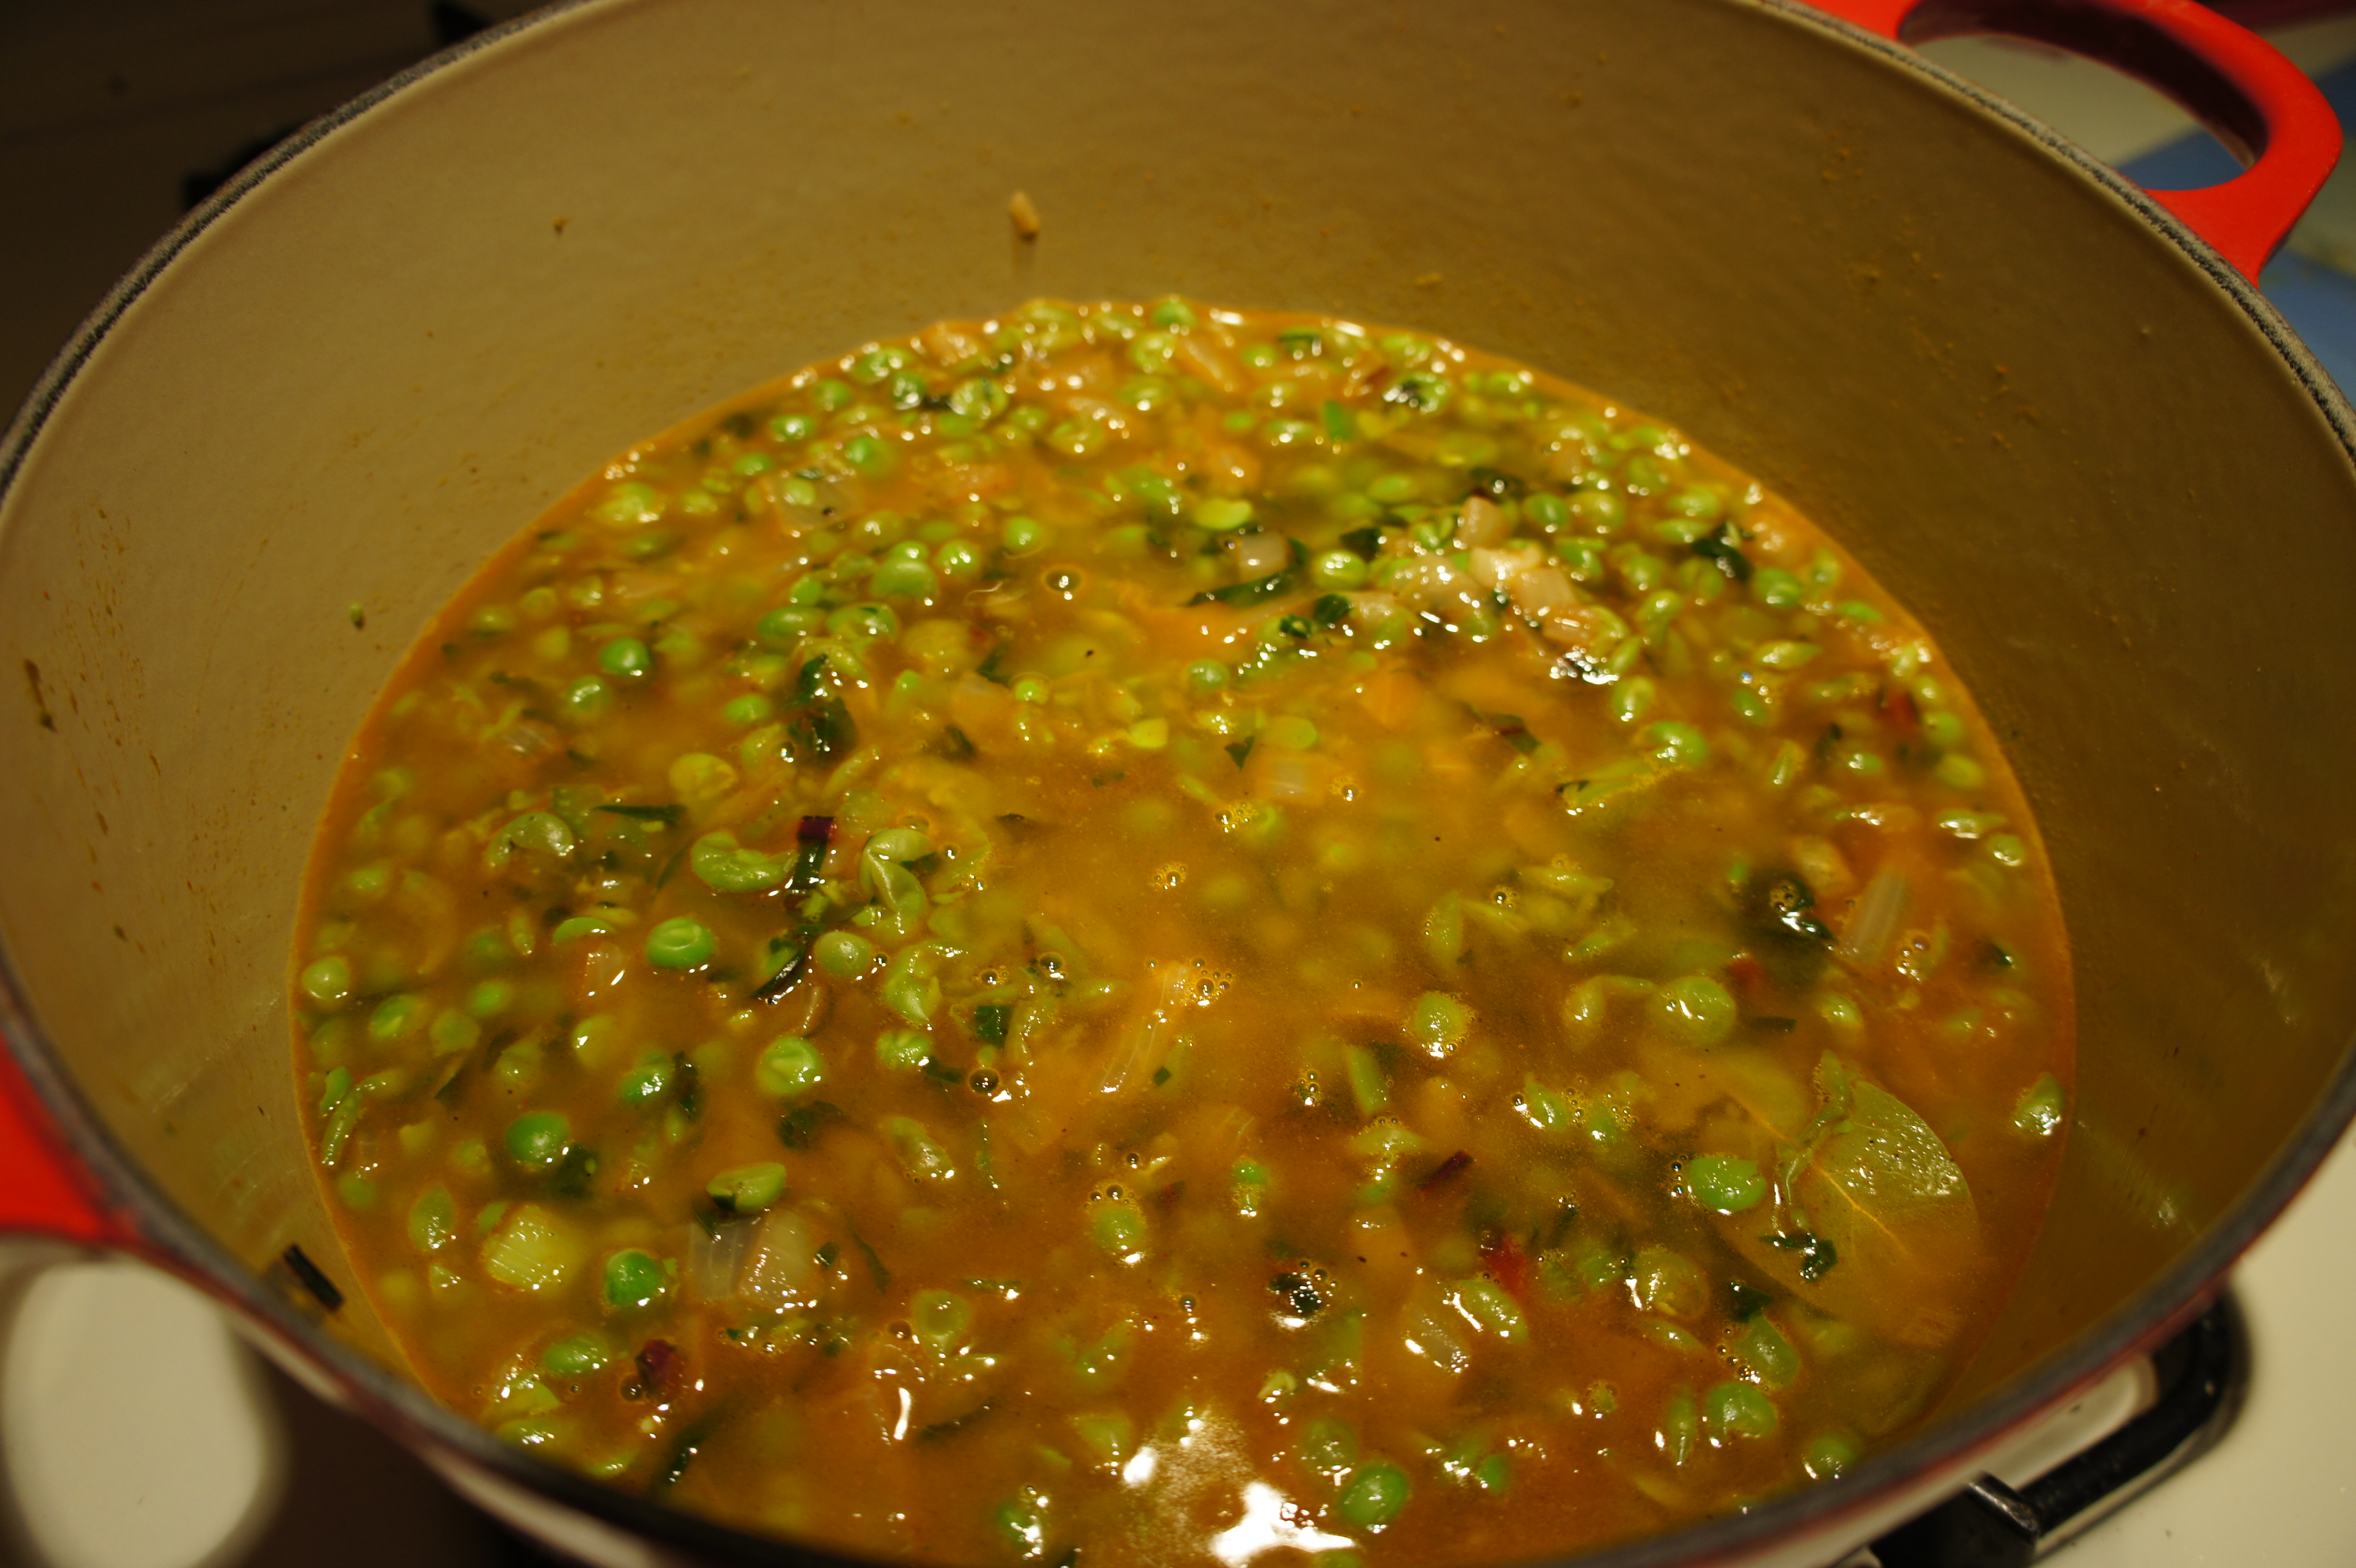
I don’t really like the idea of pea soup. I find it is always a bit too creamy or sweet or weird. Anyway, it was raining yesterday and I felt like soup. I was going to make chicken-something-something soup with some leftover chicken I had in the freezer, but then I found two bags of sad little peas and immediately changed my mind.

This soup isn’t pretty… but it sure beats the hell out of those weird pea soup recipes you see. It’s chunky, spicy and just delicious.
Spice Pea Stew (Kaprise Kitchen Original)


I first read about nanaimo bars on Closet Cooking’s website a few years back… They looked great, but I didn’t think about them again until recently. I’m not sure where I stumbled across another picture of these bars, but then I was obsessed with the idea of making them. I read a bunch of recipes before settling on Seven Spoons and Closet Cooking for my models.

Instead of making them in a 9×9 pan, I made mine in a cupcake pan so I wouldn’t have to worry about cutting the bars. I also tweaked the recipes just a little bit to accomodate the ingredients I had on hand and I scaled back the sugar since I like my cheesecake a bit tart.
I’m a huge fan of cheesecake, so next time I would double the cheesecake and 1/2 the chocolate cookie crust. However, these little bites were truly delicious and I’m glad I made them!! (Even if I feel mildly ill from eating 3 of them in a row).
Cheesecake Nanaimo Bars (adapted from Seven Spoons and Closet Cooking)
Crust:
Cheesecake filling:
Chocolate ganache topping
Put the whole pan in the fridge and let it set. These should keep for up to a week in a tightly sealed container in the refrigerator.
Enjoy!!!
I used these Guittard chips for my chocolate ganache and I am impressed. They were deliciously dark and not overly sweet. Definitely a re-buy!