What a mouthful…. both literally and figuratively. Let me tell you… these scones? Amazing. Totally and utterly drool worthy… these are the scones that you drive an extra 15 miles to a different grocery store to get the right ingredients for. These are the scones that you get heart palpitations when you see someone else reaching for the last one that you wanted to add to your tummy (in addition to the 2 others you stored in there).
Forget the whole wheat thing… these are made of nuts. Nuts!!! This will change your life forever. I mentioned the recipe by Nom Nom Paleo, but being the nudge that I am, I had to tweak it. I couldn’t help it. Anyway – here is my recipe, just adapted a bit.
Hazelnut Almond Scones with Chunky Chocolate and Cherries, a mouthful in every way (Adapted from Nom Nom Paleo)
- 2 cups of finely ground almond flour (I used Bob’s Red Mill)
- 1 cup of finely ground hazelnut mean (I used Bob’s Red Mill)
- 1 1/2 teaspoons of baking powder
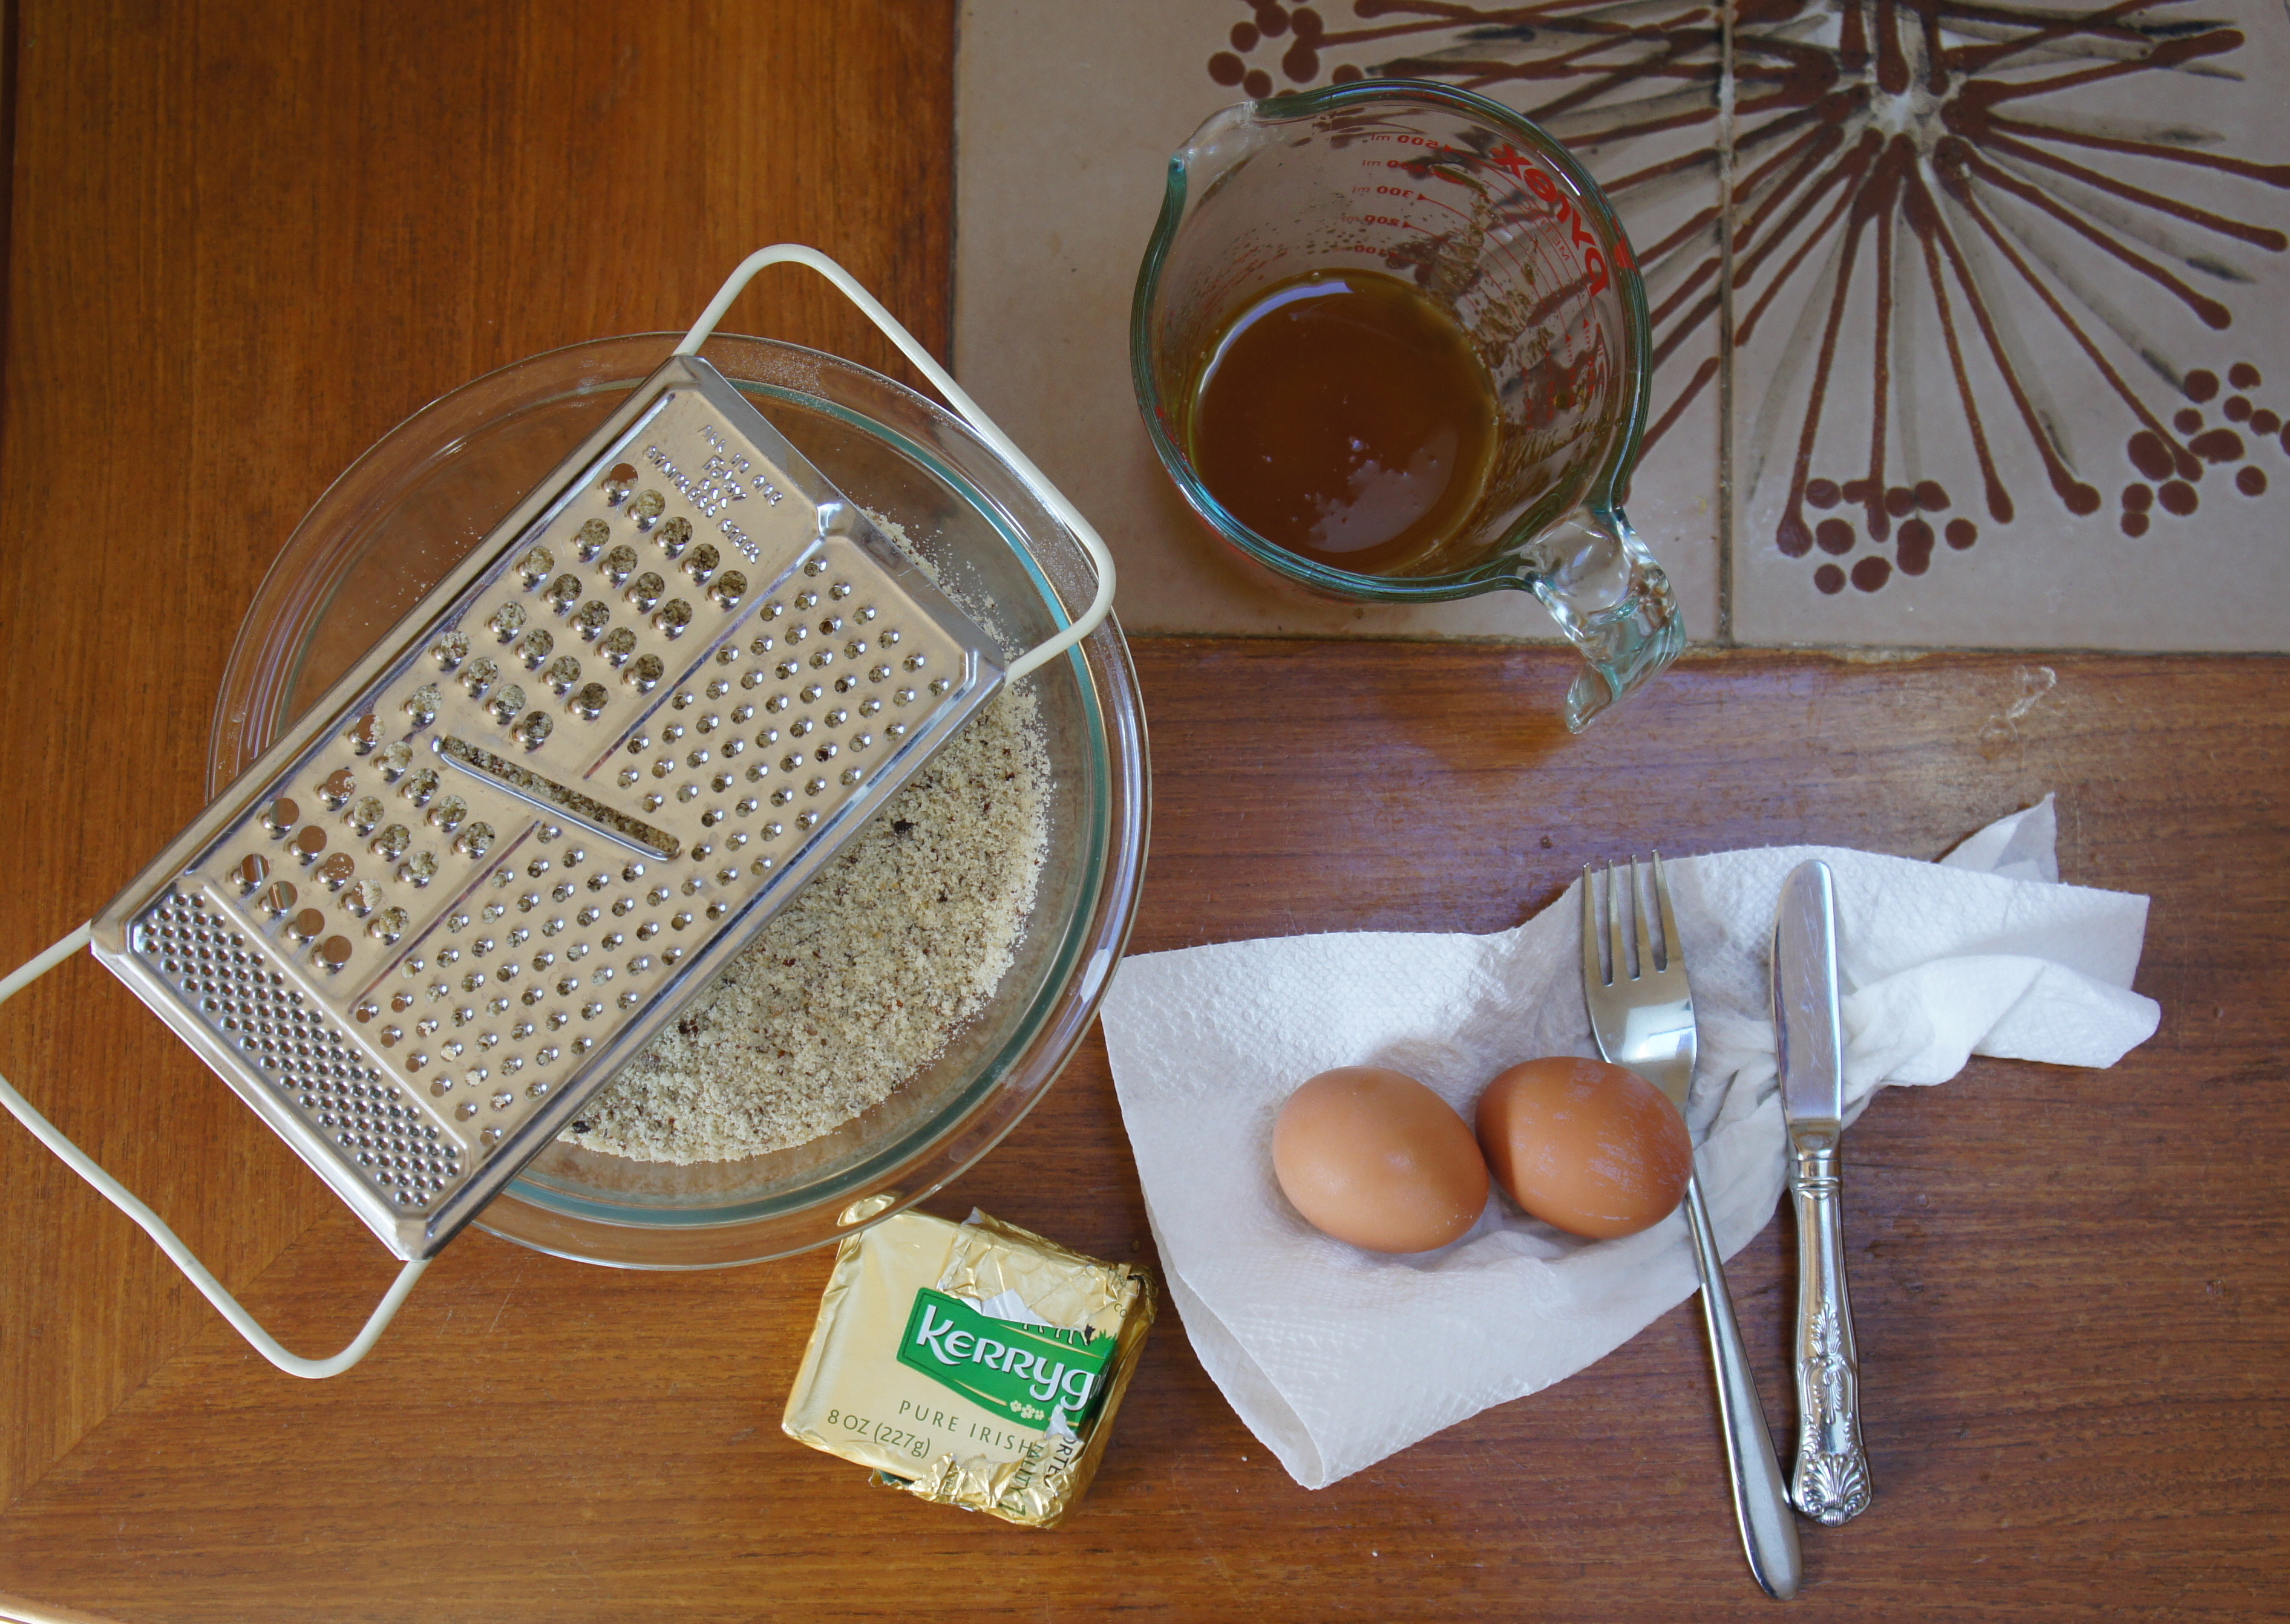
- 4 tablespoons of cold butter
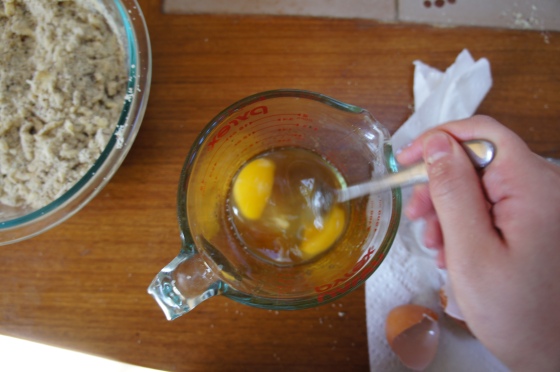
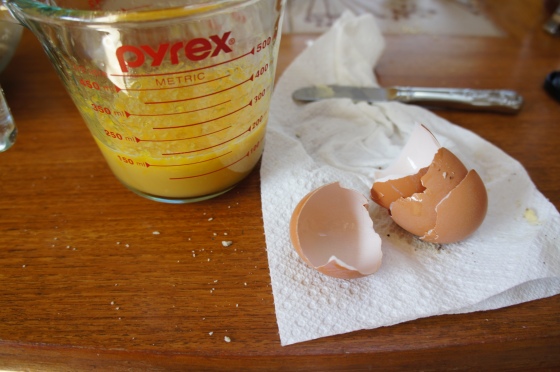
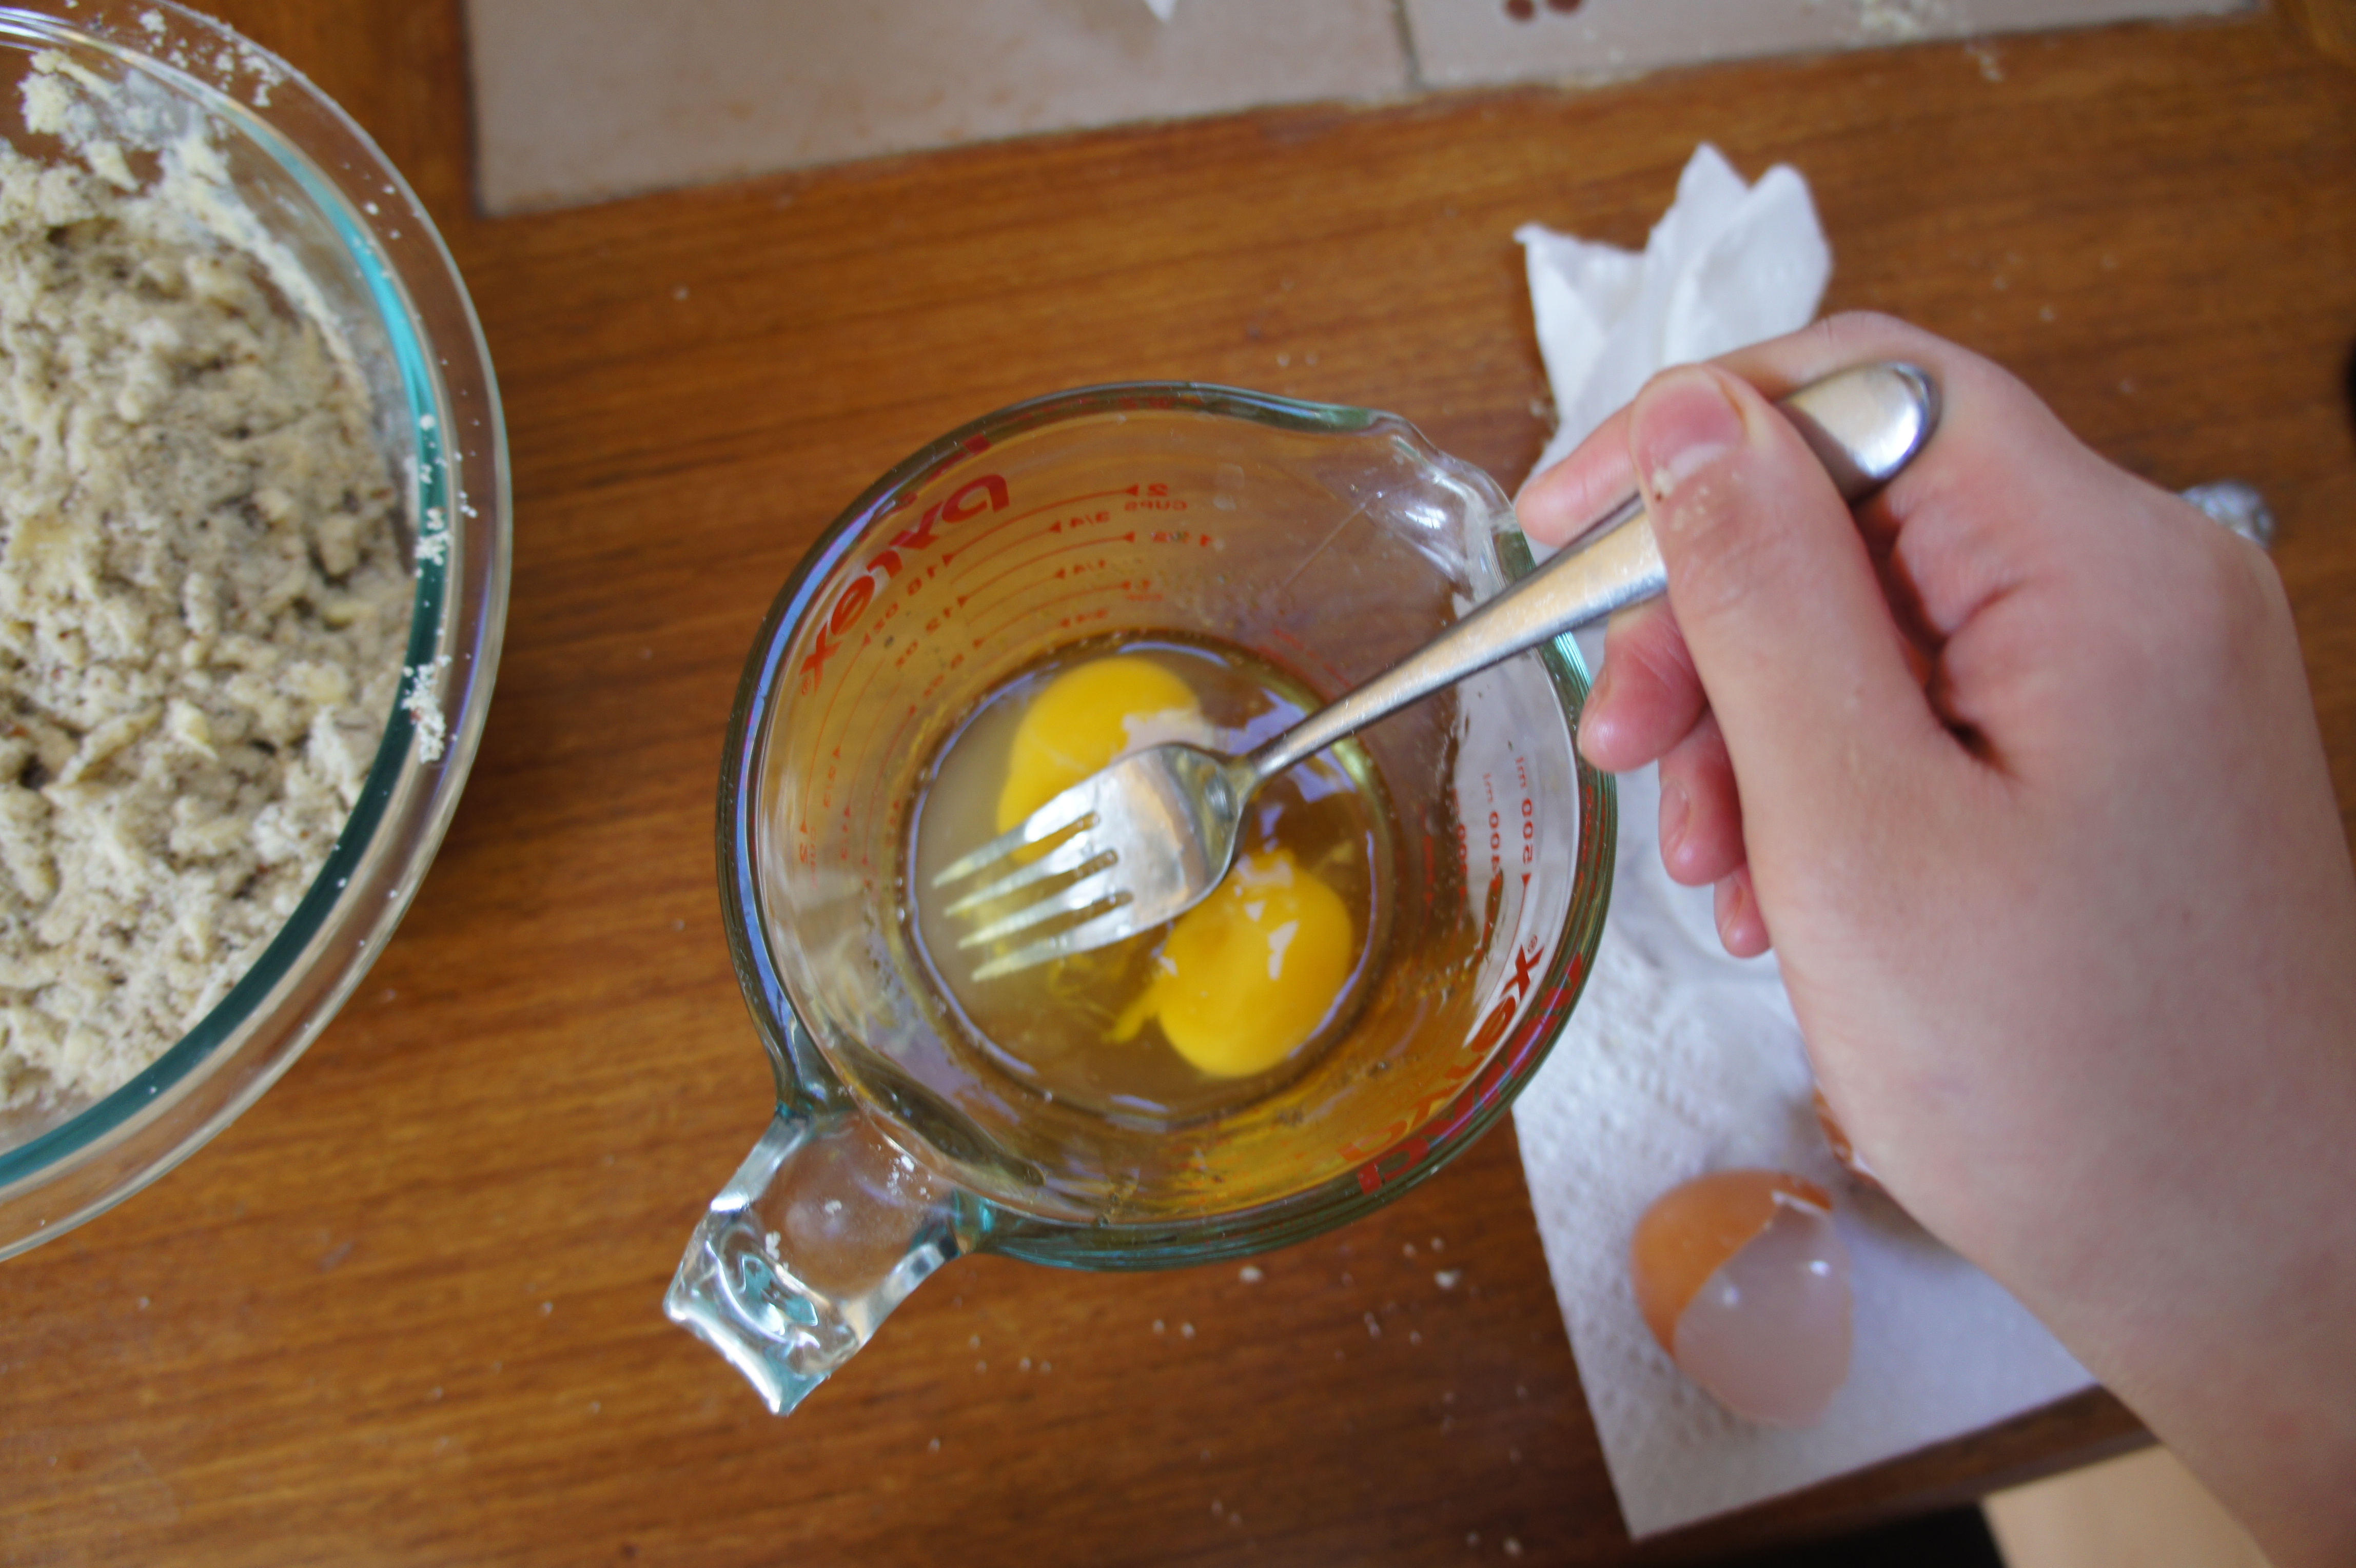
- 2 large eggs (Did I ever tell you guys about the difference in egg size?)
- 2 tablespoons of apple cider vinegar
- 2 tablespoons of honey
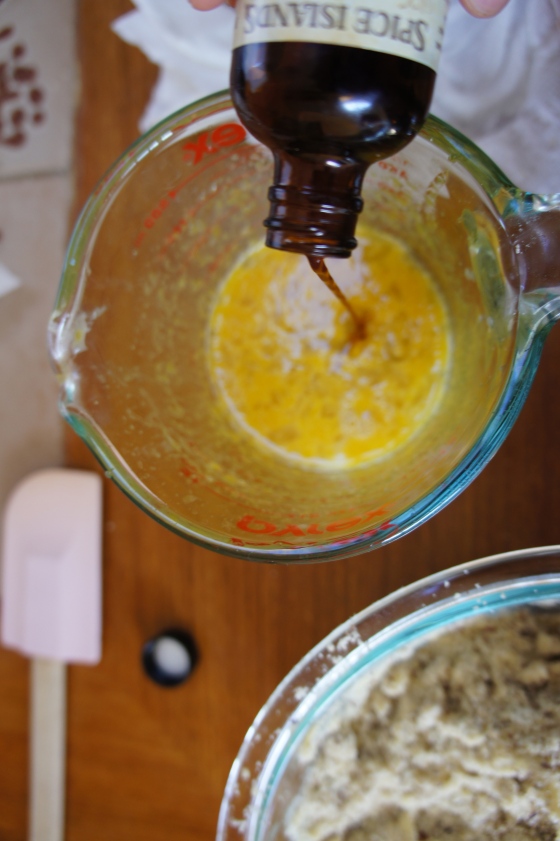
- 1 teaspoon of bourbon vanilla
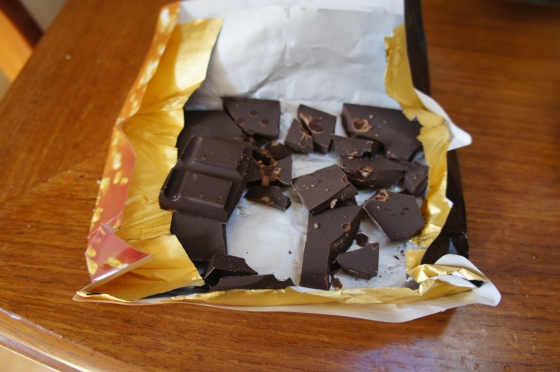
- 2 – 3 ounces of good quality dark chocolate, smashed (because baking is all about stress relief)
- 1/4 cup of dried cherries (I chopped mine in half)
- Preheat your oven to 335F (I know. It’s a weird number, but I promise it works)
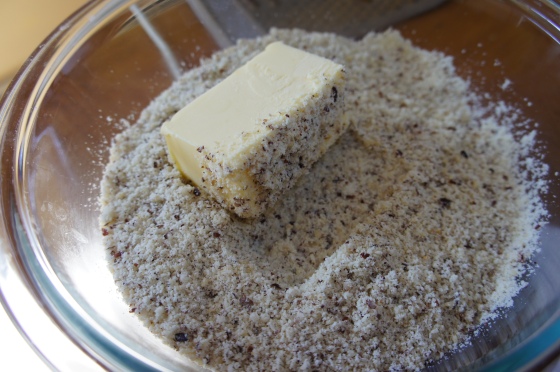
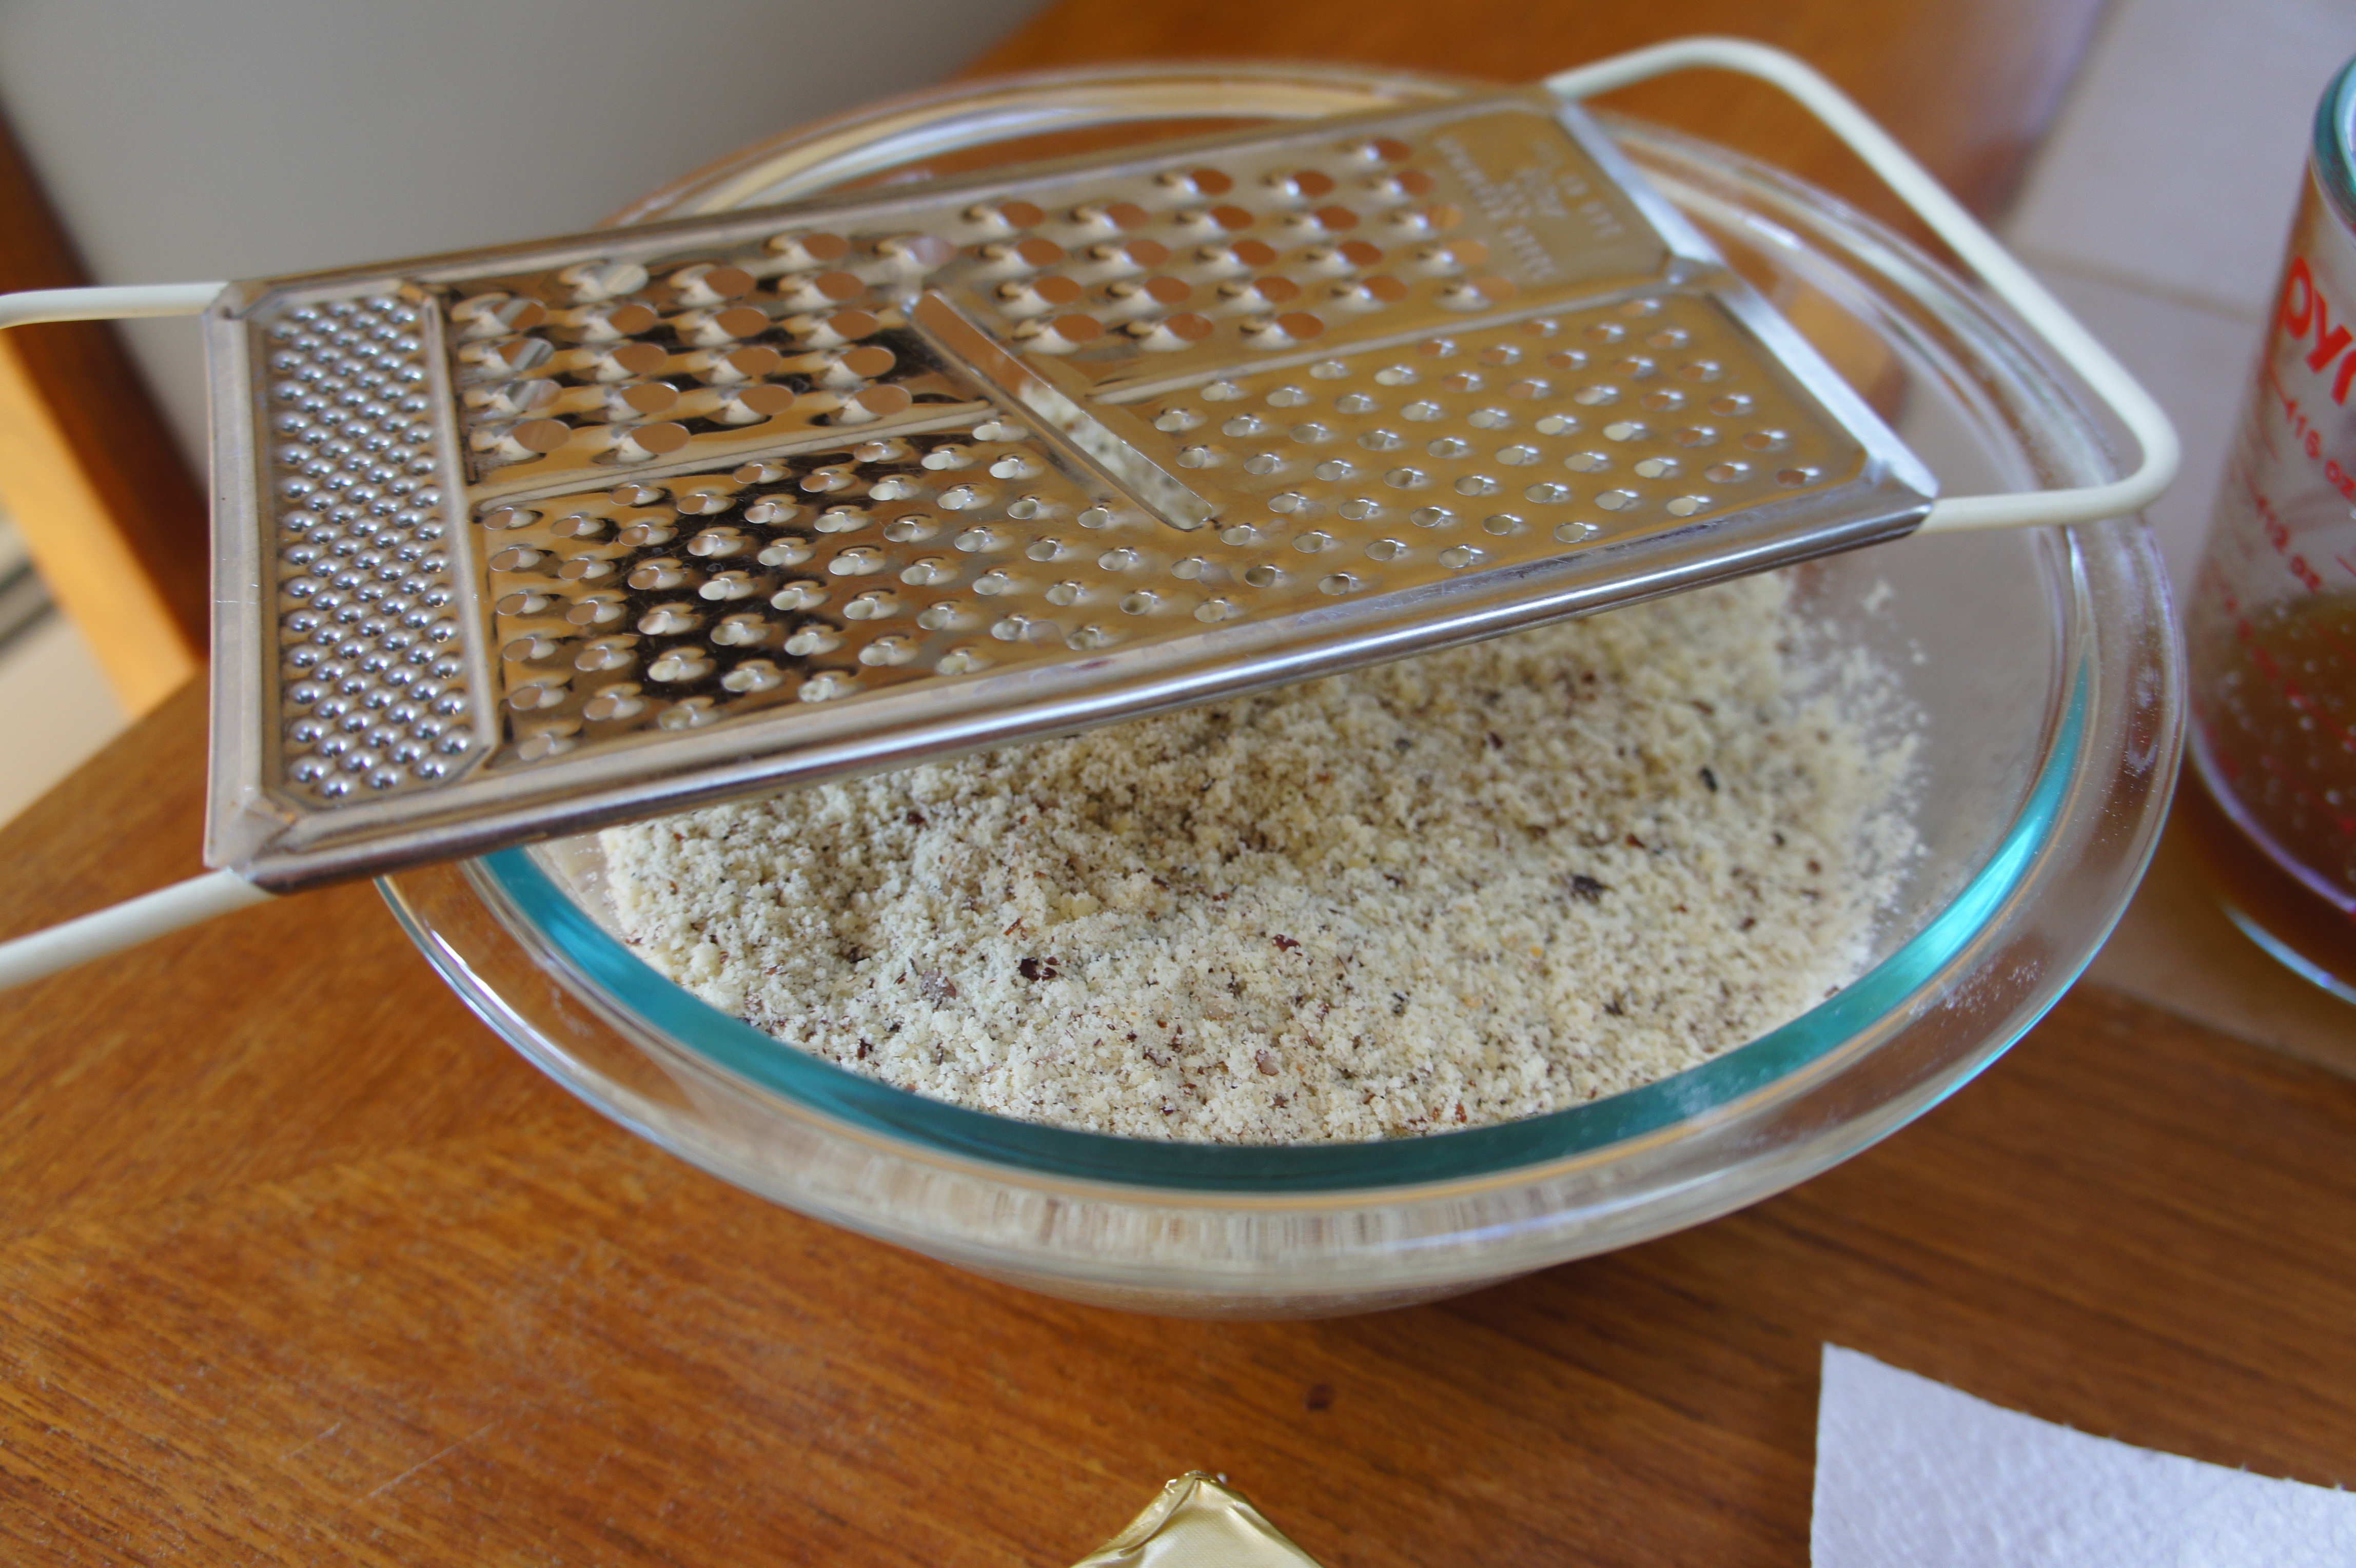
- In a large bowl, whisk together the flours, baking powder, and a pinch of salt (I didn’t use any because I used a salted chocolate and salted butter, but this is totally your call).
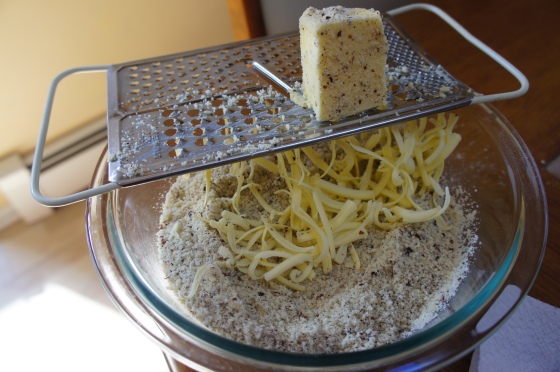
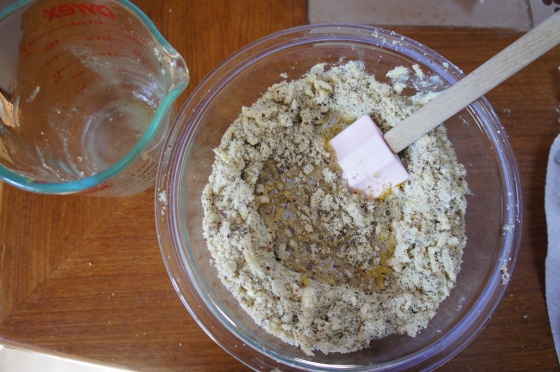
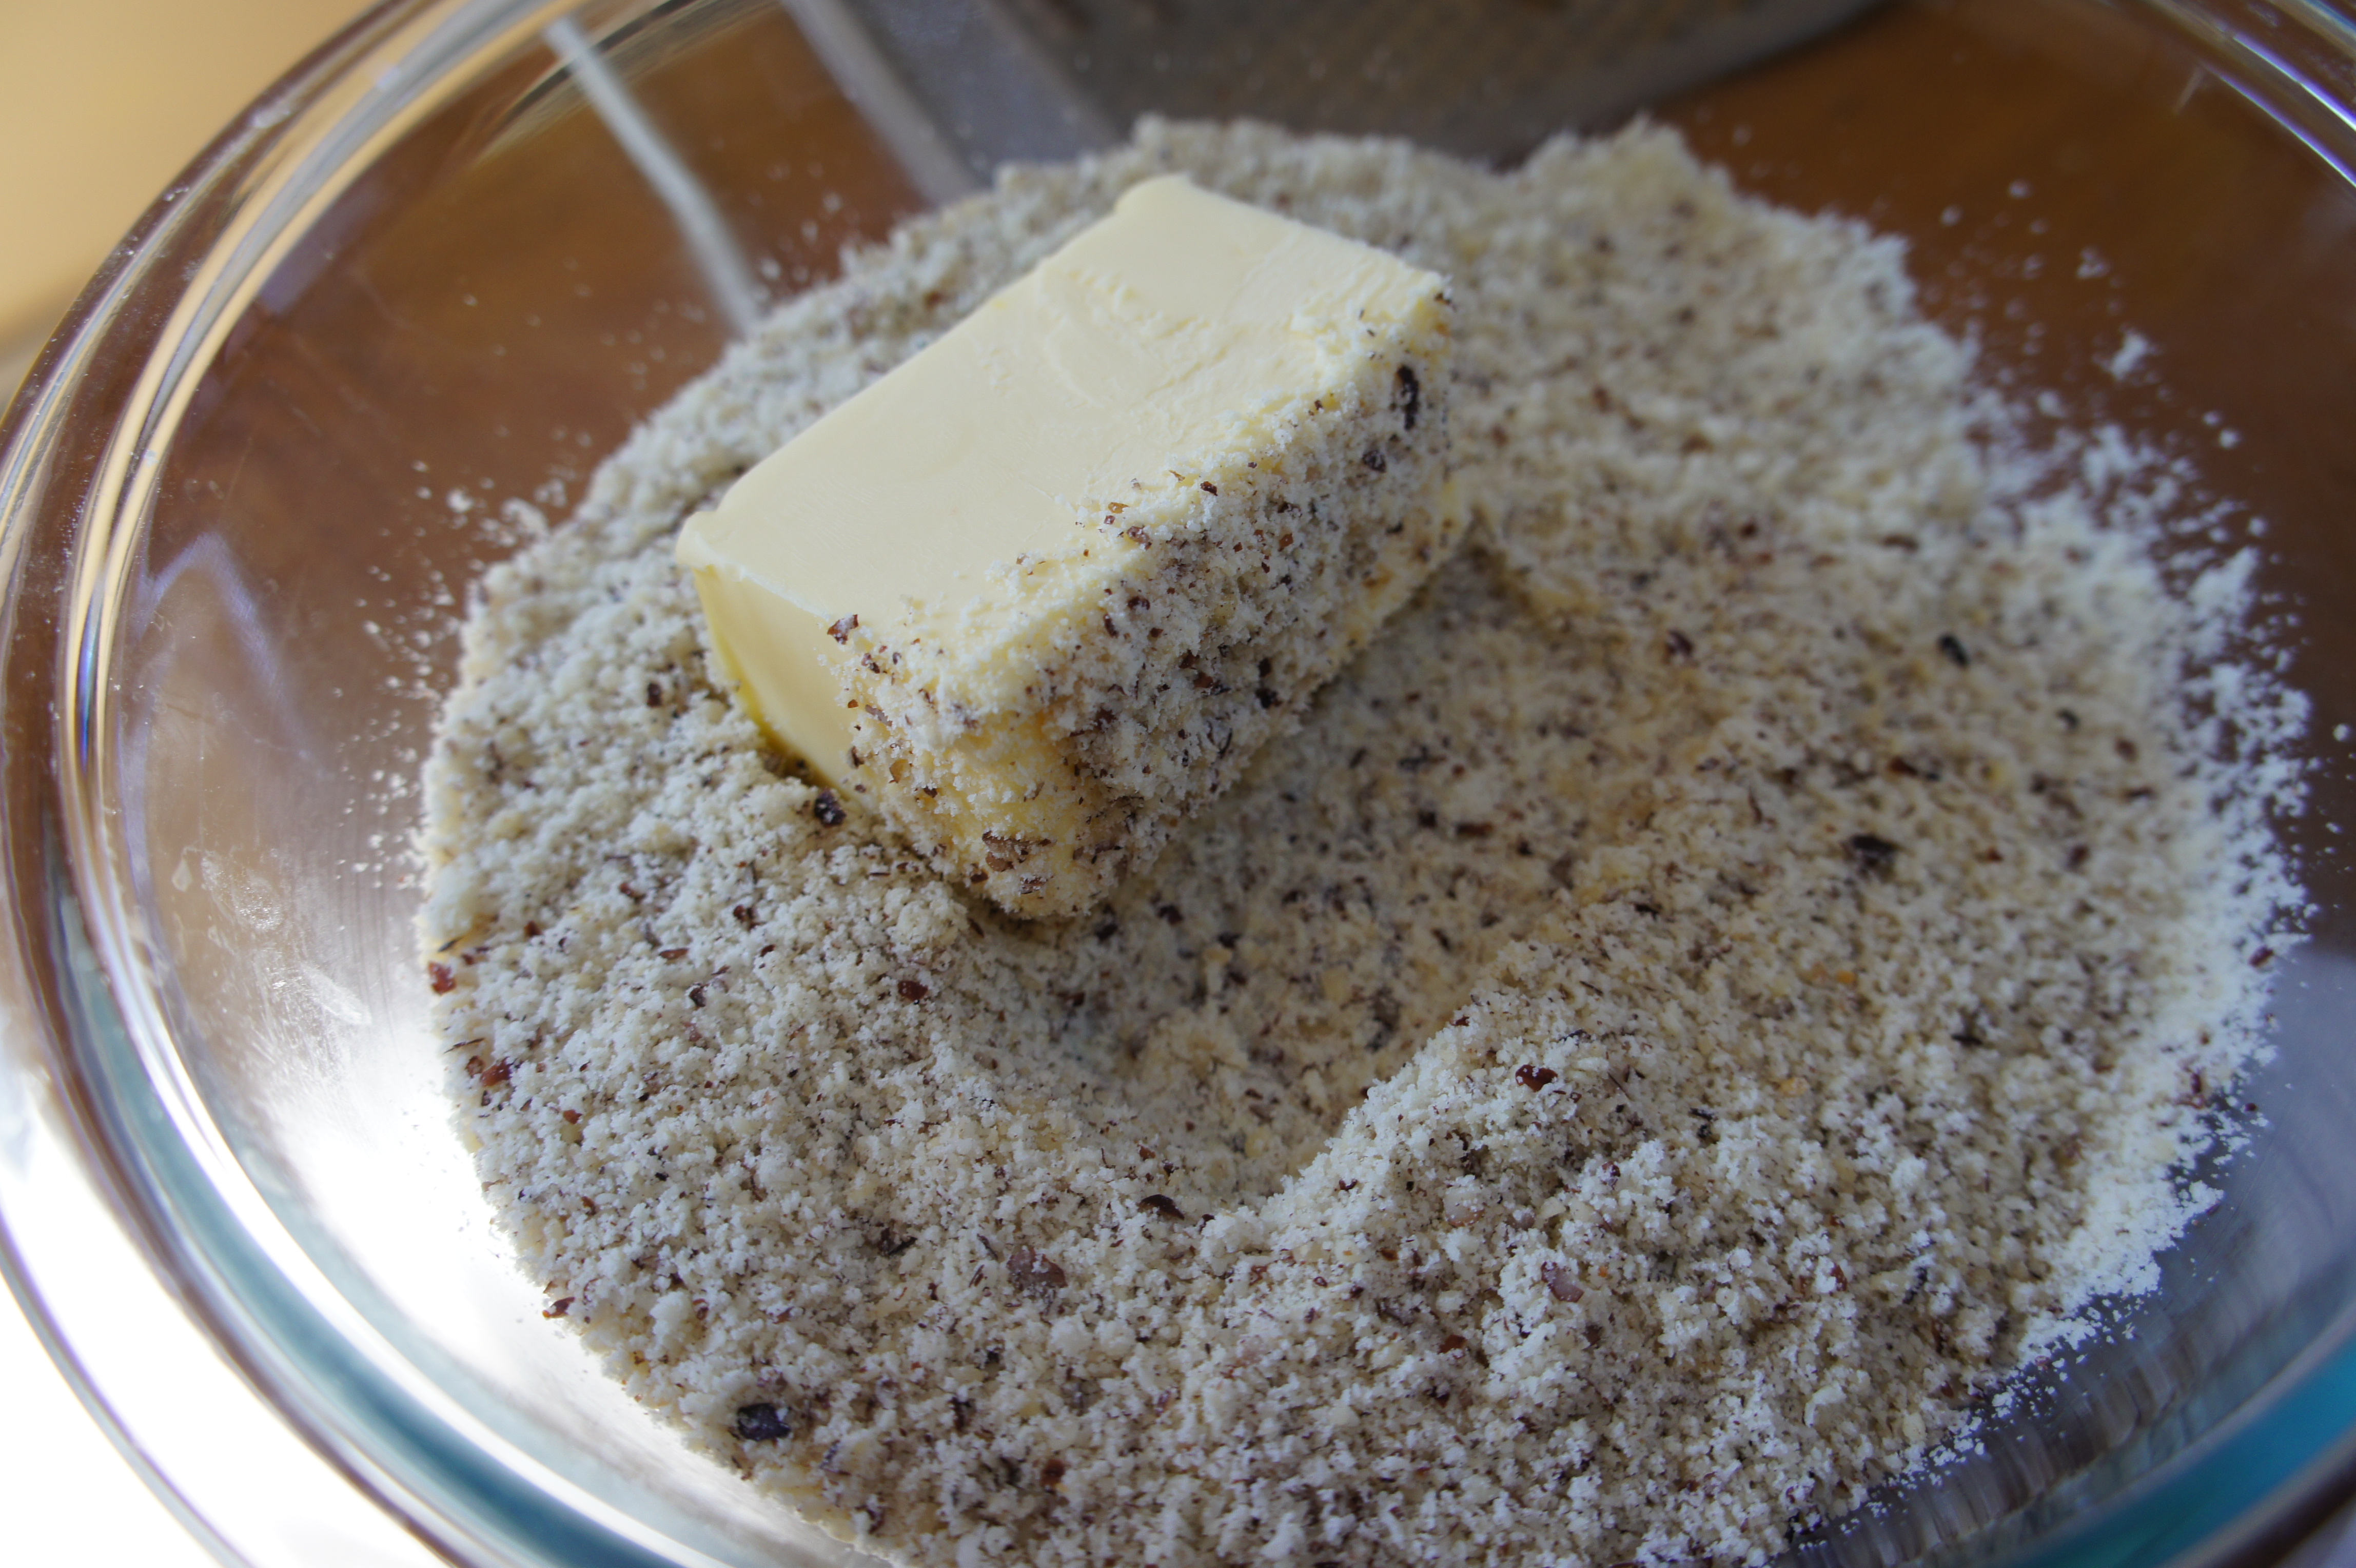
- In the dry ingredient bowl, grate the butter (using the chubby grater holes) into the dry mixture. I like to dip my butter into the flours and grate so that the grated butter doesn’t stick. You can also freeze the butter, but I normally just dip and grate.
- Once the butter has been grated, crumble the dry ingredients with the butter. Make sure you have some chunky bits. Think the pea-sized bits you want when you make good fluffy biscuits.
- In a smaller bowl, whisk together the eggs, vinegar, honey, and vanilla.
- Make a well in the butter and flour mixture and pour in the wet ingredients.
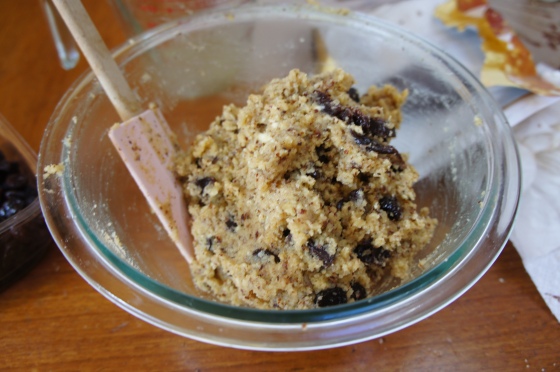
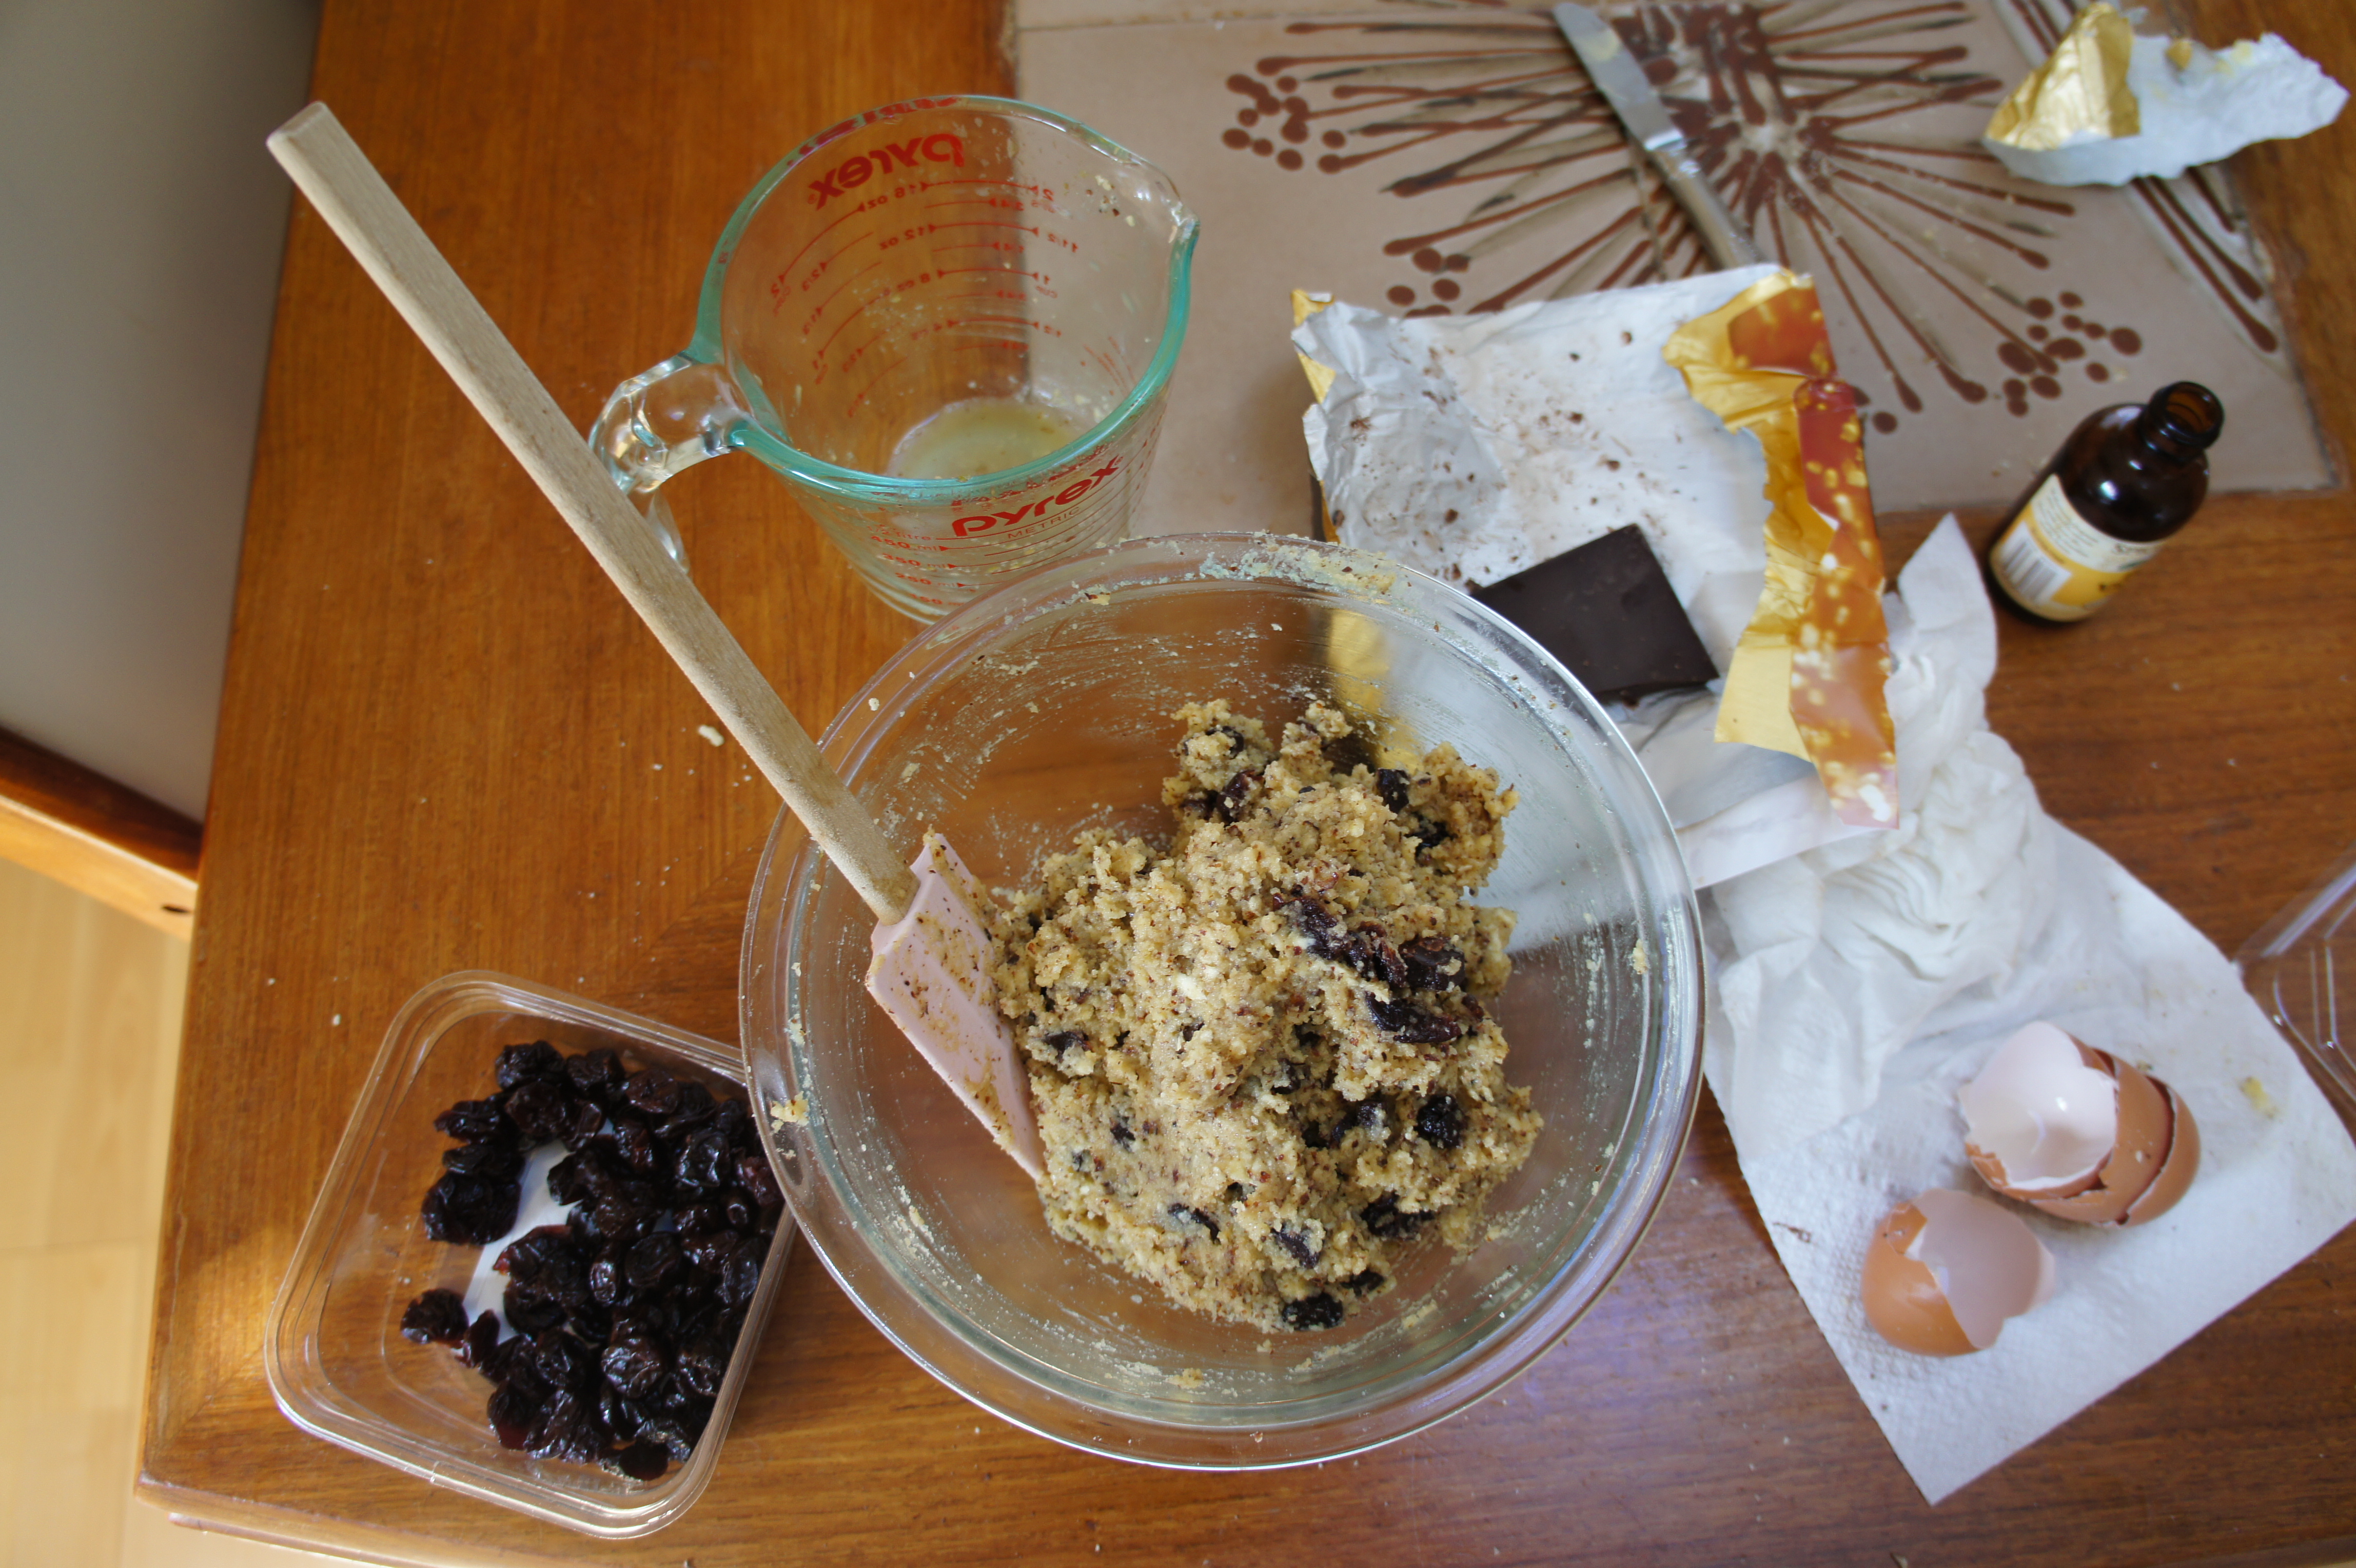
- Combine gently. Your mixture should be cohesive, but very wet.
- Gently add the chocolate and cherries. (As I mentioned above, I smashed my chocolate bar. I also used closer to 2.5 ounces because I ate some before I added it to the bowl)
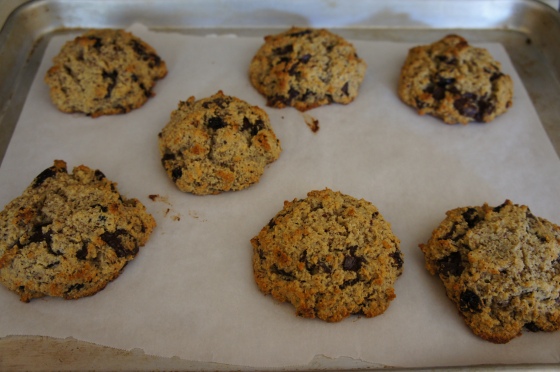
- Portion out the dough into even balls and shape on a parchment lined sheet.I managed to make seven large scones, but you can just as easily make daintier ones.
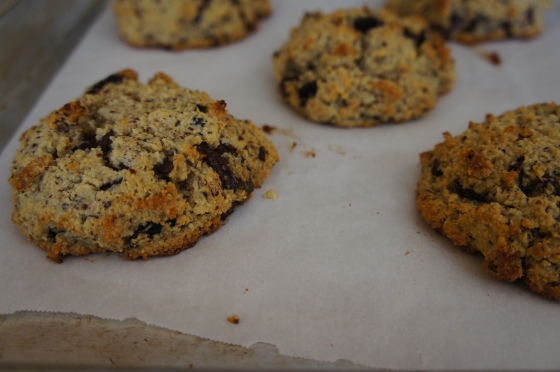
- Bake at 335F for 12 minutes before raising the temperature to 350 and rotating the pan. Bake at 350 for another 10 minutes, or until a toothpick comes out clean.
- Gobble them up!!!
Notes:
- You will notice that the original recipe used baking soda, but I chose to use baking powder because the smell of the baking soda was unnerving to me. Baking soda and powder are basically the same, except baking powder has cream of tartar in it. For whatever chemical reason, baking powder does not have the same smell. I’m weird about smells… so this made a huge difference. Keep in mind, because baking powder does contain less baking soda (leavening agent), the dramatic rise and pouf of my scones is much less dramatic. However, barring your strange obsession with smell, feel free to use baking soda for the dramatic lift and the pillowier texture.
- In the same vein, these scones are not light and fluffy… instead they are moist, a little heavier, and deliciously flavored.
- I used a cup of hazelnut flour because I saw it at the store and I figured… why the hell not. It definitely adds a certain nutty flavor and luxuriousness to these scones, but you can also just use almond flour. Also… something important to note? Hazelnut flour smells TERRIBLE, but it bakes perfectly and it loses that strange smell. They turn into beautifully nutty scones.
- I did try this recipe with 100% hazelnut flour and NO almond flour… they do not turn out the same because hazelnut flour is a great deal chunkier than almond flour. The resulting “scone” was more of a pile of semi-stuck together ground up hazelnuts. While it was delicious, they were not scone-like in nature.
- I am pretty convinced the reason these scones are just so glorious is the quality of ingredients that are used. Most of the ingredients are on the pricier side, but well worth it. I think when you use truly good quality and well sourced ingredients, everything is bound to taste delicious. I’m not really sure why this comment is included, but it popped into my head so I’m leaving it.