The Rice Crispy Treat For ONE (maybe 2)

Last weekend, in the midst of a friend’s wedding festivities, I had a thought. “Rice Crispy… yes… I need one.”
SONY DSC

The problem with purchasing Rice Crispy (or Krispy, whatever) is that you inevitably get one of those gargantuan slabs of over-sweet goop with soggy rice cereal… or even worse? It’s hard as a brick. I abhor crappy treats.

So, on my way home, I perused some recipes, and again the problem? You get an entirely obscene amount of treats. I mean… really… 6 cups of cereal? One ENTIRE bag of marshmallows? 6 tablespoons of butter? And for those of us who do live alone and have VERY little self restraint, this turns into making an entire sheet of treats, followed by stuffing it into one’s open mouth. Trust me… I know. And if you DO manage not to wolf the entire sheet of treats down in one sitting, or one day – the second day you are left with these sad, dry, and hard treats that are no longer palatable.

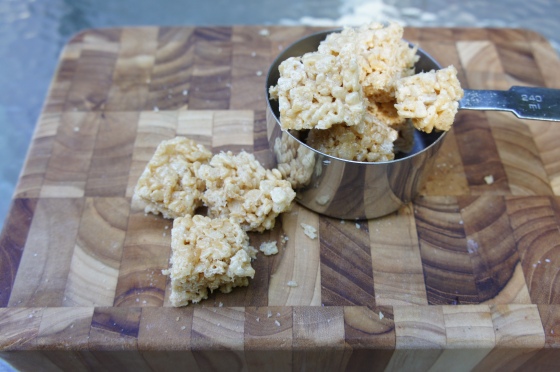
So… the only solution? To make your treats in exactly the serving size you want. I used a not-too-dainty amount of cereal, with a dab of butter and just a few marshmallows for a perfectly reasonable sized treat. You could share if you wanted to, but I recommend against it. I pressed mine, every so gently, into a resealable container before devouring mine.

Another note – I also love a caramelized treat, but one that is still chewy – which is difficult since sugar hardens as it caramelizes into that delicious brown color. To accomplish this feat in rice crispy treats? Add the marshmallows in two batches – allowing the first to take on that delicious brown hue and then adding the poufy white marshmallows at the end to just puddle into the chewy, perfectly caramelized treat you want.

Now… go forth and make multiple single serving sized treats, to inevitably end up eating an entire pan anyway! (haha!)
SONY DSC

The Rice Crispy Treat for One (Kaprise Kitchen’s way of eating ONE treat at a time)

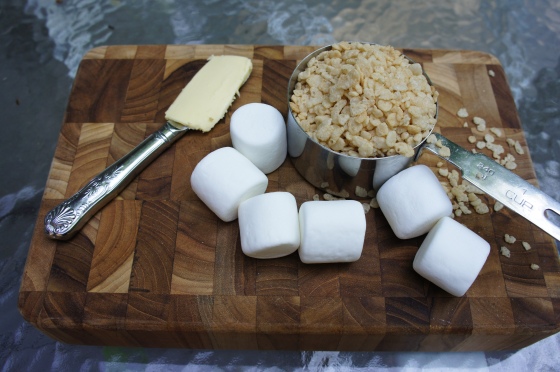
  • 1 cup of rice cereal – I used the classic Kellogg’s
  • 1 teaspoon of butter – I used salted Kerrygold here
  • 6 standard sized marshmallows – Jet Puffed for me. Use the normal sized ones – not those humongous roasting ones they have these days, or those mini-me’s.
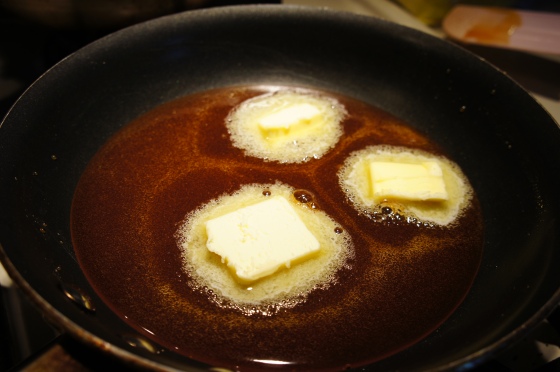
  1. Heat butter in a small saucepan until melted, medium/low heat
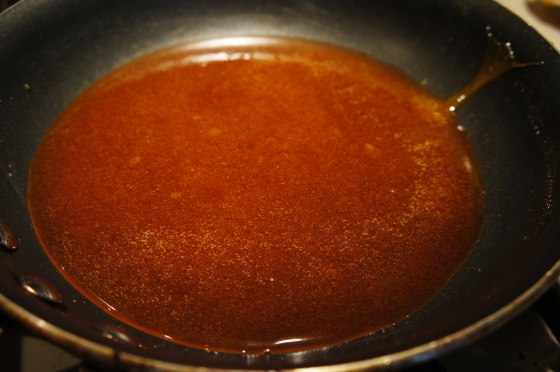
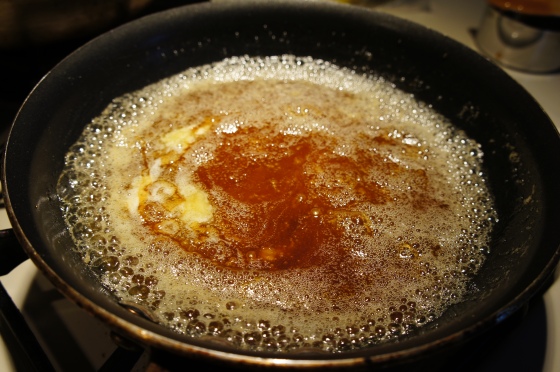
  2. Add 3 marshmallows, stir until melted and caramelized
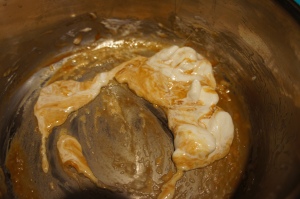
  3. Remove the saucepan from the heat, and stir in the remaining marshmallows (I tear these into smaller pieces so that they melt quickly). Your mixture should look something like this: a mix of just melted, and caramelized. SONY DSC
  4. Add cereal, stir until coated
  5. Gently press the cereal into a small container, lined with parchment paper.
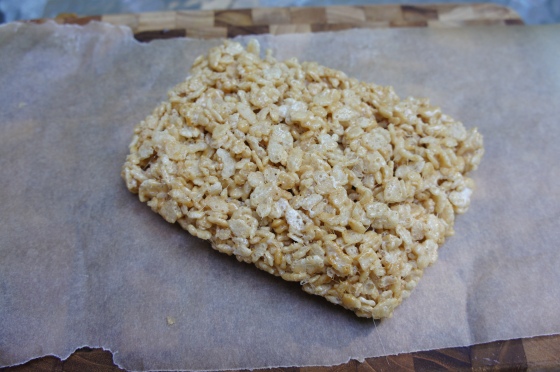
  6. Once cooled, removed the treat from the container, and slice with a sharp knife into perfect bite sized pieces like I did! Or… dig in! **Remember, heated sugar is very hot, so please be sure to let your perfect rice crispy cool enough**
SONY DSC

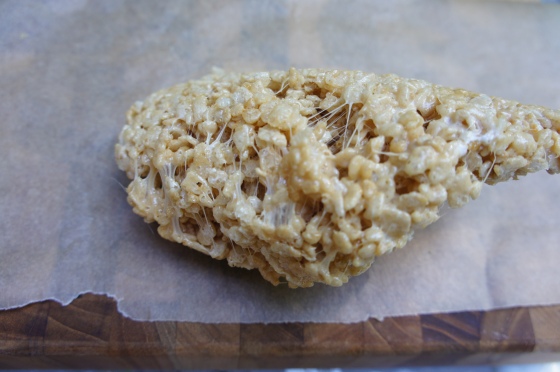
Perfectly gooey and caramelized at the same time! :)SONY DSC
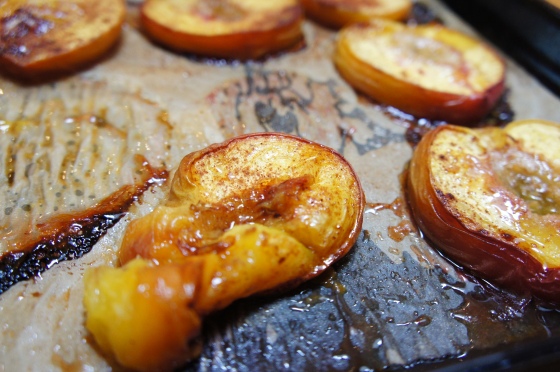
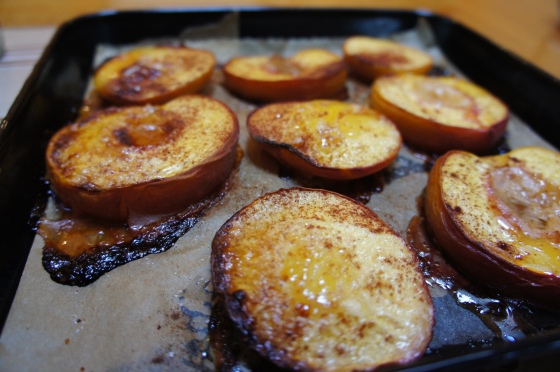
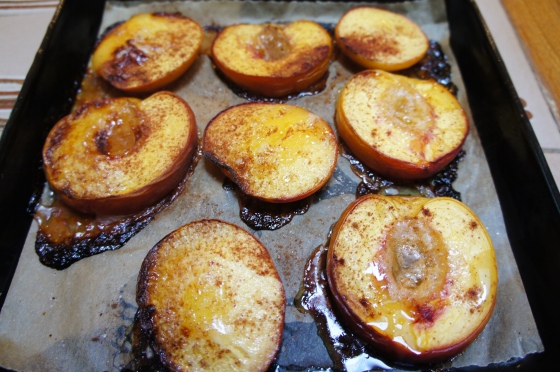
Caramelized Peaches with Cinnamon

Oh hi friends. I meant to write you this amazing recipe for garlic scape pasta salad. I made it, tasted and yum-yummed, took pictures, and then put it in the fridge. The next day, I pulled it out for lunch and it was TERRIBLE. Seriously. What a waste of scapes.

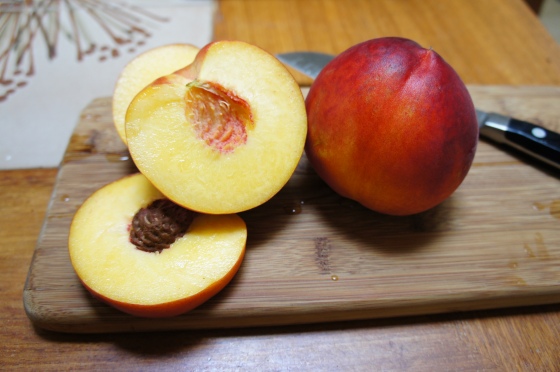
Pantyways (I say that in real life… isn’t that embarrassing?) I went to the store and as I was floating past the fruit for the vegetables, these peaches caught my eye. PEACHES. People!!! Peaches are my ultimate food kryptonite because I’m allergic and I LOVE them. And you know I have so little control over my food-related impulses that before I knew it, I had paid and was loading a dozen beautiful and fuzzy peaches into my car.
So, like a lot of things I’m allergic too, I CAN eat them once the items are cooked. Unfortunately for most things this totally ruins it. Like seriously… the point of eating an apple is to get that juicy crunch and the satisfaction of crunching the fruit! CRUNCH man, CRUNCH! (Can you tell I drank a bit of caffeine today???).

Well… let me tell you, my friends, this? This is the absolute way one should consume peaches. I know it’s hot and gross out, but these hot little peach slices are just amazing over coconut ice cream and I don’t get hives from eating them! Win-win!

Now, I have a little convection toaster oven, which makes this particular dessert a snap to make. If you do not have one, feel free to use your oven. I would just suggest batching this baking with some other baking you need to do so that you optimize the time your oven is on and steaming you out of your home.

SONY DSC

Alright… This really isn’t much of a recipe, but it’s amazing!!

Caramelized Peaches with Cinnamon (Kaprise Kitchen’s solution to peaches)

  • 2 large peaches, firm
  • 1 teaspoon of cane sugar
  • 1/2 teaspoon of salt
  • 1 tablespoon of lemon juice
  • 1 teaspoon of cinnamon
  • 1 teaspoon of butter
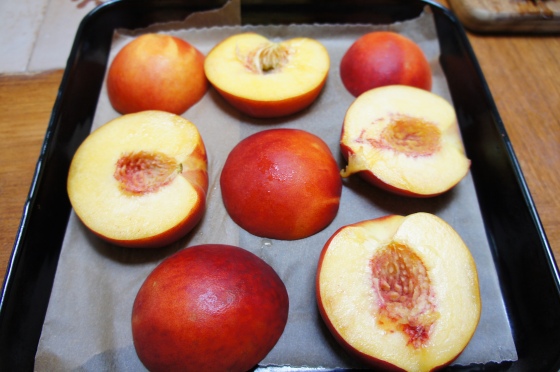
  1. Slice peaches into 4 slices. I just mine in half and then half again.
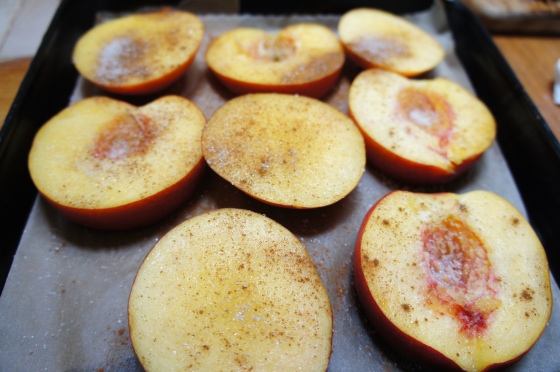
  2. Sprinkle each slice with salt
  3. Sprinkle each slice with a little lemon juice and then the sugar.
  4. Dust cinnamon over the slices
  5. Dot the surface of the peaches with butter
  6. Bake at 400 degrees on a parchment lined pan for 50 minutes.
  7. Enjoy. Seriously… you should let it cool for like 10 minutes so you don’t burn yourself because I have a fat lip from burning it with peaches. True story bro.

SONY DSC SONY DSC SONY DSC SONY DSC SONY DSC SONY DSC

Grilled Nectarine Coconut Lemon Chia Seed Ice Pops

What a mouthful!!!

Do you say ice pop or popsicle? The area I grew up in has some quirky vernacular, or so I’m told. When I first moved to Baltimore, someone told me that I spoke funny. Haha.

Anyway. I’ve been looking at ice pop recipes all over the internet and really getting into them, but when I saw Joy’s gorgeous Roasted Strawberry Popsicles I immediately got my butt in gear to make them. I didn’t have a popsicle mold, so I spent the better part of the morning hunting one down. The one I found at the craft store was hideous, but I found this adorable one at Marshall’s. It was 2xs more expensive… but you know, I have little control over my food-related impulses. Very little.

SONY DSC

Right on. Here we go.

Grilled Nectarine Coconut Lemon Chia Seed Ice Pops (Inspired by Joy)

  • 13.5 ounces of whole coconut milk (about one can)
  • 1/4 cup of chia seeds
  • 2 tablespoons of maple syrup
  • Zest of one organic lemon
  • Juice of one organic lemon
  • 1 nectarine, sliced
  • 1 teaspoon of coconut oil, melted
  1. In a medium bowl, whisk together the coconut milk, chia seed, maple syrup, lemon juice, and lemon zest until well combined.
  2. Set aside the chia/coconut mixture
  3. Heat up a the grill (or you can just use a broiler!!).
  4. Brush the nectarine slices with some coconut oil, and grill for a few minutes on each side, until tender.
  5. Once your nectarine slices have cooked, chop them into bite size pieces and mash just lightly in a small bowl
  6. Once the chia seeds have plumped up (it took mine about 40 minutes), begin assembling your pops
  7. Start with the chia/coconut mixture, tapping the ice pop forms gently on the table to remove air bubbles. Add a spoonful of nectarine, tapping gently to remove bubbles and get even layers.
  8. Freeze for several hours, or until set.
  9. Serve!!!
  10. My ice pop mold is quite small, but I saved the remaining chia/coconut mixture in the refrigerator and refill the molds as I eat the pops.

Enjoy!!!!!


SONY DSC SONY DSC SONY DSC SONY DSC


Gingery Tea Jello

There was a period in time where I made and consumed jello ALL the time. I used to put 7-Up in it to make it bubbly… like champagne! I’d always leave a little water out because I liked my jello firm and bouncy so I could play with it before gulping it down.

SONY DSC

Anyway, I was thinking about jello yesterday, and after doing a little digging I decided I wanted to make my jello with tea like I saw here. I’ve been thinking of ways to get rid of the extra Camomile Citrus tea from Mighty Leaf that I bought when I was sick a couple months back, and this seemed like the perfect idea. You guys also know I’m “kinda” obsessed with ginger these days, so I  added that and some good raw honey I had. Seriously… AMAZING. They are just lightly scented with tea and have an awesome kick of spicy ginger and just a bit of sweetness from the honey. I definitely recommend brewing the tea, ginger, and honey together so you can adjust depending on your person preferences, but here is the formula I used for my little blocks of jello.

Oh… Did I mention that you can look at a ton of super awesome jello ideas here?? And, Victoria is SUPER nice and helpful. She even gave me awesome tips of how to use that Nordic Ware pan I’ve had for months and only used once.

Oh… (2x) did you know that jello is paleo friendly??

Gingery Tea Jello (Inspired by the Domestocrat and Victoria)

  • 0.75 ounces of powdered gelatin
  • 2 cups of boiling water
  • 1 cup of room temperature water
  • 2 tea bags
  • 2 tablespoons of grated ginger
  • 2 tablespoons of raw honey
  1. Bring a pot/kettle of water to boil. You need 2 cups, so make sure to boil enough
  2. In a large heatproof bowl, add one cup of room temperature and 0.75 ounces of powdered gelatin. Stir.
  3. In a teapot, combine two cups of boiling water with your tea bags of choice, raw honey, and grated ginger. Allow the tea and ginger to steep for 5 minutes. Stirring occasionally to break up the raw honey. Taste the mixture and adjust sweetness and ginger accordingly.
  4. Strain the hot tea to remove the grated ginger, and whisk the hot tea into the bowl with the gelatin.Make sure all of the gelatin is completely dissolved.
  5. Pour into molds or into a glass Pyrex (like I did)
  6. Chill for a couple hours, until set, and enjoy!!!

What about you? Do you like jello?? What do you think about this kind of jello?

SONY DSC

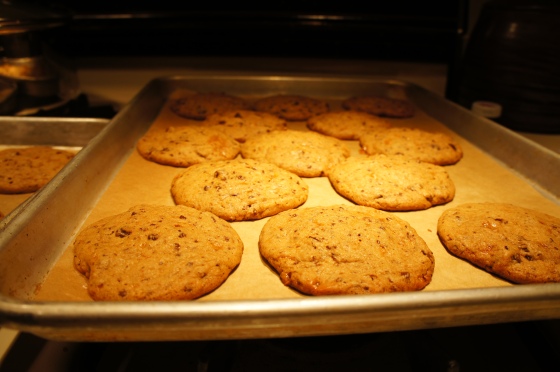
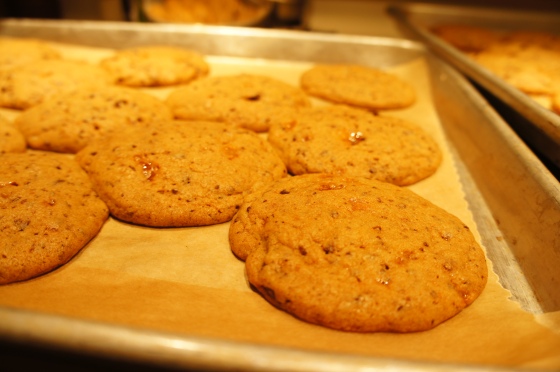
Chewy Toasted Coconut Toffee Chocolate Cookies

C.T.C.T.C. Cookies… haha! I don’t know why that amuses me so much!

Anyway, I’ve been thinking a lot about those Girl Scout Cookies… you know the shortbread ones covered in caramel and coconut and drizzled in chocolate?? I thought a lot about that caramel, and the texture of the cookie. I like the dryness of the cookie, contrasting with the chewiness of the caramel. I had some heavy cream in the fridge that I had originally earmarked for caramel, but then I made pastry cream (for no apparent reason, since it’s still whipped up and sitting in the fridge). I decided that I would make a simple toffee for my cookies instead… I thought about drizzling the hot toffee through cookie dough and baking the cookies with oozy ribbons of toffee running through them and dipping them in chocolate. Then, I thought about making toffee flavored shortbread and rolling them through coconut flakes like Mexican Wedding Cookies but with coconut instead of powdered sugar. But I finally decided I wanted something thick, chewy, and flecked with toffee, coconut, and chocolate.

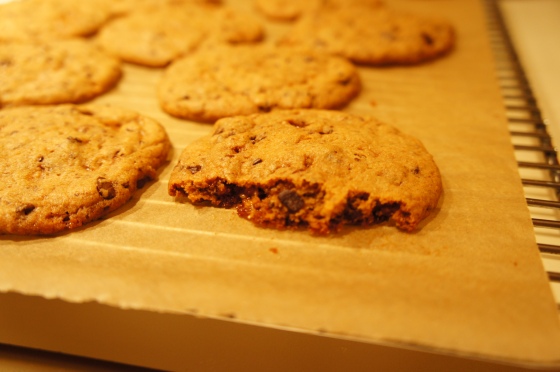
Despite the toffee, these cookies are not overly sweet, instead they are mildly flavored with molasses and vanilla. The coconut toffee and chocolate just add a bit of sweetness and complexity to the cookies. I think next time, I’ll scale up the coconut and perhaps use chunkier flakes.

Chewy Toasted Coconut Toffee Chocolate Cookies (adapted by some large stretch of imagination from All Recipes)

  • 12 tablespoons of unsalted butter, softened just a bit (maybe 30 seconds in the microwave)
  • 1 cup of granulated sugar
  • 3-4 tablespoons of molasses (I used 4 but feel free to use less if you are sensitive to the bitterness of molasses)
  • 1 teaspoon of vanilla
  • 1 egg
  • 1 egg yolk
  • 2 cups of flour
  • 1/2 teaspoon of baking soda
  • 1 teaspoon of flakey salt (again, feel free to use less if you dislike saltier cookies)
  • 1 cup of crushed Coconut Toffee (recipe to follow) (Make this about 2 hours before the cookies so it has time to cool)
  • 1 cup of flaked chocolate
  1. Preheat the oven to 350F
  2. In a large bowl cream the butter, sugar, and molasses until smooth.
  3. Beat in vanilla and the egg and egg yolk until creamy and smooth.
  4. Sprinkle in the flour and baking soda and salt. (I know, I know, I don’t use two bowls, but I promise this works just fine so long as you sprinkle and distribute the leavening ingredients as you mix it in)
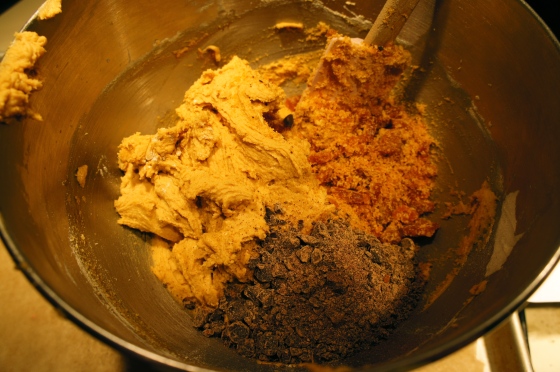
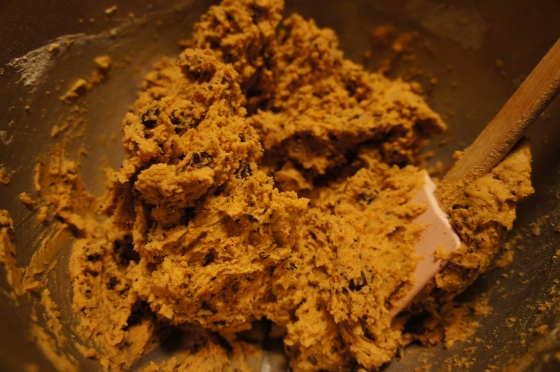
  5. Stir in coconut toffee and chocolate
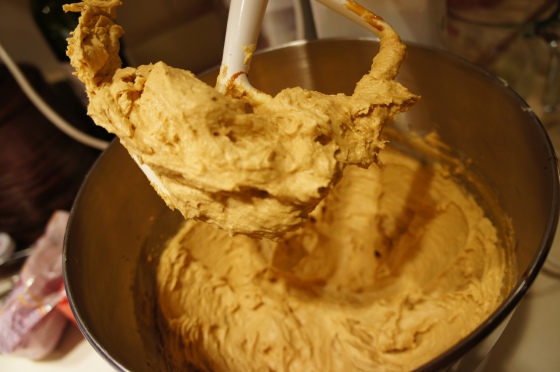
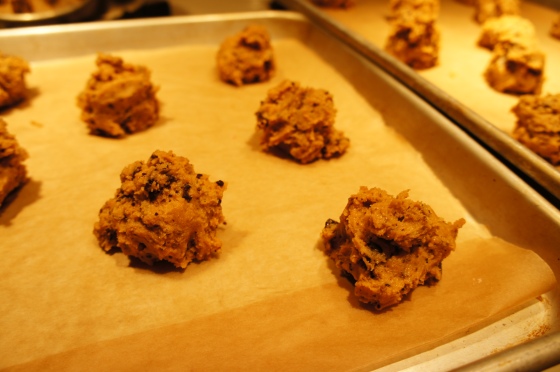
  6. Spoon in 1 tablespoon scoops onto parchment lined cookie sheets (Important! Because the toffee will get everywhere as you bake).
  7. Bake at 350F for about 12 minutes or until just puffed and the edges are just crisp. The cookies will deflate a little once they come out of the oven. If you prefer crispy cookies, bake for a couple more minutes until the edges are crisp and the centers of the cookies have fallen.
  8. Should make 24-30 cookies. I made mine a bit larger than a tablespoon and got 26 cookies (so far only 24 are left).

SONY DSC

SONY DSC

SONY DSC

SONY DSC

SONY DSC

SONY DSC

SONY DSC

SONY DSC

SONY DSC

Coconut Toffee (ummm… I made it up?)

  • 1 cup of sugar
  • 1/2 teaspoon of salt
  • 2 tablespoons of butter
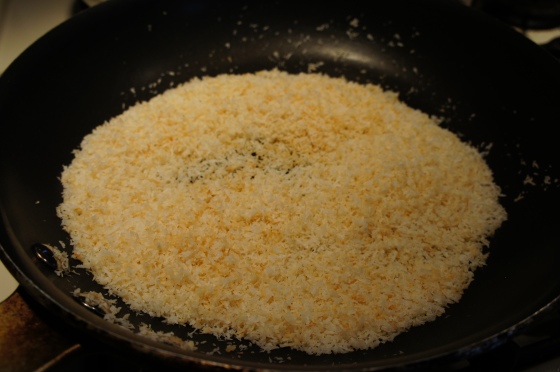
  • 1/2 cup of toasted coconut, unsweetened
  1. Melt sugar in a pan until smooth and deeply golden
  2. Remove from the heat, and add butter in slices
  3. Stir until smooth on low heat
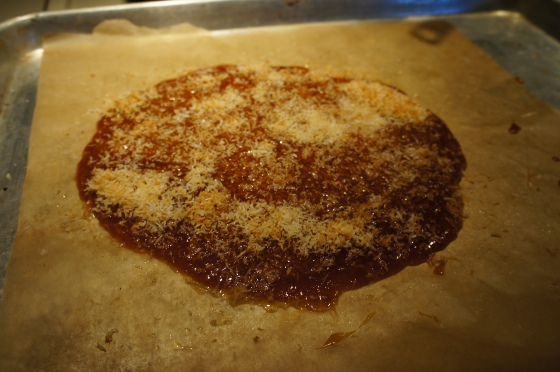
  4. On a pan, spread 1/2 of the coconut making a slightly thicker lip to contain the toffee in a bounded area (nerd alert)
  5. Pour the toffee onto the pan
  6. Sprinkle the top of the toffee with the remaining coconut
  7. Cool
  8. Smash with your fist, a hammer, your head, or any heavy instrument. Add to cookie dough, yogurt, or anyplace that needs awesomeness.

SONY DSC

SONY DSC

SONY DSC

SONY DSC

SONY DSC

Ta Da!!!

xoxo -H

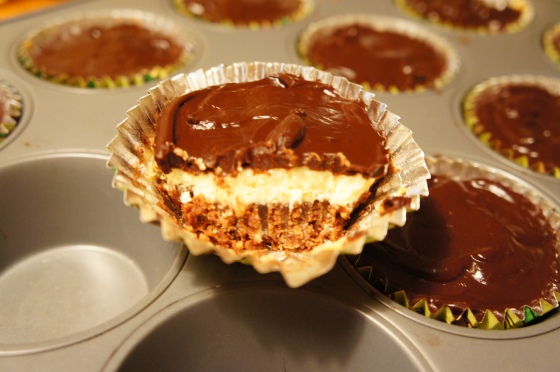
Cheesecake Nanaimo Bars

I first read about nanaimo bars on Closet Cooking’s website a few years back… They looked great, but I didn’t think about them again until recently. I’m not sure where I stumbled across another picture of these bars, but then I was obsessed with the idea of making them. I read a bunch of recipes before settling on Seven Spoons and Closet Cooking for my models.

SONY DSC

Instead of making them in a 9×9 pan, I made mine in a cupcake pan so I wouldn’t have to worry about cutting the bars. I also tweaked the recipes just a little bit to accomodate the ingredients I had on hand and I scaled back the sugar since I like my cheesecake a bit tart.

I’m a huge fan of cheesecake, so next time I would double the cheesecake and 1/2 the chocolate cookie crust. However, these little bites were truly delicious and I’m glad I made them!! (Even if I feel mildly ill from eating 3 of them in a row).

Cheesecake Nanaimo Bars (adapted from Seven Spoons and Closet Cooking)

Crust:

  • 1 1/2 cups of sugar cookies, blitzed through a food processor (or smashed in a plastic bag with a rolling pin)
  • 1/4 cup of chocolate cocoa
  • 1/4 cup of granulated sugar
  • 1/2 cup of shredded, unsweetened coconut
  • 1/2 cup of almonds, blitzed through a food processor
  • 8 tablespoons of melted unsalted butter
  1. Preheat the oven to 350F
  2. Mix the dry ingredients together, then drizzle the butter into the bowl until the ingredients come together
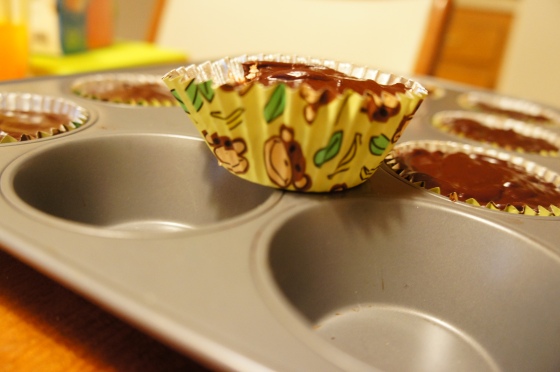
  3. Press into the bottoms of cupcake liners. I used these adorable monkey ones from Reynolds. (Also… I have quite a bit extra cookie mixture leftover, so don’t be concerned if you also have left over)
  4. Bake in the oven for 10-15 minutes or until just browned.
  5. While the cookie cups bake, start on the cheesecake filling

Cheesecake filling:

  • 8 ounces of cream cheese, at room temperature
  • 1/4 cup of sugar
  • 1 large egg
  • 1 teaspoon of vanilla extract
  1. Whip the cream cheese with sugar until smooth
  2. Add the egg and vanilla extract and continue whipping until smooth
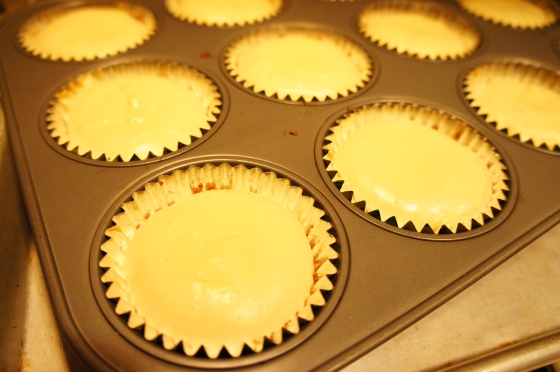
  3. Once the cookie cups have finished cookie, top each with about two tablespoons of cheesecake batter each
  4. Tap on a flat surface to evenly distribute the batter in the cups
  5. Bake for another 10 minutes, or until the cheesecake has set.

Chocolate ganache topping

  • 7 ounces of dark chocolate
  • 1/2 cup of heavy cream
  1. As the cheesecake and cookie layers cool, make the ganache topping
  2. In a double boiler (or a mixing bowl over boiling water), heat the chocolate and heavy cream. Once the chocolate has melted, whisk the mixture until smooth and glossy.
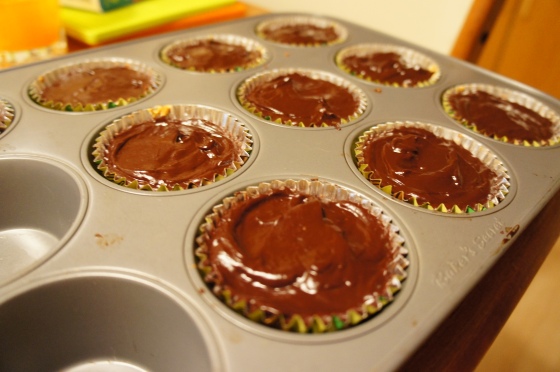
  3. Put 1 to 2 tablespoons of ganache on top of each cheesecake/cookie cup, smooth the tops with a knife.

Put the whole pan in the fridge and let it set. These should keep for up to a week in a tightly sealed container in the refrigerator.

Enjoy!!!

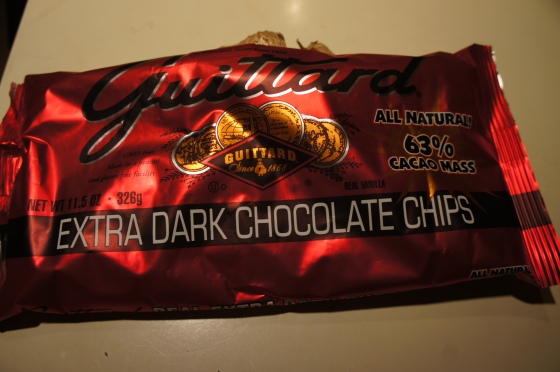
I used these Guittard chips for my chocolate ganache and I am impressed. They were deliciously dark and not overly sweet. Definitely a re-buy!

SONY DSC

SONY DSC

SONY DSC

SONY DSC

SONY DSC


Hazelnut Almond Scones with Chunky Chocolate and Cherries

What a mouthful…. both literally and figuratively. Let me tell you… these scones? Amazing. Totally and utterly drool worthy… these are the scones that you drive an extra 15 miles to a different grocery store to get the right ingredients for. These are the scones that you get heart palpitations when you see someone else reaching for the last one that you wanted to add to your tummy (in addition to the 2 others you stored in there).

Forget the whole wheat thing… these are made of nuts. Nuts!!! This will change your life forever. I mentioned the recipe by Nom Nom Paleo, but being the nudge that I am, I had to tweak it. I couldn’t help it. Anyway – here is my recipe, just adapted a bit.

SONY DSC

Hazelnut Almond Scones with Chunky Chocolate and Cherries, a mouthful in every way (Adapted from Nom Nom Paleo)

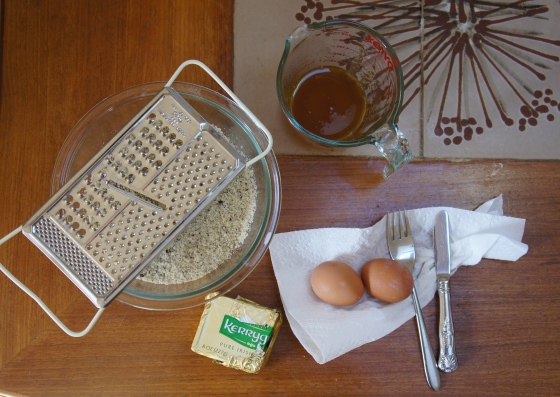
  • 2 cups of finely ground almond flour (I used Bob’s Red Mill)
  • 1 cup of finely ground hazelnut mean (I used Bob’s Red Mill)
  • 1 1/2 teaspoons of baking powder
  • 4 tablespoons of cold butter
  • 2 large eggs (Did I ever tell you guys about the difference in egg size?)
  • 2 tablespoons of apple cider vinegar
  • 2 tablespoons of honey
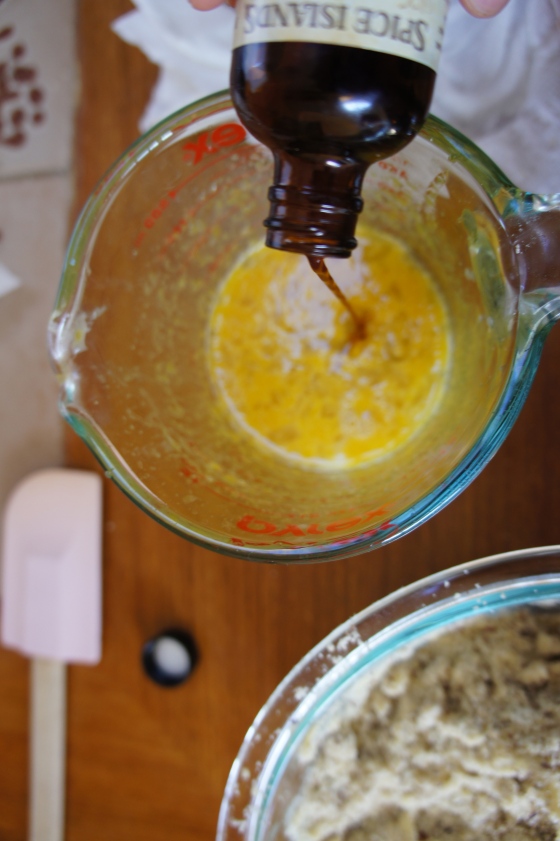
  • 1 teaspoon of bourbon vanilla
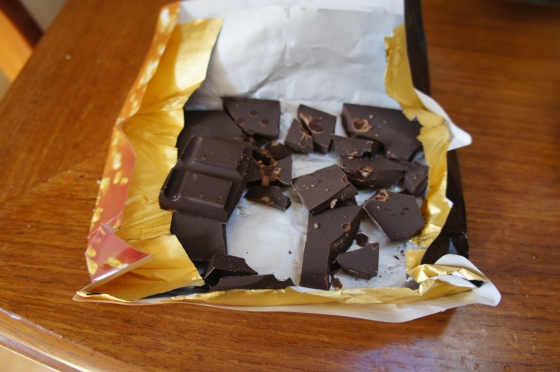
  • 2 – 3 ounces of good quality dark chocolate, smashed (because baking is all about stress relief)
  • 1/4 cup of dried cherries (I chopped mine in half)
  1. Preheat your oven to 335F (I know. It’s a weird number, but I promise it works)
  2. In a large bowl, whisk together the flours, baking powder, and a pinch of salt (I didn’t use any because I used a salted chocolate and salted butter, but this is totally your call).
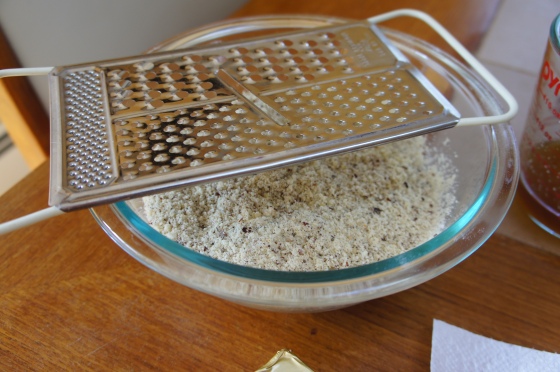
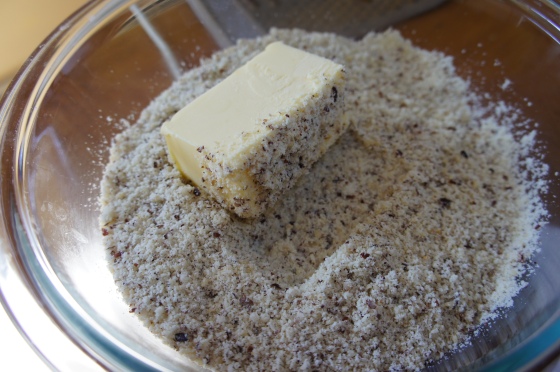
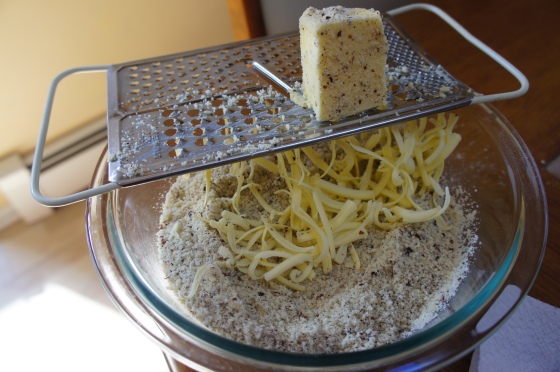
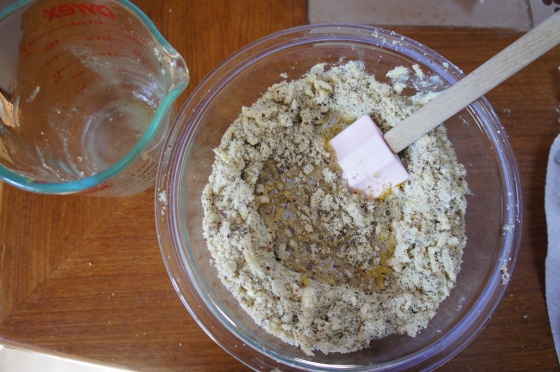
  3. In the dry ingredient bowl, grate the butter (using the chubby grater holes) into the dry mixture. I like to dip my butter into the flours and grate so that the grated butter doesn’t stick. You can also freeze the butter, but I normally just dip and grate.
  4. Once the butter has been grated, crumble the dry ingredients with the butter. Make sure you have some chunky bits. Think the pea-sized bits you want when you make good fluffy biscuits.
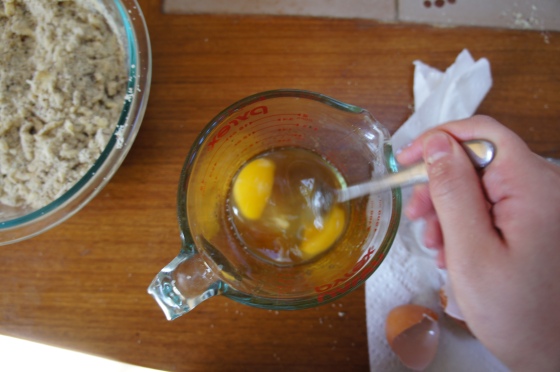
  5. In a smaller bowl, whisk together the eggs, vinegar, honey, and vanilla.
  6. Make a well in the butter and flour mixture and pour in the wet ingredients.
  7. Combine gently. Your mixture should be cohesive, but very wet.
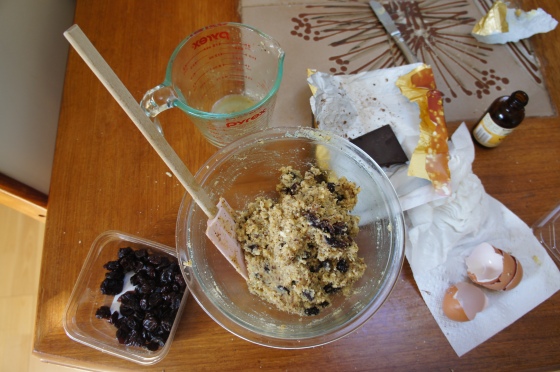
  8. Gently add the chocolate and cherries. (As I mentioned above, I smashed my chocolate bar. I also used closer to 2.5 ounces because I ate some before I added it to the bowl)
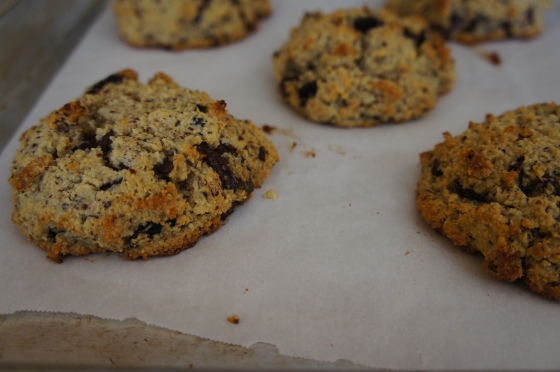
  9. Portion out the dough into even balls and shape on a parchment lined sheet.I managed to make seven large scones, but you can just as easily make daintier ones.
  10. Bake at 335F for 12 minutes before raising the temperature to 350 and rotating the pan. Bake at 350 for another 10 minutes, or until a toothpick comes out clean.
  11. Gobble them up!!!

Notes:

  • You will notice that the original recipe used baking soda, but I chose to use baking powder because the smell of the baking soda was unnerving to me. Baking soda and powder are basically the same, except baking powder has cream of tartar in it. For whatever chemical reason, baking powder does not have the same smell. I’m weird about smells… so this made a huge difference. Keep in mind, because baking powder does contain less baking soda (leavening agent), the dramatic rise and pouf of my scones is much less dramatic. However, barring your strange obsession with smell, feel free to use baking soda for the dramatic lift and the pillowier texture.
  • In the same vein, these scones are not light and fluffy… instead they are moist, a little heavier, and deliciously flavored.
  • I used a cup of hazelnut flour because I saw it at the store and I figured… why the hell not. It definitely adds a certain nutty flavor and luxuriousness to these scones, but you can also just use almond flour. Also… something important to note? Hazelnut flour smells TERRIBLE, but it bakes perfectly and it loses that strange smell. They turn into beautifully nutty scones.
  • I did try this recipe with 100% hazelnut flour and NO almond flour… they do not turn out the same because hazelnut flour is a great deal chunkier than almond flour. The resulting “scone” was more of a pile of semi-stuck together ground up hazelnuts. While it was delicious, they were not scone-like in nature.
  • I am pretty convinced the reason these scones are just so glorious is the quality of ingredients that are used. Most of the ingredients are on the pricier side, but well worth it. I think when you use truly good quality and well sourced ingredients, everything is bound to taste delicious. I’m not really sure why this comment is included, but it popped into my head so I’m leaving it.

SONY DSC

SONY DSC

SONY DSC

SONY DSC

SONY DSC SONY DSC

SONY DSC

SONY DSC

SONY DSC

SONY DSC

SONY DSC

SONY DSC

SONY DSC

SONY DSC

SONY DSC

Give Me Some Sugar

I’m not really sure why I decided to make iced sugar cookies, but a couple weeks ago it suddenly occurred to me that I “HAD” to make iced sugar cookies.

I did some research and then settled on a recipe and icing instructions from Bake at 350. Do you know her? Her website is pretty awesome and her cookies are just stunning. So pretty!!!

I made these cookies several times and there are two notes that are important. 1.) Use COLD butter, and 2.) These cookies are better with White Lily flour. They tend to be harder when you use all-purpose. Which is fine, but I like the more delicate crumb that this flour provides.

Anyway ~ I’m going to direct you to Bake at 350 for the recipe and instruction on royal frosting… mostly because they are so detailed and well written. Here. That way I can just show you all the pictures of my snowflakes!!!

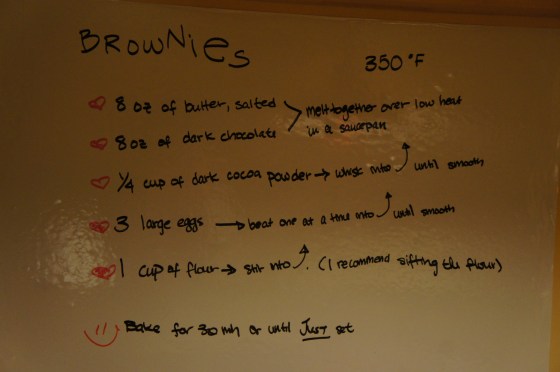
Super Chocolate Brownies

You know. I just don’t like home-made brownies. The boxes just GET it right. It is the ONE boxed good that I will concede is better than something I can make in my kitchen.

However, sometimes you just don’t feel like leaving the house for brownie mix and the remnants of your last chocolate binge will make a pretty decent brownie, melted and stirred in with some butter.

Here is my recipe. It calls for an obscene 1 cup of butter and 1 cup of chocolate. I use whatever little pieces of chocolate I have left over from chocolate bars, cookie recipes, and what not.

Be sure NOT to over bake – since the brownie will continue to bake in the pan after you remove it from the oven, be sure to take it out a few minutes before it is set. “JUST” about to set is how I describe it.

Enjoy lovies!

I’m off to polish off the rest of that wine and go sledding. It snowed again!!!

xoxo

-H

SONY DSC

The Giant Rhubarb In the Room

I went to the farmer’s market… and as I’m apt to do, I went a little crazy with the buying. I just like farmer’s markets and when I see all of the people and the produce I just want to buy it all.

I found an adorable gentleman who sold me two soft-shell crabs… I cleaned them (eeek!) and ate them with great gusto. I was pleased that I had cleaned them myself… but a little freaked out that they continue to move even as I was hacking into their vital organs and cutting their faces off. It makes me cringe still. ::cringe::

Well, last week I walked past anything that required cooking/baking because I was in study mode. I’m still in study mode, but I decided that this week I was going to just spend a couple hours cooking and enjoying myself before going back to :::i-want-to-kill-someone::: study mode. When I saw these arm length (or if you’re short, like me, 1/2 body length) rhubarb, I had to have them. They were so delightfully pink, I immediately grabbed them.

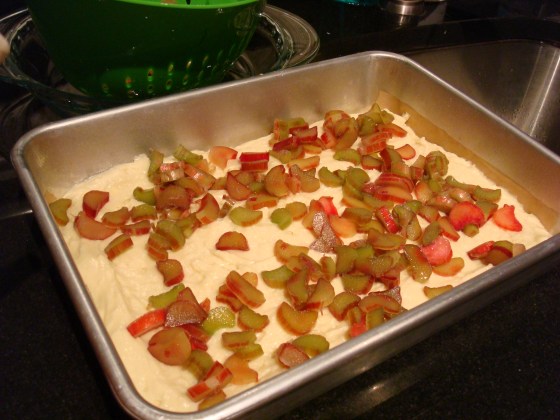
I did like Connie at ouichefcook and tossed the sliced rhubarb in sugar before letting it drain in the refrigerator for 8 hours. Then, I decided I wanted coffee cake crumbs in a buttermilk based cake. So I fused Lottie + Doof’s favorite cake with some coffee cake crumbs… with a layer of rhubarb in between the cake. So maybe I over-did it a little bit. I ended up with is a 9×13” cake that’s about 2 inches thick. I told you. I’m not good at subtle. Or a little. I like BIG. Bigger = better. DUH…  I might have been a Texan in a former life.

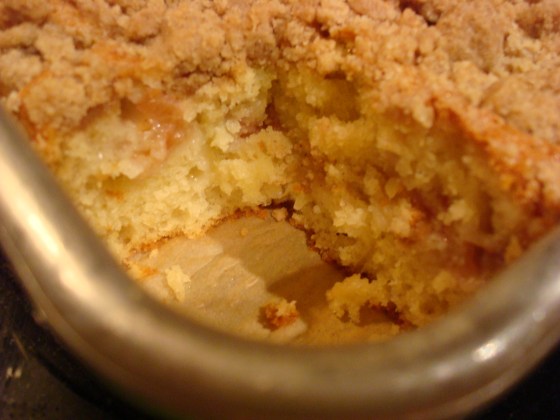
The crumbs are just perfectly crunchy and the cake is pillowy. And the layer of rhubarb is just acidic and tart enough to balance the crunchy crumbs. And since I absentmindedly left out the vanilla extract, the cake tastes just like rhubarb. I know some people won’t like it because it’s a bit tart, but this giant corner slice I pried out of the pan before it cooled is just delicious.

Anyway. Here is what I did

Giant Rhubarb Coffee Cake (Kaprise Kitchen interpretation from a little of this and a little of that)

  • 3 cups of flour, sifted
  • 1 1/2 teaspoon of baking powder
  • 1 teaspoon of baking soda
  • 12 tablespoons of butter, softened
  • 1 1/2 cup of sugar
  • 3 large eggs
  • 1 1/2 cup of shaken buttermilk

Rhubarb:

  • about 1 pound of rhubarb
  • 1/4 cup of granulated sugar

Crumbs:

  • 1/4 cup of brown sugar
  • 1/4 cup of granulated sugar
  • 1 teaspoon of cinnamon
  • 1/2 teaspoon of ground ginger
  • 8 tablespoons of melted butter
  • 1 1/2 cup of flour
  1. About 8 hours before you plan on baking, or the night before (or in the wee morning hours): wash and slice the rhubarb. Toss with 1/4 cup of sugar. Place in a colander over a mixing bowl. Cover and refrigerate.
  2. After 8 or so hours have elapsed,  shake the excess moisture from the rhubarb and discard the liquid that has drained. Set the rhubarb aside.
  3. On to the batter!!
  4. In a large bowl, whisk together the butter and sugar together, adding one egg at a time until creamy and smooth
  5. Whisk in the buttermilk.
  6. Stir in the flour, baking powder, and soda (I normally stir 1/2 of the flour with the baking powder and soda into the mixture, and then stir the remaining flour in. Mostly because I don’t have another mixing bowl to combine dry ingredients, and because this works just fine)
  7. The batter should be a little thicker than normal cake batter.
  8. Line a 9X13” baking pan with buttered parchment paper. Butter the sides of the pan as well.
  9. Spread about 2/3 of the batter in the bottom of the pan.
  10. Add the rhubarb in an even layer over the batter
  11. If you prefer a less tart cake, sprinkle 1/4 cup of brown sugar over the rhubarb layer to counteract the acidity of the fruit. I left this out because I like the bite.
  12. Dollop the remaining batter over the rhubarb. Because the batter is pretty stiff, I drop blobs of the batter over the rhubarb and then lightly tap the pan on the counter to even it out a bit.
  13. In a bowl, combine the crumb ingredients. I make crumbs by squishing the ingredients into a ball and then breaking the ball apart over the cake.
  14. Bake at 350 degrees Fahrenheit for about 60 minutes. Mine took about 65 minutes, but I was also peeking in the oven to check on my baked potatoes (because there is nothing like multitasking your oven!)
  15. A tester should come out nearly clean from the center of the cake. Remember that the rhubarb is moist so the cake around the rhubarb will be moist – so be cautious of overbaking since your tester won’t be perfectly clean coming out of the cake. However… make sure the cake is sufficiently baked, otherwise the cake will be dense and gummy. (I know. Not an exact science, but I normally press a finger at the center of the cake, and if it springs back, it’s normally done).