Sautéed Crispy Broccolini with Grey Salt

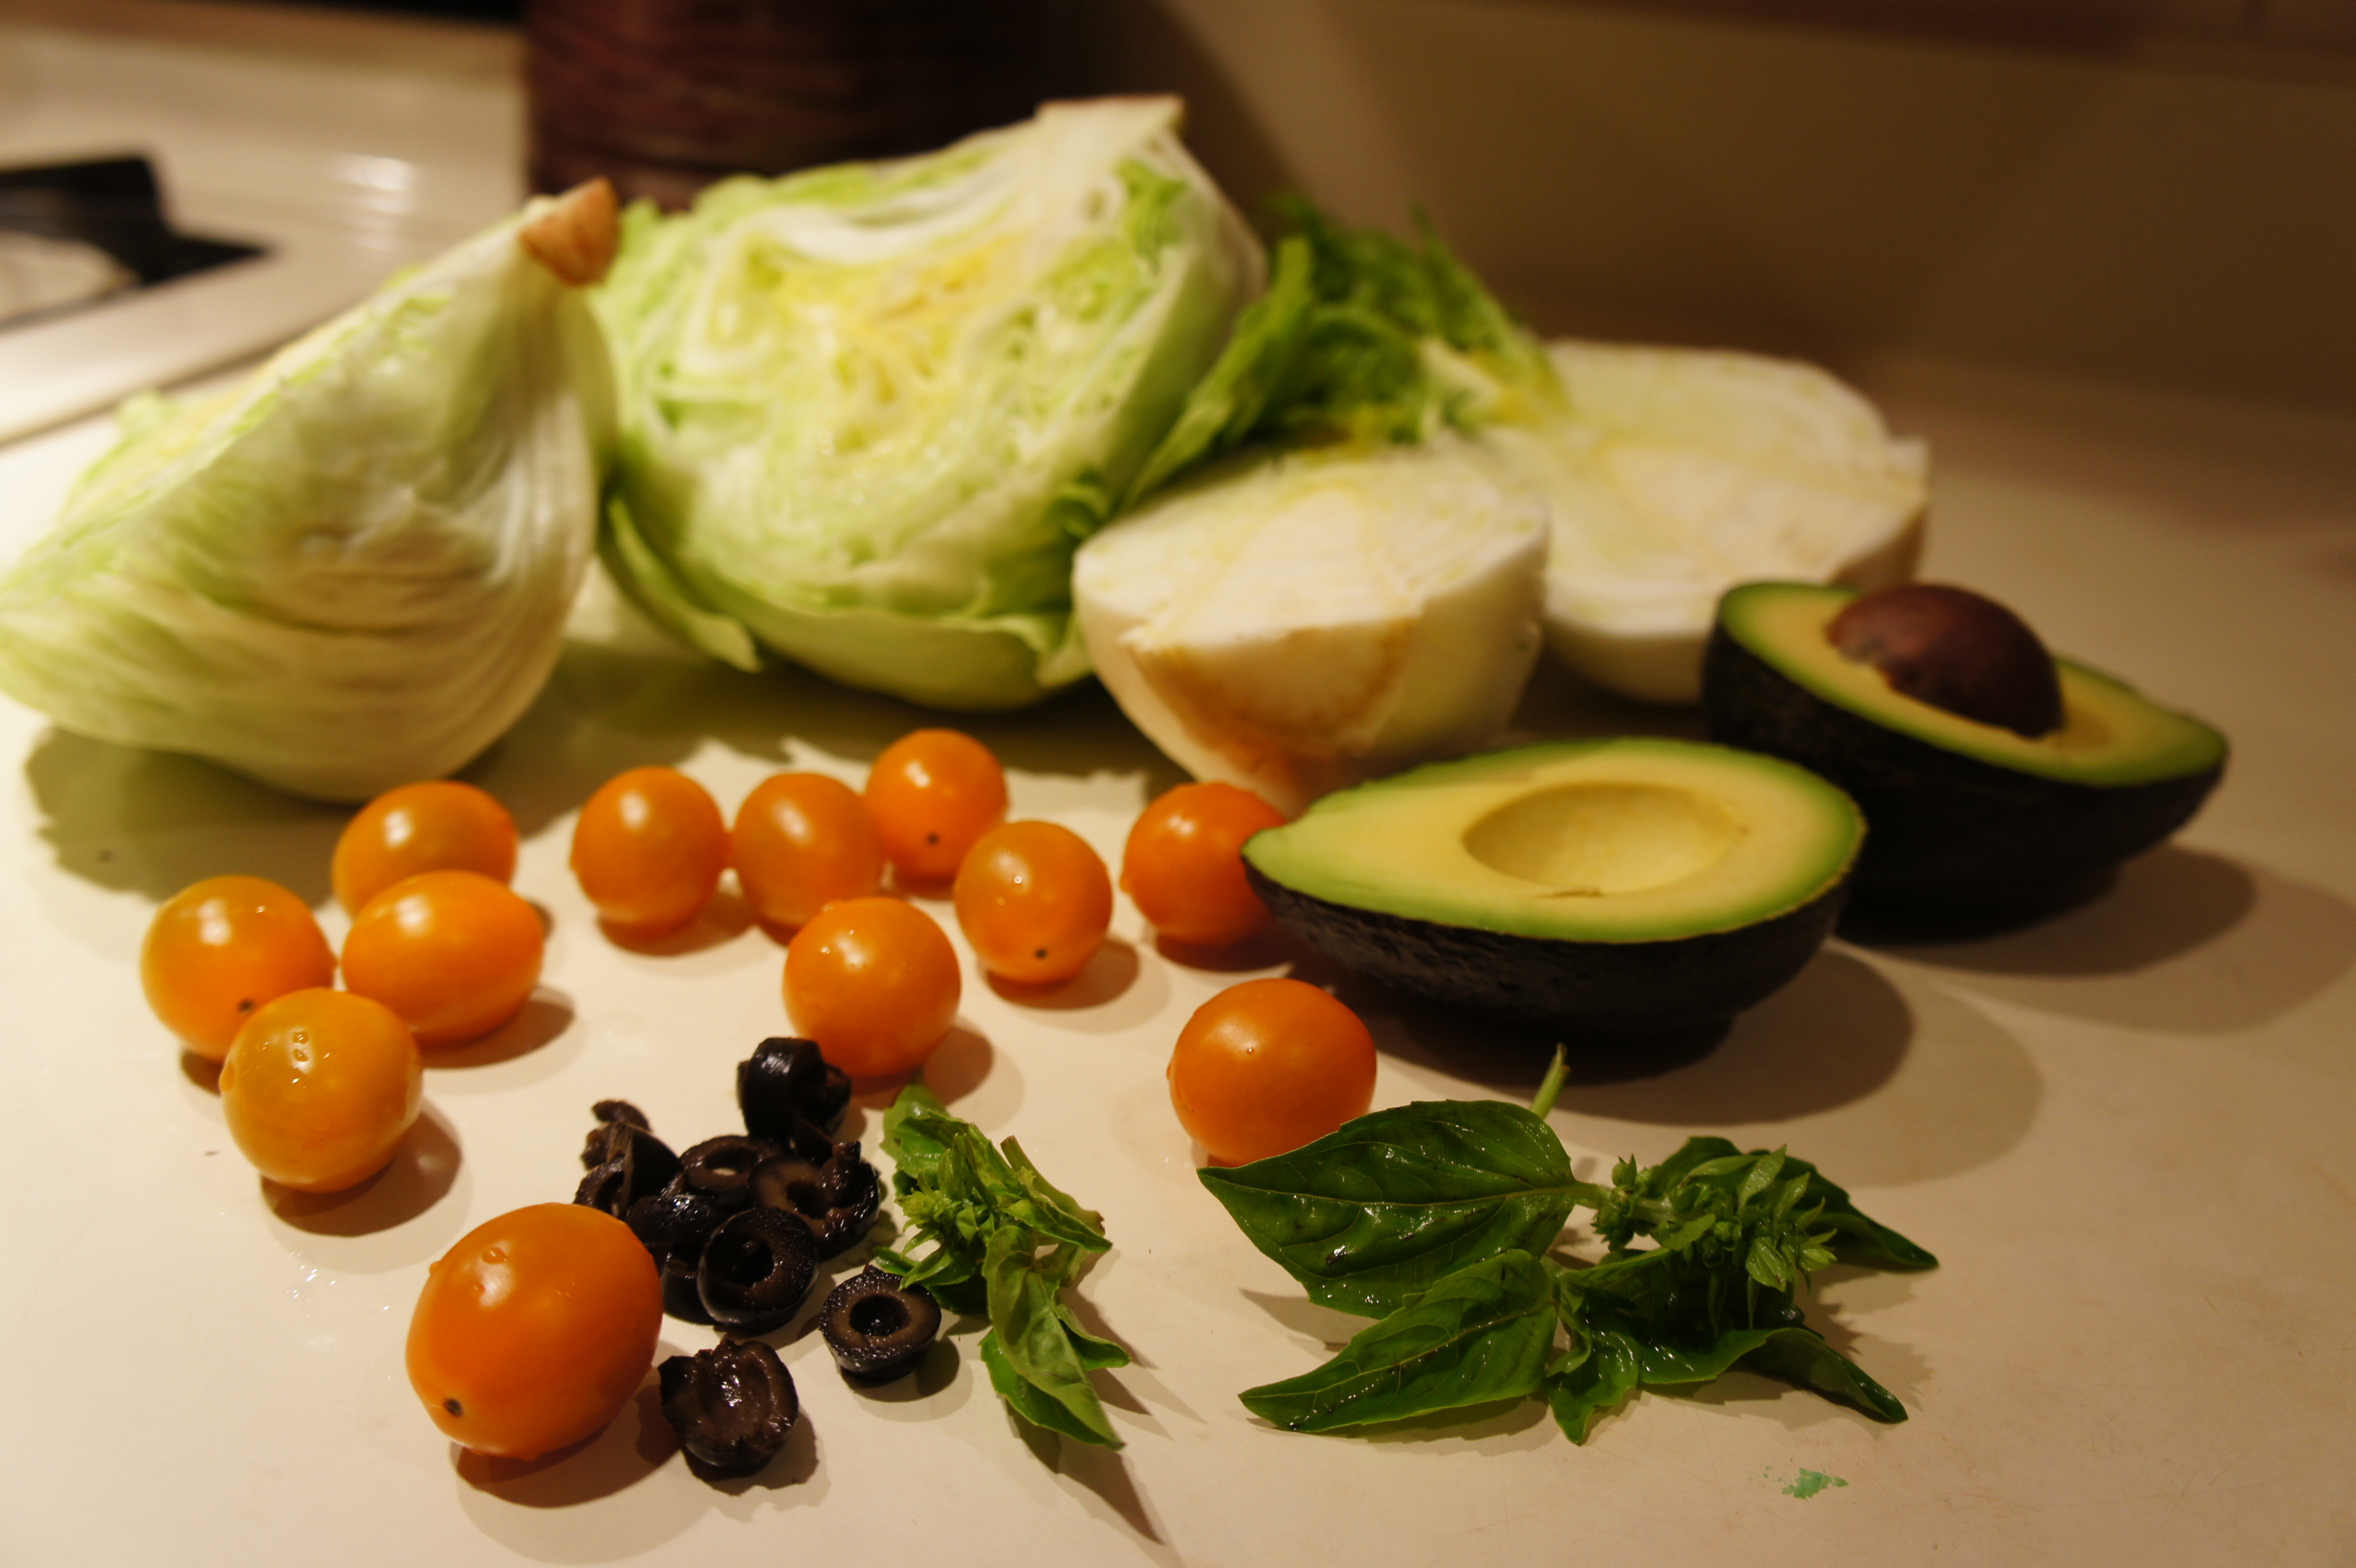
I get hung up on certain foods… during the winter, I’ll spend hours upon hours peeling pomegranate and slurping down the seeds. When I was a kid, my mother would buy bushels of corn… and I would spend the afternoon dropping ears into boiling water, and neatly cleaning the cobs of their juicy kernels while I read my novels. I have favorites, and once I start on a favorite, it might be weeks before I move on to something else.

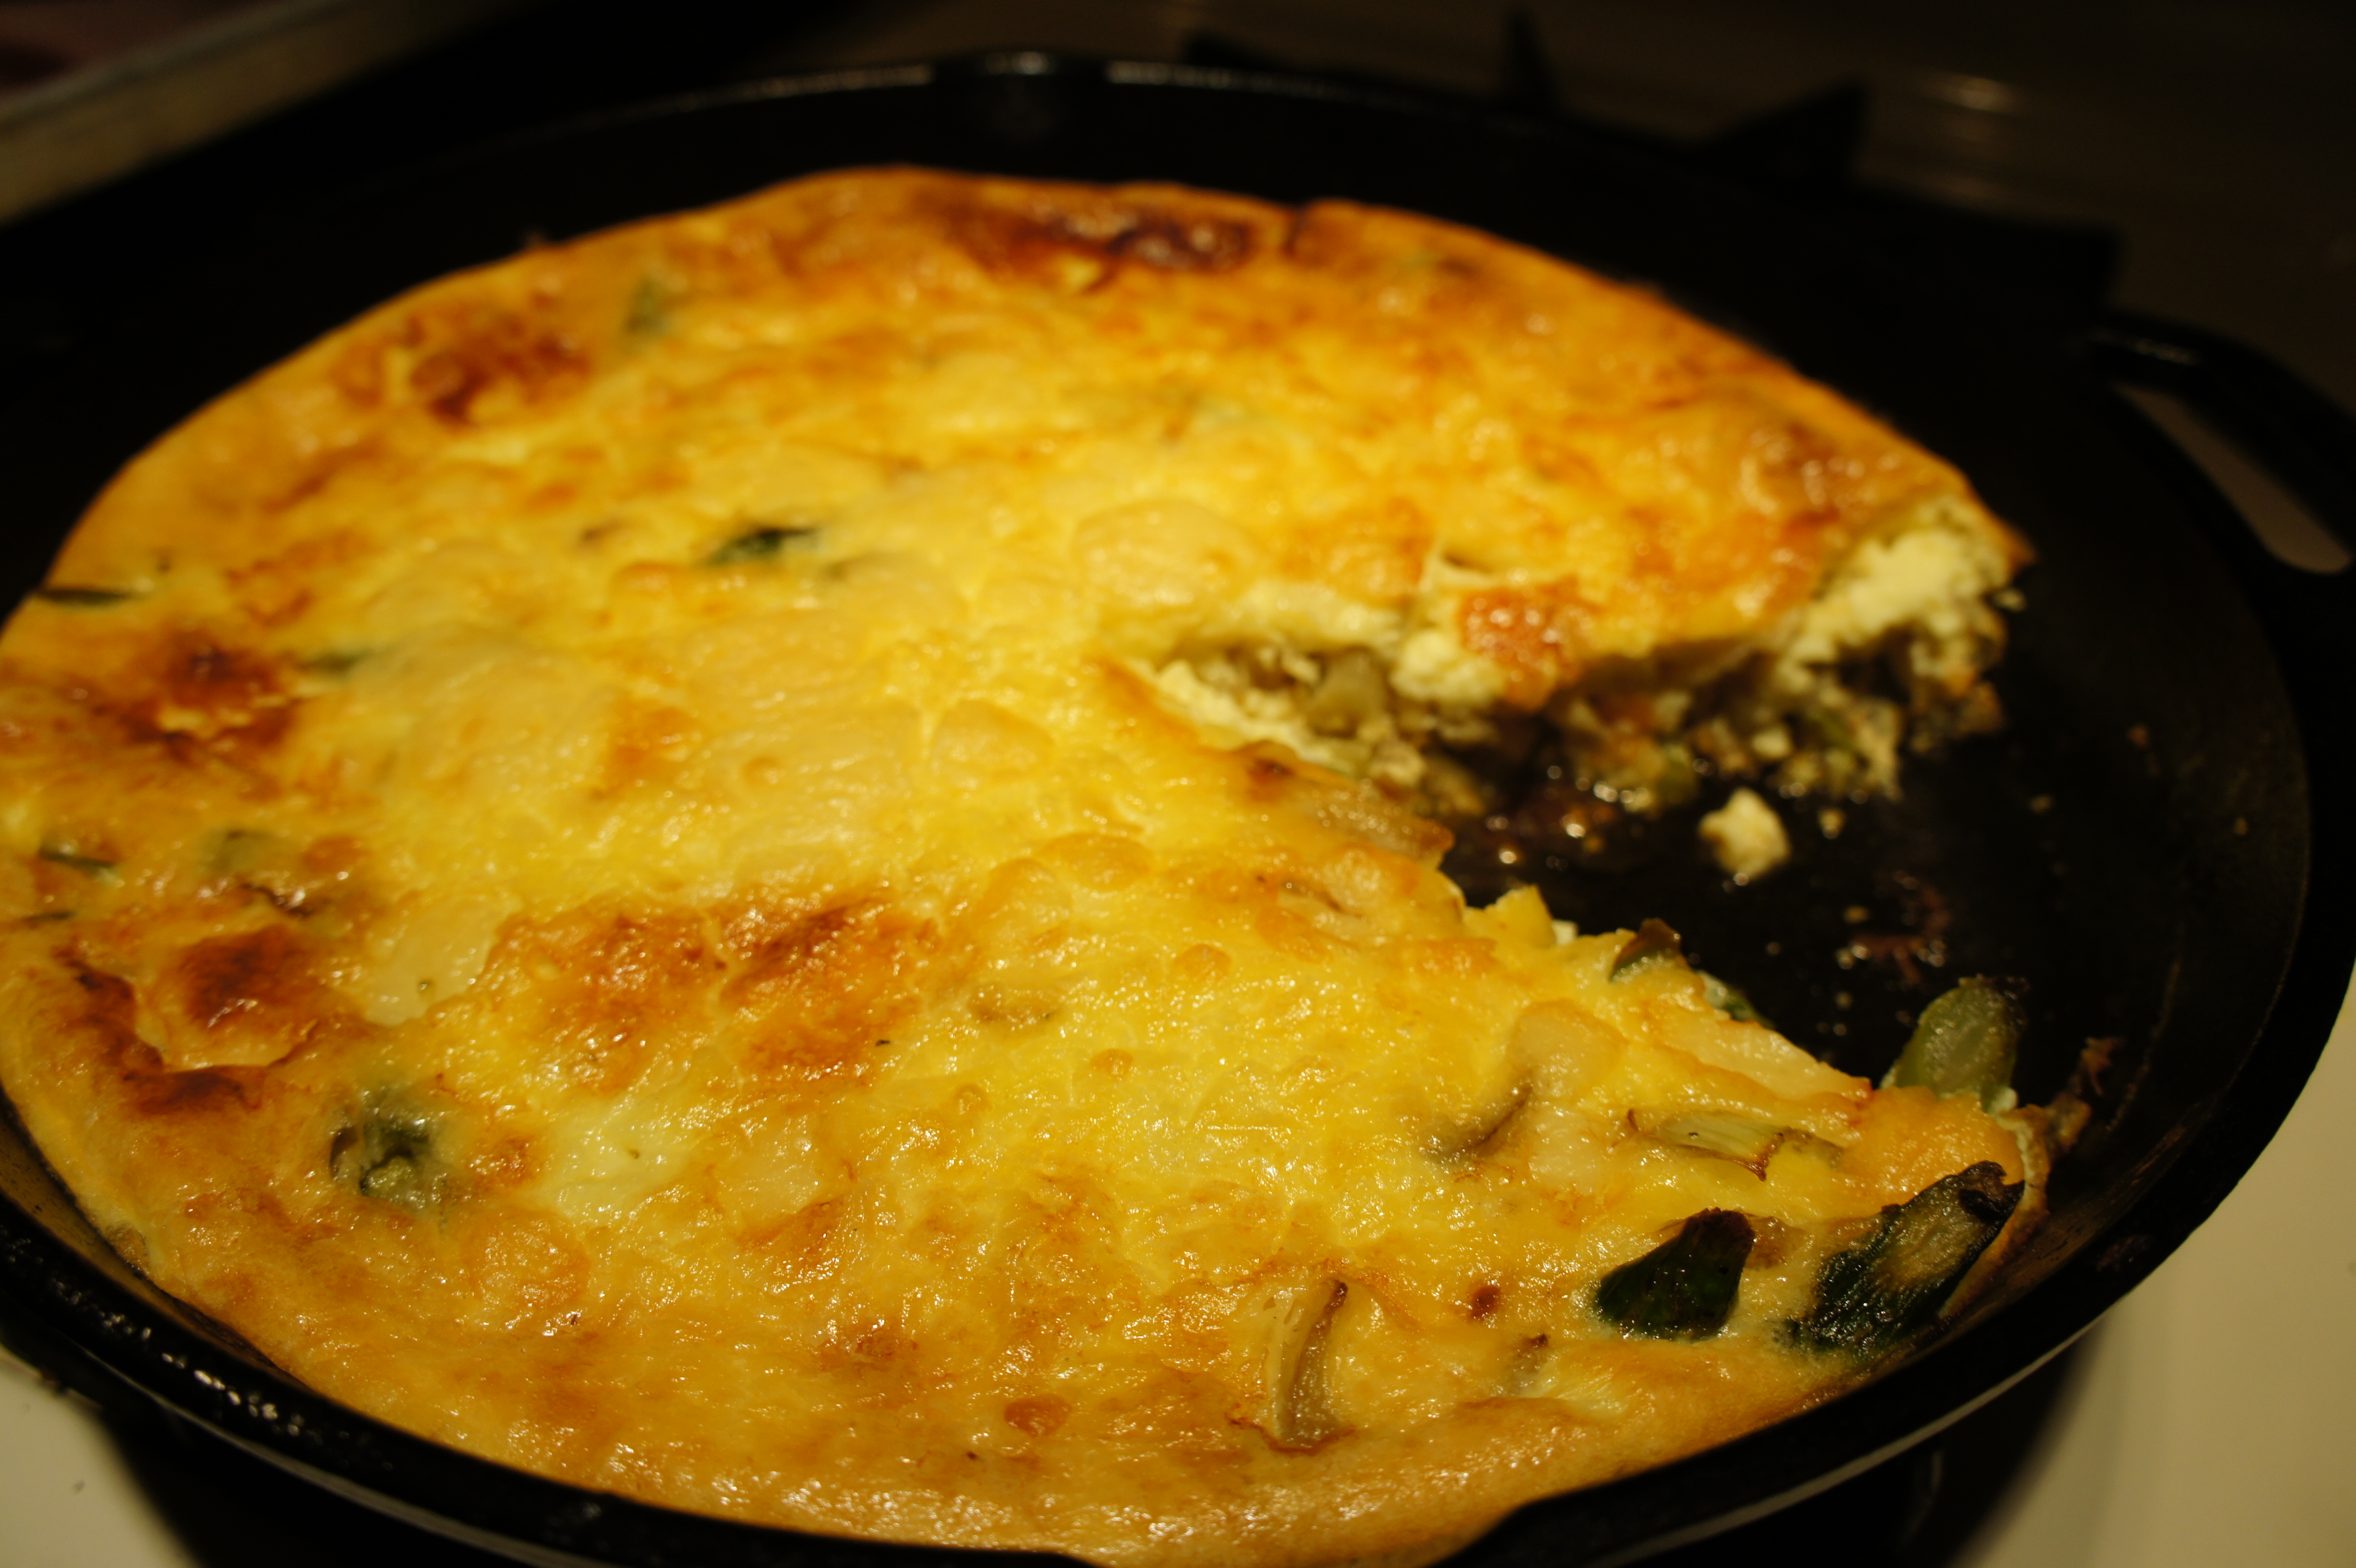
This last month has been a month of charred and buttered broccolini with a little sprinkle of grey salt. I’m sure it’s not a groundbreaking, cutting edge process to cooking broccolini, nor is it the most sophisticated, but it is the perfect way to get some crunchy, crispy greens in your tummy. I’m not sure it really calls for a recipe, but I’ve written up my notes below.

Sautéed Crispy Broccolini with Grey Salt (Kaprise Kitchen’s current favorite)

  • A medium sized bunch of broccolini
  • 1 tablespoon of good quality butter
  • 1 tablespoon of good quality olive oil
  • 2 tablespoons of filtered water
  • a generous pinch of good grey sea salt – I used a Celtic light grey I found at my local natural foods store
  1. Thoroughly wash the broccolini is cool water, removing any damaged or wilted leaves
  2. Trim and chop the broccolini in 1 1/2 inch segments, stopping just short of the flowering tops. Divide the flowering tops into smaller bunches. The stem in this picture was a bit damaged, so I shaved the stem and removed the damaged flowered pieces – dividing the larger head into two smaller and easier to crisp segments. 
  3. In a large pan, heat two tablespoons of water on medium heat
  4. Add chopped broccolini to bubbling water, stir until bright green and tender
  5. Raise the heat to high and stir until all of the water has evaporated from the pan.
  6. Drizzle in the olive oil and butter. Stir until all of the pieces are coated with butter and oil – I like to set the flowering heads of broccolini on their top to help them crisp
  7. Let the broccolini crisp one side, without stirring. I like my broccolini quite crunchy, so I let the pieces crisp for about two to three minutes before tossing the pan. Stir and crisp until the desired level of crisp and char is acheived.
  8. Turn the heat off, sprinkle with the desired amount of grey salt
  9. Serve hot

Notes:

  • I imagine, in addition to a generous sprinkle of salt, that crushed red pepper flakes would be fantastic for a kickier version. I can also see a generous sprinkle of fresh herbs (say… tarragon, oregano, or basil) would be fantastic in this dish as well.
  • I’ve done a version with fresh sliced garlic, but toss the sliced garlic in a minute or two before your broccolini is done, or your garlic will be a very unforgivable black charcoal chip.

Soup, Stew… Something for the Snow

I’ve recently decided that it was time to clean out my entire refrigerator… top to bottom. When I was making room for Thanksgiving Day things, I noticed I had very wisely packed away one person size portions of beef, chicken, lentils, and other things in the freezer. Unfortunately, my preparation for those “rainy” days never got used because whenever I crave something, I’m running out the door and to the store. So… to make use of those “rainy” day provisions, I’ve been making a lot of soup and stew with those little squirreled away packets of food.

Soups and stews are easy… for the most part all you need is a little protein, some vegetables, spices and herbs, and a little water.

Today I made a beef soup with ribbons of kale, a handful of fresh herbs out of the crisper, and some green French lentils. It’s not much of a recipe but here it goes.

Something for the Snow Soup (Kaprise refrigerator clean out recipe)

  1. Cube a portion of beef or any protein. I used 8 ounces of sirloin steak.
  2. Toss lightly in flour
  3. In a heavy bottomed skillet (I use my Le Creuset for this) and over high heat, sear the cubes of beef until crisp in olive oil.
  4. Toss in a crushed clove of garlic and stir
  5. Pour in about 1/4 of a cup of wine (and drink some too)
  6. Add 1 cup of crushed tomatoes and 3 cups of water
  7. Bring your soup to a low simmer.
  8. Add 1 cup of uncooked and rinsed lentils (you could also used canned if you prefer)
  9. Add salt, pepper, a pinch of cayenne, a pinch of cumin, and whatever else you desire.
  10. Simmer for about 20 minutes, or until the lentils are cooked through
  11. Stir in ribboned kale and herbs. I used about 5 leaves of dinosaur kale, a bunch of cilantro, and a handful of parsley
  12. Taste and adjust seasoning to taste.

Done!! 🙂 I know it’s not much of a recipe, but these quick little soups get me through the winter. I make a little pot for dinner, and then eat it with an fried egg in the morning… if there is any left over I have it for lunch with some crusty garlic bread (yes. I work from home, so I can eat garlic in the middle of the day).

xoxo-H

Why Did I Wait So Long?!!! The Story of My NEW Love

It all started when I googled recipes for cornmeal… then I found Alanna’s website The Bojon Gourmet. And true to my mildly obsessive reading habits, I spent the next two days reading all of the recipes on her website. I highly recommend spending some time to read her recipes. Beautiful photography, beautiful food… all sorts of goodies to be found.

So… it goes back to the cornmeal. I’ve been thinking about cornmeal, so when I found Alanna’s recipe for custardy cornmeal cake, I knew it was just right. The only problem? I didn’t have an 8 inch cast iron skillet… so of course I braved rush hour traffic to go hunt one down.

So when I got to Target and there was just ONE small cast iron skillet left without a barcode… I just bought it. The nice man there helped me, and after inspecting the bottom of the pan and seeing “8SK” stamped on the bottom, he decided it was in fact an 8 inch skilled at it would just be $10.99. So I popped it into my car, grabbed some grassfed buttermilk and cream and headed home.

SONY DSC

So. I mixed my batter, suspicious that it was such a little quantity of batter, but I proceeded anyway. I spread the batter thinly, and baked away.

When my cake baked up thin, contrary to Alanna’s beautiful pictures, I was indignant! I did everything right! I even followed the recipe!! I even bought the right pan!!!!!

SONY DSC

SONY DSC

But, I was immediately pacified when I ate a slice of my delicious creation. It was creamy, delicious and just perfect as a near-midnight snack.

SONY DSC

Then, after scrutinizing the recipe AGAIN, I noticed that the pan Alanna used looked much smaller than mine. So I whipped out my ruler and discovered I had in fact bought a 10 inch skillet. Oh dear…. that explains everything!!

The morale? Thin or thick, that beautiful cornbread studded with berries is an excellent dish.

So today, I meant to remake the cornbread with a double batch so I could have a thick and creamy slice of cake… but then I was thinking about asparagus and cheese.

SONY DSC

I did a little research on Alanna’s blog again, and baked up the crustless quiche in the SAME beautiful, cast iron skillet I bought.

SONY DSC

Let me tell you… Not only am I completely enamored with Alanna and her beautiful recipes, but I am absolutely head over heels with my new skillet.

Why ever did I wait so long to purchase this lovely skillet? Amazing. I love it. I can’t say enough good things.

So, my dear lovelies, this wasn’t a recipe post, but more of a review of The Bojon and Lodge skillets. Both? Excellent! Highly recommend.

I hope you all have a lovely weekend!

And for your patience reading my ramblings about my NEW love (10in Lodge skillet), here are some pictures! ❤


IMG_4032 IMG_4067 IMG_4074 IMG_4075 IMG_4078 IMG_4104 IMG_4116 IMG_4120 IMG_4128 IMG_4159 IMG_4202 IMG_4206 IMG_4209 IMG_4233 IMG_4260 IMG_4296 IMG_4385 IMG_4396 IMG_4400

Caramelized Peaches with Cinnamon

Oh hi friends. I meant to write you this amazing recipe for garlic scape pasta salad. I made it, tasted and yum-yummed, took pictures, and then put it in the fridge. The next day, I pulled it out for lunch and it was TERRIBLE. Seriously. What a waste of scapes.

Pantyways (I say that in real life… isn’t that embarrassing?) I went to the store and as I was floating past the fruit for the vegetables, these peaches caught my eye. PEACHES. People!!! Peaches are my ultimate food kryptonite because I’m allergic and I LOVE them. And you know I have so little control over my food-related impulses that before I knew it, I had paid and was loading a dozen beautiful and fuzzy peaches into my car.

So, like a lot of things I’m allergic too, I CAN eat them once the items are cooked. Unfortunately for most things this totally ruins it. Like seriously… the point of eating an apple is to get that juicy crunch and the satisfaction of crunching the fruit! CRUNCH man, CRUNCH! (Can you tell I drank a bit of caffeine today???).

Well… let me tell you, my friends, this? This is the absolute way one should consume peaches. I know it’s hot and gross out, but these hot little peach slices are just amazing over coconut ice cream and I don’t get hives from eating them! Win-win!

Now, I have a little convection toaster oven, which makes this particular dessert a snap to make. If you do not have one, feel free to use your oven. I would just suggest batching this baking with some other baking you need to do so that you optimize the time your oven is on and steaming you out of your home.

SONY DSC

Alright… This really isn’t much of a recipe, but it’s amazing!!

Caramelized Peaches with Cinnamon (Kaprise Kitchen’s solution to peaches)

  • 2 large peaches, firm
  • 1 teaspoon of cane sugar
  • 1/2 teaspoon of salt
  • 1 tablespoon of lemon juice
  • 1 teaspoon of cinnamon
  • 1 teaspoon of butter
  1. Slice peaches into 4 slices. I just mine in half and then half again.
  2. Sprinkle each slice with salt
  3. Sprinkle each slice with a little lemon juice and then the sugar.
  4. Dust cinnamon over the slices
  5. Dot the surface of the peaches with butter
  6. Bake at 400 degrees on a parchment lined pan for 50 minutes.
  7. Enjoy. Seriously… you should let it cool for like 10 minutes so you don’t burn yourself because I have a fat lip from burning it with peaches. True story bro.

SONY DSC SONY DSC SONY DSC SONY DSC SONY DSC SONY DSC

Itty Bitty One Bite Calzones (Kinda…)

You guys. I did a bad thing. I made these… and instead of sharing? I ate them all.

SONY DSC

So. First, these aren’t calzones. Sorry if I roped you in based on that information. Misleading title huh? But I didn’t actually know what to call these little things because they aren’t dumplings, or calzones, or really anything. Instead – it’s just a crispy shell filled with mozzarella and tomato sauce… which is really what a calzone is, but baked. These babies are fried.

Anyway… before we get to the recipe, as always I have some rambling to do (you love my rambles, you do!). In college, I used to order a pizza, sit, and eat each and every single piece by myself while I studied. I could normally polish off the entire pizza in an hour, sometimes longer if I was actually studying. Well, one day my best friend Corinne caught me in the act and to this day, she won’t let me live it down. She thinks it’s hilarious that I used to regularly stuff down entire pies of pizza. Small confession: I definitely did this in my last year of law school.

Oh right… back to the calzone-things. There used to be a delivery place that would deliver amazing calzones at my undergrad. I don’t know if they still do and it’s been so long that the name escapes me… but Corinne and I used to eat calzones in the library, hung over, and working. I know… I’m painting such an attractive picture of my college years, aren’t I? So, I’ve been thinking about teeny ones, like one bite calzones for the longest time because everyone likes finger food. And, for me, I like more sauce and more cheese and less bread than a normal calzone offers. Originally, I thought about doing this little recipe in actual yeast raised pizza dough, but then I forgot to buy yeast. So then I was thinking pie crust, but I got lazy and decided on wonton wrappers. I always have a package or two of wonton wrappers in my freezer, so it worked out. I’m cleaning my fridge and making my food-dreams come true.

Right on. Here we go. So before we get started, I highly recommend using a splatter guard. It’s one of those mesh things that you pop over the top of frying pans to prevent oil splatters. I really debated on making these at all because frying anything “wet” like tomato sauce can be a HUGE problem and lead to really dangerous splattering oil. And then after I made them, I debated on posting them here, because I don’t like the idea that anyone makes something I recommend and gets hurt. However… I decided as I was cleaning that you are ALL adults and I am giving you the appropriate warning so there it is. BE CAREFUL!

Kaprise Kitchen’s Itty Bitty One Bite Faux Calzones

  • 2 Mozzarella sticks
  • 16 small circular wonton wrappers
  • 1/4 cup of chunky tomato sauce*
  • 1/4 cup of vegetable oil

*** I recommend using the chunkiest sauce you have so that you can eliminate the more fluid and liquid-y parts of your sauce. I made sauce from whole canned tomatoes a few days ago, so I used the chunks of tomatoes from that sauce only. The reason for this is that in case your wrapper leaks as you fry, the sauce won’t hit the oil and turn into a fountain of spluttering hot oil.

  1. Cut the mozzarella sticks down the length and then into fourths. You should get 8 thin rectangles from each stick (16 total)
  2. Lay out the wonton wrappers and place one mozzarella segment in the center of each
  3. Using a small spoon, add a small dollop of sauce on each circle
  4. Seal the circles with a dab of water and press firmly so that the wrappers are 100% sealed. You want to give yourself a little room as you seal these. The sauce and cheese will puff a bit as you cook so you should give them room to move around without breaking the seal of the wrapper.
  5. In a pan, heat the oil and drop a piece of wrapper in to check the temperature. You want a gentle bubble of oil
  6. Gently place each “calzone” into the oil, giving plenty of space
  7. Fry on each side for about 1 minute, or until golden brown.
  8. If cheese or sauce leaks from your wrappers and causes the oil to splutter, step back until the oil has stopped spluttering before removing the little calzone. Better to have burnt food than burnt body parts.

SONY DSC SONY DSC SONY DSC SONY DSC SONY DSC SONY DSC SONY DSC SONY DSC SONY DSC

I hope you enjoy this recipe! I can see this being versatile and becoming as down to earth or as sophisticated as you want. This would even be good with a dollop of goat cheese and fig spread!!

Have a great weekend everyone!

xoxo-H


Listen When I Sing This Song (+ the BEST Baked Ziti)

Today… Today I was ravenous… After my run, I demolished an entire tray of sliced carrots and hummus. Then I ate a cheeseburger. Then I spent three hours thinking about how I was SO hungry. Clearly, my body was telling me to eat something! But then I got super, uber fixated on cheesy pasta. So. I made it.

The first time I had baked ziti was at my friend Deirdre’s house. Her mom asked me to come over to play, and I was SO excited. I shouldn’t have been so excited, the minute I arrived Deirdre and I were planted firmly at the kitchen table and told to work on Algebra together while Deirdre’s mother whipped up dinner. Despite being forced to do homework on my “play” date, I was thrilled because Deirdre’s mother made us this thing called “baked ziti.” I distinctly remember wolfing down more than my fair share. It was hot, cheesey, and absolutely amazing. I loved it.

I made baked ziti for years, and it has always been one of my favorites. I made it for my 16th birthday celebration, but I can’t remember having made it since (… seriously?!).  Anyway, I read a couple recipes on my phone before running through the grocery and grabbing the ingredients. From start to finish it took me about an hour and 15 minutes, but it was an active 1 hour and 15 minutes. Either way, baked ziti is always worth the elbow grease!

Kaprise Kitchen’s So-Hungry-I-Can’t-Focus-On-Anything-But-Food Ziti (inspired by several different recipes online, and Deirdre’s mom)

  • 28 oz can of whole tomatoes (you may choose to use more tomatoes if you like to keep extra sauce for rainy days. I did!!!)
  • 1 bunch of basil
  • 1 bunch of parsley
  • 1 bay leaf
  • 2 tablespoons of chopped garlic
  • 1 yellow onion, minced
  • 2 tablespoons of olive oil
  • salt/pepper
  • 1 pound of uncooked pasta
  • 15 oz of full fat ricotta cheese
  • 12 to 16 oz of full fat mozzarella, shredded (also. seriously. NEVER buy that preshredded stuff. It’s bad. VERY bad)
  1. If your oven takes 10000000 years to preheat, now is the time to fire up that babd boy. 375 degrees F.
  2. In a large pot, bring a large quantity (enough for 1 pound of pasta) to boil. Salt lightly.
  3. In another large pot, heat olive oil over medium heat
  4. Mince the onion (really more of a petit dice) and add to the olive oil.
  5. While your onion is softening, peel and smash about 3-4 cloves of garlic. Chop finely and add to onions. Continue to cook gently, be sure not to let the garlic or onion brown. You just want them to be nice and translucent.
  6. Add tomatoes to the garlic/onion. Break apart the whole tomatoes with a fork. Continue on medium/high heat
  7. While your tomato mixture is heating up, your water should boil. Add your pasta and cook for 2 minutes less than al dente. Set a timer so you don’t forget!
  8. As your tomatoes heat, finely chop your fresh basil and parsley. I added a very generous 1/4 cup of chopped herbs, but feel free to adjust based on your preferences.
  9. Add the herbs to the tomatoes, cover and bring the tomato sauce to a boil. I don’t like to cook the heck out of the sauce, so just as it gets to a boil, I turn the heat off.
  10. Now… your pasta timer should have beeped, so drain your pasta in a colander. Shake the excess water from the pasta and return to the pot.
  11. In the pot, add the ricotta cheese and 1/2 of the shredded mozzarella (I added some more chopped herbs too) and 1/2 of the tomato sauce. Stir until the noodles are evenly coated.
  12. Spread your pasta into a large casserole dish (or two separate ones like I did). Dot the top of the pasta with the remaining tomato sauce. Sprinkle with the remaining mozzarella.
  13. Pop into the over for 20 minutes, or until the cheese has bubbled a bit.
  14. ENJOY!

Leftovers keep well for up to 4 days in a tightly sealed container. When reheating, add a little extra tomato sauce to the pan/plate/whatever to help the pasta perk up a bit.

I would have taken pictures, but I was so busy burning my tongue and wolfing this down that I didn’t. Also. Baked ziti photographs pretty terribly, so I doubt you’re missing much.

What did you eat for dinner?


Gingery Tea Jello

There was a period in time where I made and consumed jello ALL the time. I used to put 7-Up in it to make it bubbly… like champagne! I’d always leave a little water out because I liked my jello firm and bouncy so I could play with it before gulping it down.

SONY DSC

Anyway, I was thinking about jello yesterday, and after doing a little digging I decided I wanted to make my jello with tea like I saw here. I’ve been thinking of ways to get rid of the extra Camomile Citrus tea from Mighty Leaf that I bought when I was sick a couple months back, and this seemed like the perfect idea. You guys also know I’m “kinda” obsessed with ginger these days, so I  added that and some good raw honey I had. Seriously… AMAZING. They are just lightly scented with tea and have an awesome kick of spicy ginger and just a bit of sweetness from the honey. I definitely recommend brewing the tea, ginger, and honey together so you can adjust depending on your person preferences, but here is the formula I used for my little blocks of jello.

Oh… Did I mention that you can look at a ton of super awesome jello ideas here?? And, Victoria is SUPER nice and helpful. She even gave me awesome tips of how to use that Nordic Ware pan I’ve had for months and only used once.

Oh… (2x) did you know that jello is paleo friendly??

Gingery Tea Jello (Inspired by the Domestocrat and Victoria)

  • 0.75 ounces of powdered gelatin
  • 2 cups of boiling water
  • 1 cup of room temperature water
  • 2 tea bags
  • 2 tablespoons of grated ginger
  • 2 tablespoons of raw honey
  1. Bring a pot/kettle of water to boil. You need 2 cups, so make sure to boil enough
  2. In a large heatproof bowl, add one cup of room temperature and 0.75 ounces of powdered gelatin. Stir.
  3. In a teapot, combine two cups of boiling water with your tea bags of choice, raw honey, and grated ginger. Allow the tea and ginger to steep for 5 minutes. Stirring occasionally to break up the raw honey. Taste the mixture and adjust sweetness and ginger accordingly.
  4. Strain the hot tea to remove the grated ginger, and whisk the hot tea into the bowl with the gelatin.Make sure all of the gelatin is completely dissolved.
  5. Pour into molds or into a glass Pyrex (like I did)
  6. Chill for a couple hours, until set, and enjoy!!!

What about you? Do you like jello?? What do you think about this kind of jello?

SONY DSC

Crisp Salad with Feta, Olives, and Basil

After eating soup and soft hot foods to help kill my cold, I was really craving something fresh, crispy, and refreshing. This salad satisfied my craving, and the remaining leaves of lettuce have been quickly gobbled up with zesty dressing. Since this isn’t much of a recipe, I’ll leave you with a list of the ingredients and a couple pretty pictures of my salad

Crisp Salad with Feta, Olives, and Basil

  • Iceberg lettuce
  • Feta cheese, crumbled
  • Sliced black olives
  • Shredded basil
  • Thinly sliced fennel
  • Sliced carrots
  • Coins of roasted sweet potato
  • Avocado
  • Cherry tomatos
  • Italian dressing

SONY DSC

SONY DSC

Double Dose of Vegetables Pad Thai

I went to Thailand last year, and for someone who had not really appreciated Thai food, I came back with an extremely healthy appetite for Thai food. Unfortunately, New York is not a bustling metropolis that contains much Thai food (please correct me if I’m wrong! I haven’t been able to find anywhere to remotely resembles delicious Thai food!).

My sister introduced this recipe to me a year ago, and it has been on steady rotation in my cooking repertoire. The recipe is simple and the result is a stunningly delicious rendition of Pad Thai. You can find the complete recipe at Health-Bent, an extremely well written and thought out Paleo blog with gorgeous pictures and recipes. Health-Bent’s Paleo Pad Thai.

Here are some pictures from my latest run at Paleo Pad Thai.


I normally make a double batch and store it in the refrigerator in 1 serving portions. I just grab a container at a time and toss it with some grilled shrimp or chicken over high heat and eat! Quick and delicious way to get your protein and vegetables in one delicious bowl!

Oh… and in case you find yourself in Bangkok? This is the Pad Thai I am raving about! It is seriously amazing.

SONY DSC

You can find this Pad Thai in Bangkok at  Pad Thai Thip Samai (aka Pad Thai Pra-Too Pee). Located at Khaosarn Road. Here is the address and website:  313 Mahachai Road, Phra Nakorn (http://www.thipsamai.com/)

Mascarpone Chicken Salad with Lettuce Cups and Sweet Potato Circles

I have been sick for over a week, and have spent a great deal of time sleeping… but yesterday I was feeling so stir crazy from not having left the house in so long. My first stop was the grocery store… I was planning on browsing at the mall, but I broke out in a cold sweat from just driving to the grocery so I came home right after.

I have been thinking a lot about mascarpone cheese lately… I thought about fluffing it with ricotta and making cheesecake or whipping it with maple syrup and peach preserves to make a decadent frosting for pancakes. I thought a lot about what I would do with mascarpone… but when it came down to it I chose something simple where the delicate flavor of the cheese would be unexpected and delicious.

SONY DSC

I’ve written about chicken salad here before shortly after my friend Jon visited, and this recipe is quite similar. However, as will all chicken salad recipes, this is really more of a suggestion than a recipe. It’s infinitely adaptable to suit your tastes, and if the mascarpone isn’t your style you can always use plain greek yogurt or the standard mayo instead.

I served mine with crisp lettuce leaves and roasted sweet potato, but feel free to use bread or wraps!

Mascarpone Chicken Salad with Lettuce Cups and Sweet Potato Circles (Kaprise Kitchen original)

  • 1 pound of chicken tenderloins
  • 1 tablespoon of Worcestershire sauce
  • 1 tablespoon of your favorite salad dressing (I used balsamic vinaigrette)
  • 3 stalks of celery
  • 3 carrots
  • 1 bunch of basil
  • ½ cup of mayo
  • ½ cup of mascarpone cheese
  • 1 tablespoon of mustard
  • salt/pepper
  • 1 head of iceberg lettuce
  • 2 medium sweet potatoes
  • 4-5 tablespoons of olive oil

I wrote these directions in the order that I made my meal, so while the circles bake you can assemble the rest of your meal.

  1. Wash and slice the head of lettuce in half. Submerse the halves into cold water. Cover and refrigerate. (This helps your lettuce perk up and stay crisp)
  2. Heat your oven to 400F. 
  3. Peel and slice the sweet potatoes into 3/4 inch coins (thinner if you want a faster baking time).
  4. Toss the sweet potato with olive oil and salt. Roast at 400F for 30 minutes, or until golden and soft. (See more about roasting vegetables here)
  5. Heat a little olive oil in a nonstick pan.  Toss the chicken in the Worcestershire and salad dressing.
  6. Lay the chicken tenderloins in the pan flat and cook at medium heat until cooked completely
  7. Remove the chicken from heat and allow it to cool.
  8. Wash and peel the carrots and celery (no peeling for the celery!!). Wash the basil and remove any woody stems.
  9. Dice the carrots and celery. Chop the basil into small pieces.
  10. Let the vegetables rest for about 10 minutes in a clean dishcloth to remove any excess moisture.
  11. Chop the chicken into 1/4 inch cubes.
  12. In a bowl, combine the chicken and diced vegetables and basil.
  13. Add the mascarpone cheese and mustard and stir until the mixture is evenly coated.
  14. Salt and pepper to taste
  15. Add tablespoon increments of mayo until the desired consistency and flavor is achieved. (You may choose to simply use mascarpone, but I found it just a bit too rich and sweet for the salad.) You may also add more mustard as needed.
  16. Pop the chicken salad into the fridge while you gather the rest of the ingredients.
  17. Remove the sweet potato from the oven and allow it to cool.
  18. Gently drain and spin (or shake) the moisture from the iceberg lettuce.
  19. Arrange plates with iceberg lettuce cups and coins of roasted sweet potato. Top each with a tablespoon or two of chicken salad and a basil leaf for presentation.
  20. Serve!!!

SONY DSC

Thank you so much for visiting. I hope you enjoyed this recipe! Let me know if you decide to try it! Or if you would like to share your chicken salad recipes!!!

xoxo -H