Un-Generous (plus some dip)

I tend to be a generous person. As a child, my mom used to pack me several times the amount of food for lunch because I shared with everyone. And… until recently I’ve been very generous about everything. I share notes, I share tips for school, I share my time, I share a lot of things… but recently I’ve been feeling the opposite of generous. I don’t feel like talking to anyone. I don’t want to share. I don’t want to give anyone anything. And the phrase “THAT IS MINE” keep bubbling out of my lips. Childishly so. There is actually no point to this story. I just thought I’d share these new childish personality developments in my life.

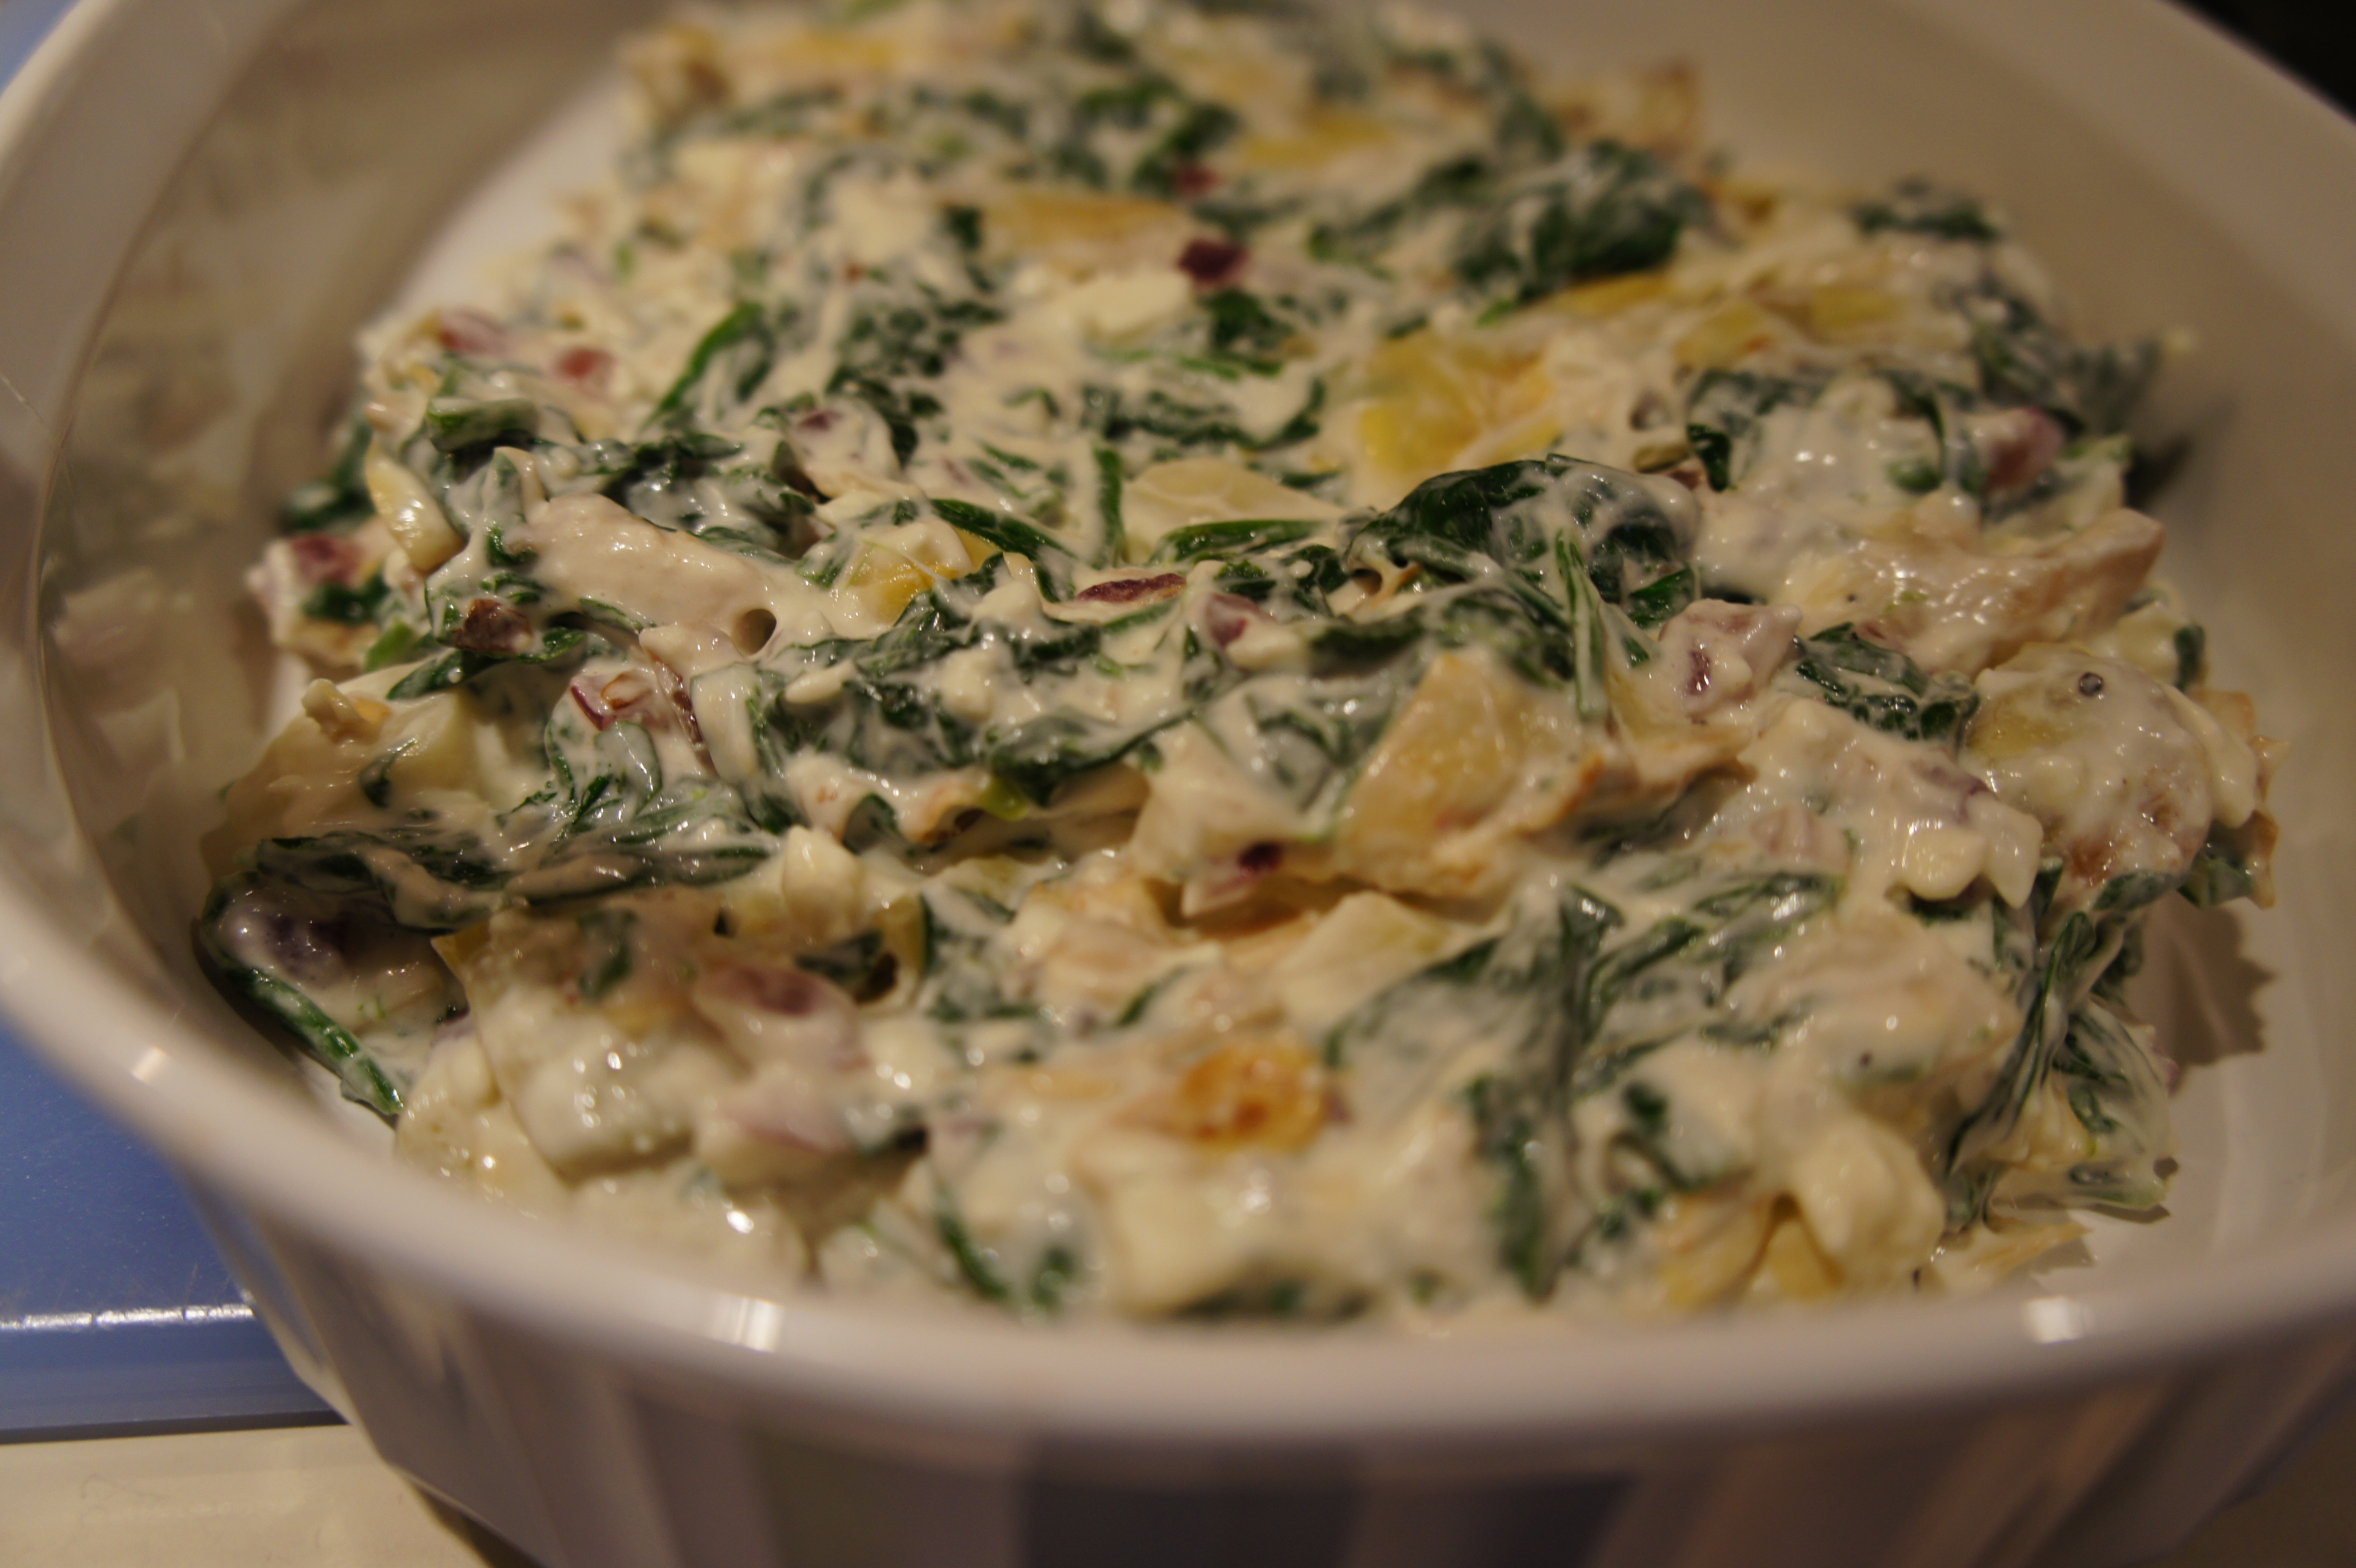
Anyway. The point of this post was to share my new favorite thing on earth. Spinach Artichoke dip. I did some research on spinach artichoke recipes and I couldn’t find a one that I agreed with. Some of them add a roux (which I hate because I think it smells like play-doh) and some use peppers (which I find slimy) and then some used milk (which I hate buying because I don’t drink it) and some used packaged mixes (which I eschew with disdain). I know. I’m a difficult person. Anyway. I made several different versions of this dip before I settled on this particular ratio. This dip is not creamy and gooey, but instead it is heavily packed with spinach, caramelized onion, and chopped artichoke all held together with a bit of cheese and burnished in the oven to a golden crisp. I will tell you up front… this dip? This dip was not cheap nor was it quick, but it is absolutely worth the effort.

Kaprise Kitchen’s Spinach Artichoke Dip

  • 3/4 pound of fresh baby spinach
  • 28 oz of artichokes, chopped and drained well
  • 1 red onion, diced
  •  4 cloves of garlic, roughly chopped
  • 8 ounces of cream cheese (use a good quality, full fat cream cheese)
  • 8 ounces of sour cream (again, use a good quality and full fat variety)
  • 1/2 cup of crumbled feta cheese (for the third, and shockingly not the last time, a good one that is full fat)
  • 1/2 cup of shredded mozzarella cheese (tada! a good and full fat variety)
  • 1/2 cup of shredded parmesan (guess what? use a good and full fat variety)
  • salt and pepper to taste
  • About 4 tablespoons of butter
  1. In a large saucepan, melt a tablespoon of butter. Saute the spinach and garlic in batches until just wilted. Set aside in a colander to drain.
  2. Wipe out your pan, and melt another chunk of butter. Saute the onion until caramelized and fragrant. Add a sprinkle of salt to help the onion along.
  3. Once the onion has caramelized, toss the chopped artichoke in the pan with the onion and another chunk of butter. Toss and allow the artichoke to gather some color as well. Set the artichoke/onion mixture aside.
  4. In the same pan, slice in the cream cheese and stir until melted. Stir in the sour cream.
  5. In the cream mixture, stir in the artichoke and onion mixture. Remove from heat
  6. Gently squeeze the spinach leaves to remove excess liquid. On a clean cutting board, roughly chop the spinach
  7. In the saucepan (or a large mixing bowl if you pan won’t accomodate all the ingredients), combine the spinach with the artichoke/onion/cream mixture.
  8. Fold in the feta and mozzarella, making sure that the cheeses are evenly incorporated.
  9. Take a quick taste of the dip… add more salt and pepper as needed. You might get creative and add some cayenne for an extra kick, or throw in some diced jalapeño. The world is your own bowl of dip! (because oysters gross me out)
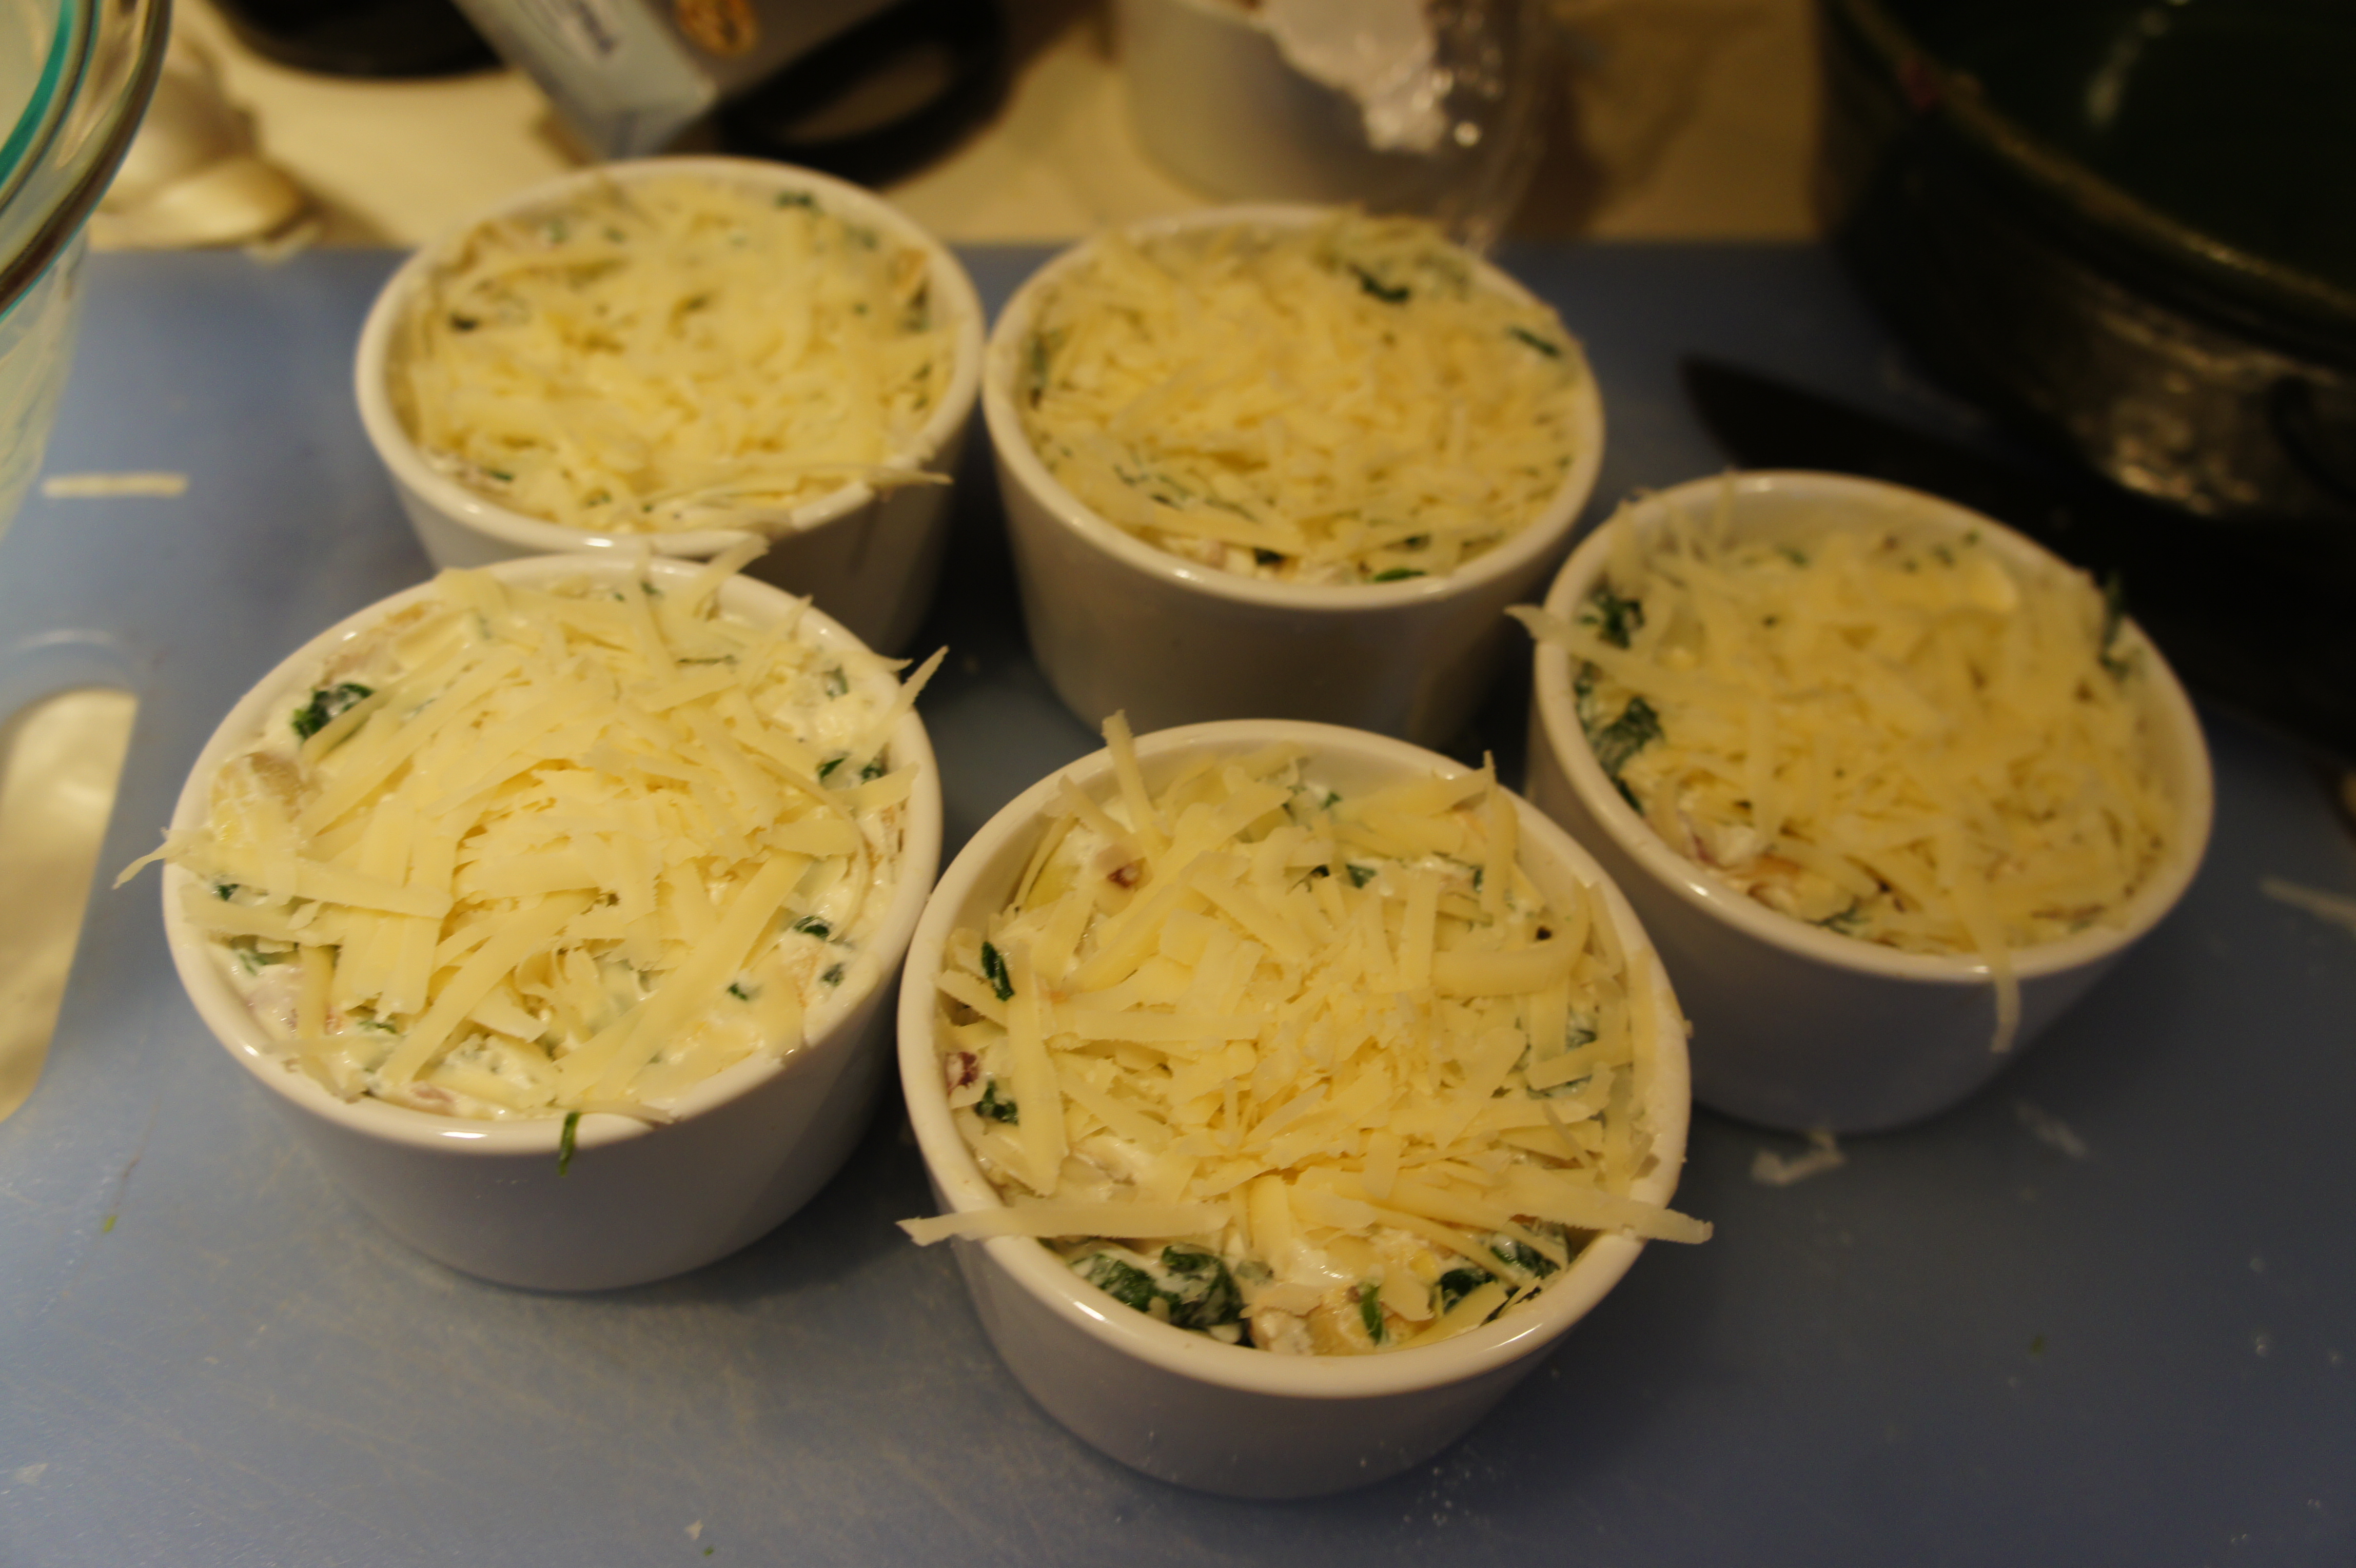
  10. Divide into oven-safe dishes and top with parmesan.
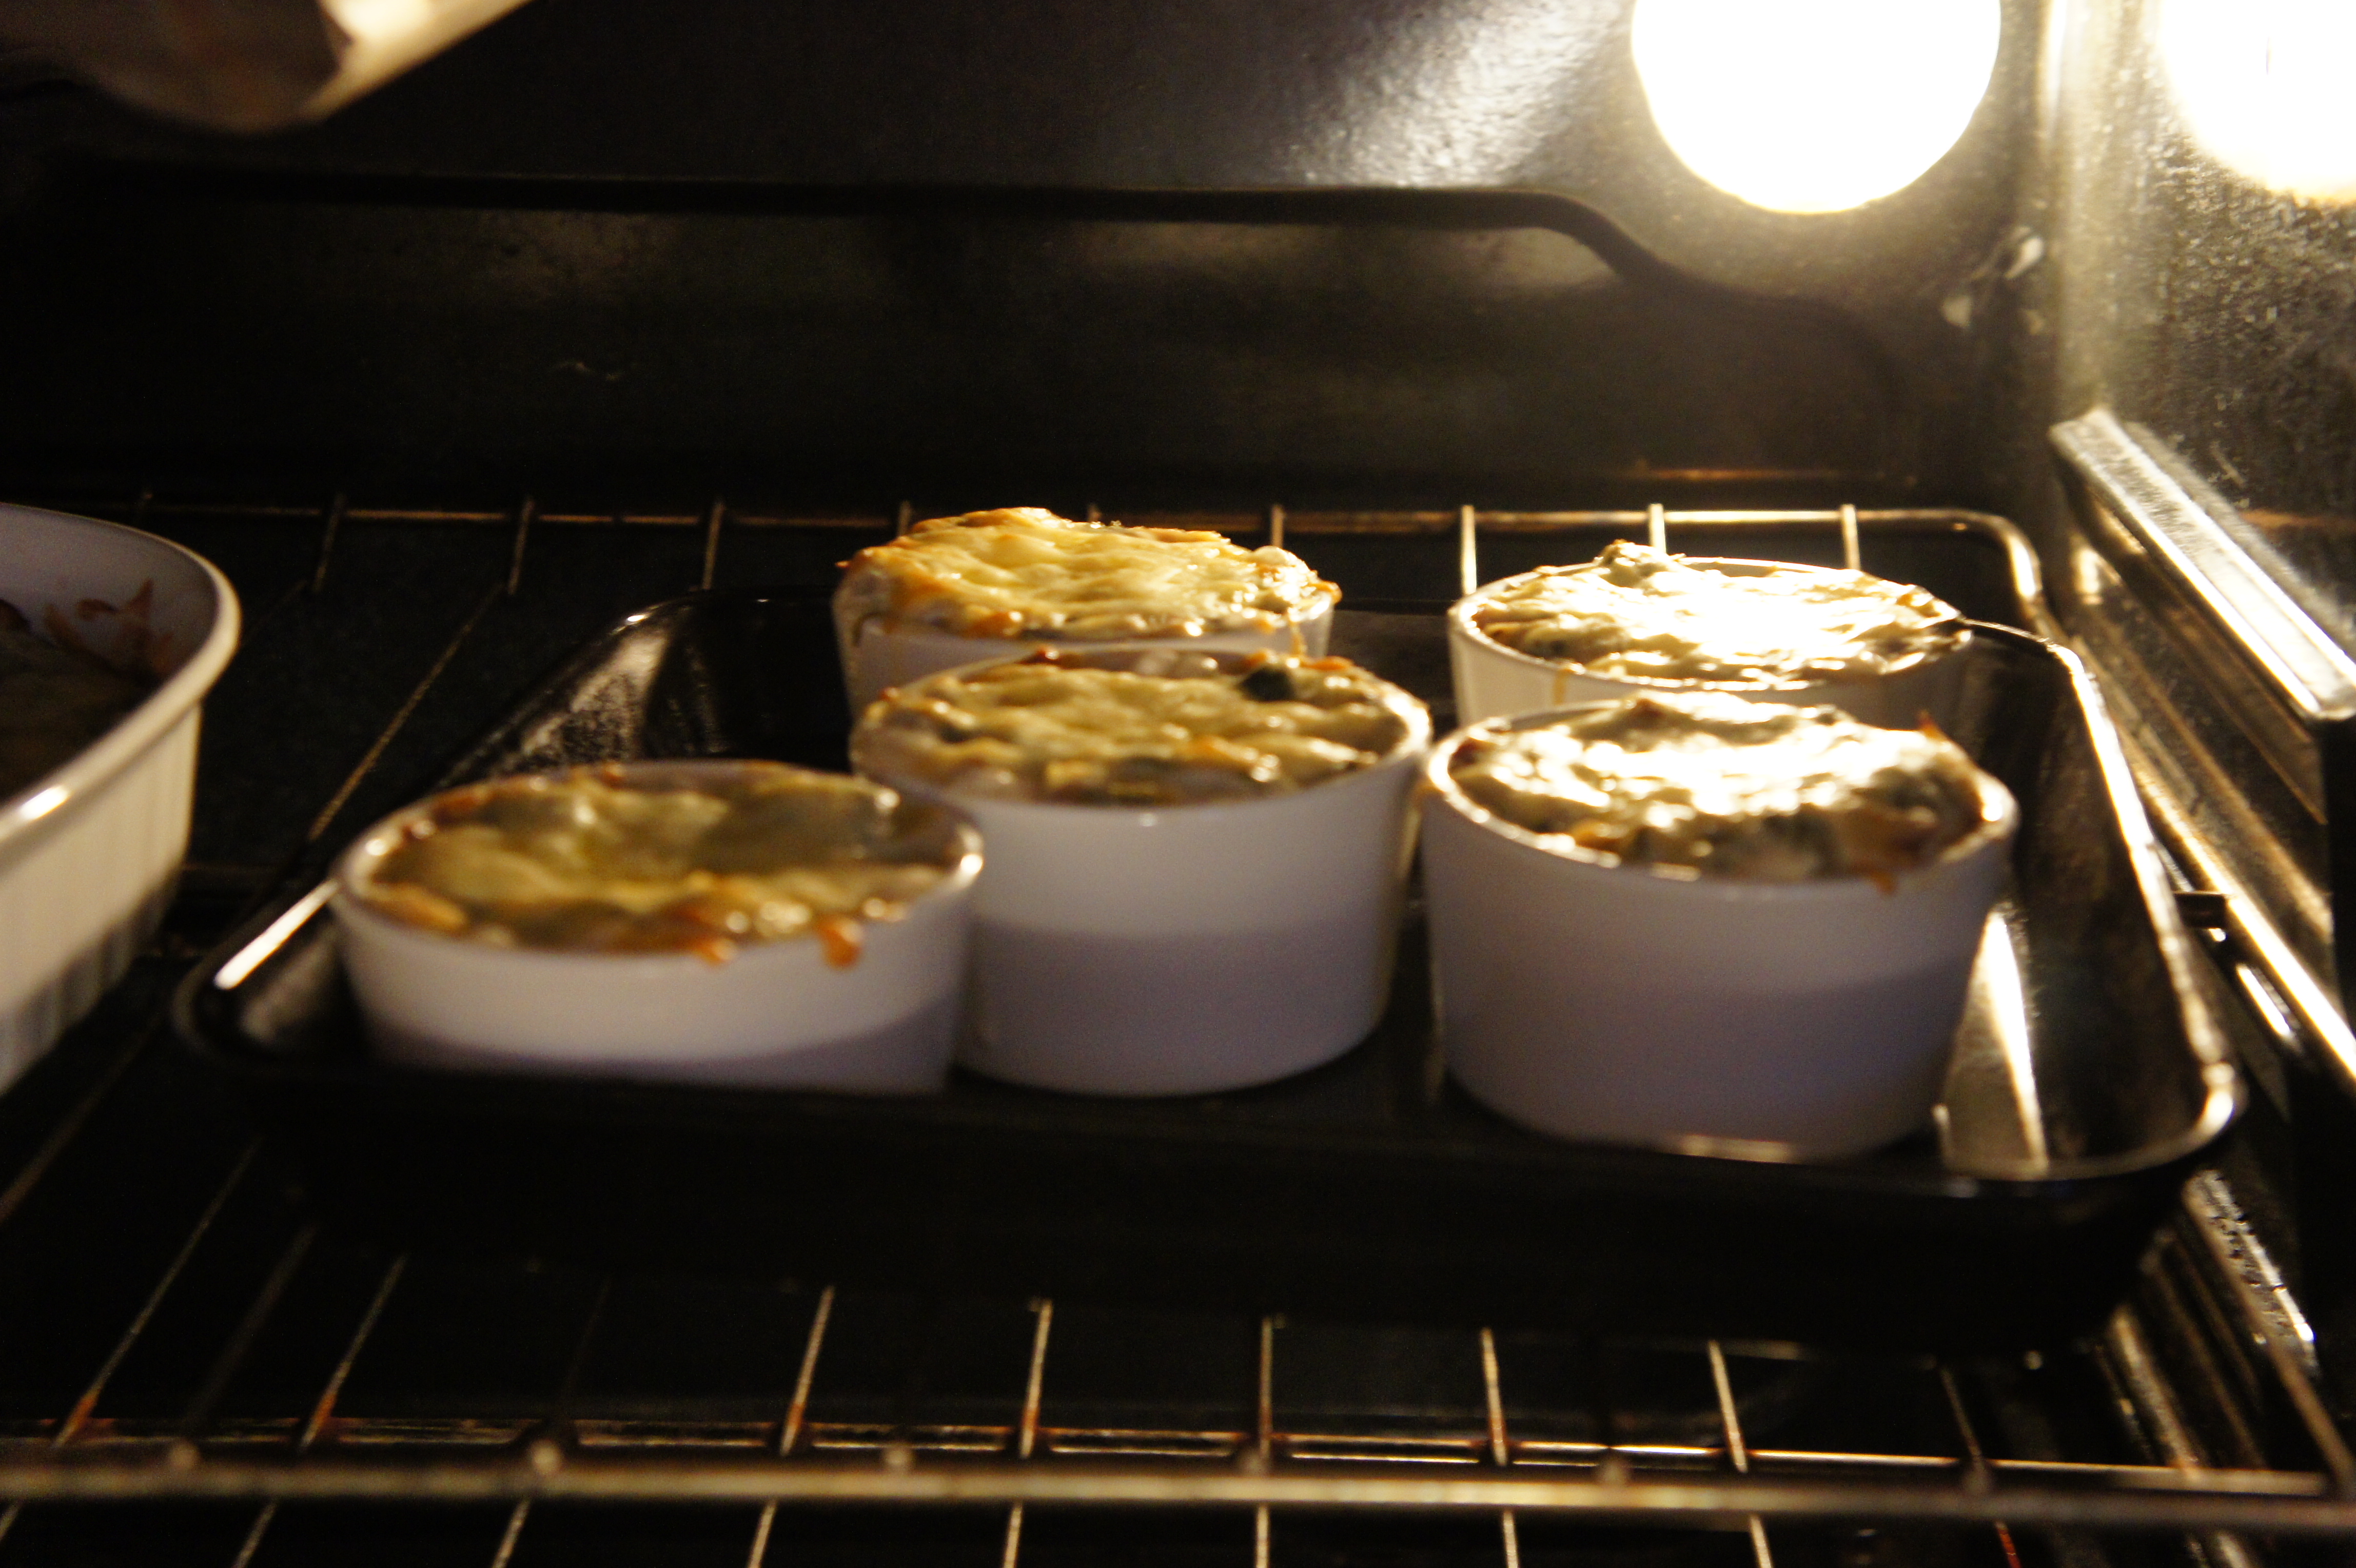
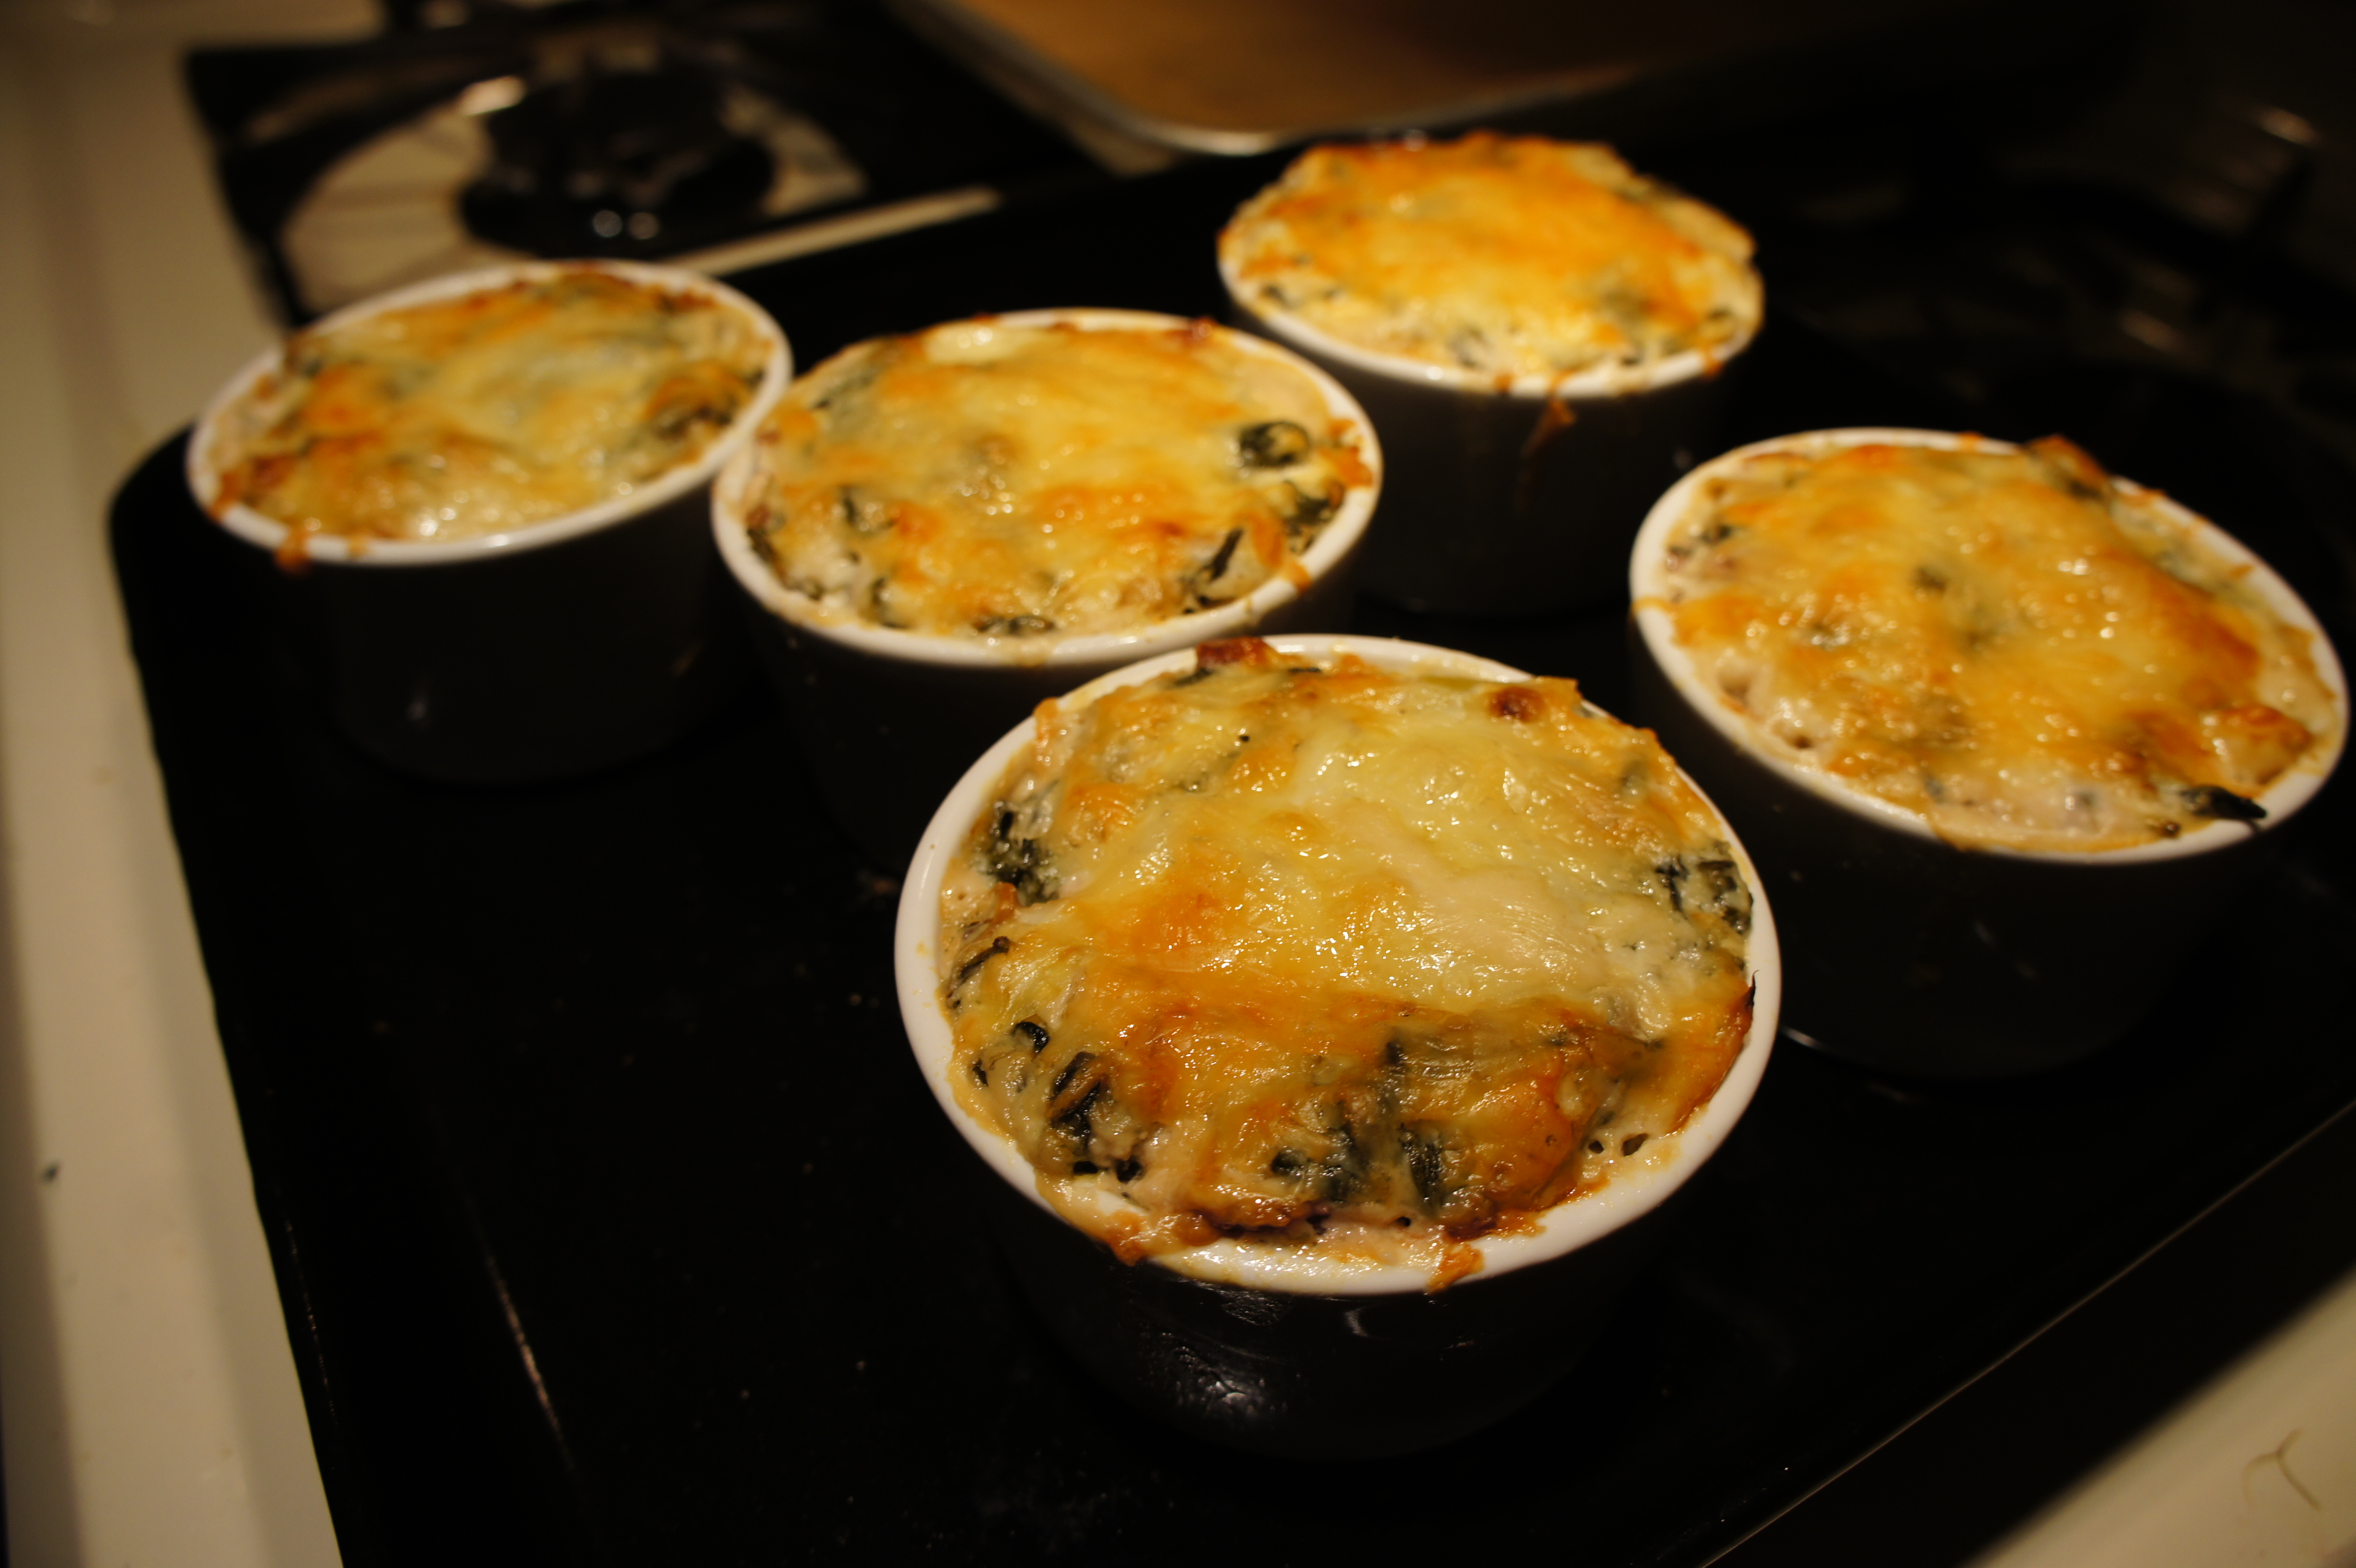
  11. Bake at 400 F for 20 minutes or until bubbly and golden on the top.
  12. ENJOY!!!!!!

ImageImage

ImageImage

Little Tricks

A couple weeks ago, my mother returned from a trip to see a friend out in Chicago. Not only did she return with a million adorable new additions for her wardrobe (can I mention how JEALOUS I am to have missed out of Chicago shopping?!?!) she also came back with a little trick. Her friend explained that if you wrap a ripe avocado tightly in foil and then refrigerate, it stays bright and fresh until you are ready to finish eating it… works on cut and uncut avocado!! 

So.. of course I tried it. And ladies and gents… it actually works! So I thought I’d share!


xoxo

-H


Coconut Spiced Macadamia Nuts

Oh hello… I bet you almost forgot that I actually post recipes and fun stuff! But I do have this lovely LOVELY recipe for you… finally!

If you are like me and are barreling through summer studying for an exam (ahem bar and board takers) you understand how stir crazy you get sometimes. After reading through evidence (of all horrible things) for a few hours, I was falling asleep in my chair. In attempt to perk up and distract myself from the fluffy pillows on my bed, I whipped up these roasted nuts, lightly spiced and crunchy sweet. I made them first with almonds, and then with macadamia nuts. I far prefer the macadamia nuts because of the contrast between the creaminess of the nut and the crunch of the coating. However, feel free to make these with any type of nut! The nuts end up just a bit coated in sugar and a bit crusted in coconut. Some of the coconut just caramelizes with the sugar and you get these delicious bites of spiced coconut. So… ON TO THE RECIPE!

The measurements are not exact, but this is what you need:

  • 1/2 cup of flaked, unsweetened coconut
  • 1 1/2 cups of macadamia nuts
  • 1/2 cup of sugar
  • 1/2 teaspoon of cumin*
  • A sprinkle of paprika and red peper powder*
  1. Lightly toast the coconut flakes. Stir in the spices and pour into a separate plate.
  2. In the same pan, sprinkle the sugar evenly over the surface and allow it to melt. Once the sugar has melted, you must work quickly so that it does not burn!
  3. Remove the pan from the flame and toss the macadamia nuts to coat in the sugar.
  4. Then quickly sprinkle the coconut mixture evenly over the tops of the glazed nuts and stir rapidly
  5. Quickly remove the mixture to a large, flat plate and cool.
  6. Store after completely cooled

* If you like a spicier nut, feel free to up the quantities of these spices. You could even crumble a little rosemary in here!

Image

Cheese Straws and Circles

When I was a kid, my summers were filled with books and lots of time running in the sun dappled yard. My mother would us strap us into our trusty red Volvo, and drive us to the library with the windows down. We’d sneakily stick our hands out the window to feel the wind push our hands back. My sisters and I would quiet the minute we go to the library, solemnly picking out our books and propping ourselves on the stacks to read the interesting ones right away. And after the air-conditioning had sufficiently seeped into our bones, we would pile back into the car with our stacks of books. We would spend the rest of the afternoons with our piles of books in the yard reading. I remember sitting on blankets on the deck reading books until the sun set. The soft breeze rippling through the grass and the shade on the deck lulling me into the books.

Well, other than wishing that these huge tomes of law books were nearly so fun to read and that I was still in my backyard plastered to my books like I was as a kid… I remember reading a story that talked about cheese straws. It sounded so glamorous and delicious. The main character was in London, and her friends were visiting and she scraped together these cheese straws with “just a bit of butter, cheese, flour, and water.” I wanted to feel as glamorous in my chic apartment munching on cheese straws… so I obviously tried my hand at it. My mother’s the forgiving sort that let us experiment with all of the kitchen supplies, and would patiently watch while we insisted we knew what we were doing. After mushing together an extraordinarily expensive chunk of cheese with some flour, water, and butter… I baked my little straws. They were actually just awful. I was just a kid, but the cheese straws I imagine in my head were light and crunchy and melted on your tongue. The ones that I had made were heavy blocks of floury cheese.

Needless to say, I never looked at another recipe for cheese straws again. I just wasn’t interested in baking blocks of disappointment. But, then two years ago when I started law school, I was actually living alone in my chic little apartment with my equally chic little puppy. I felt that it was time to try my hand at cheese straws again. I followed the recipe on smittenkitchen, which was delicious, but the dough was just a bit too substantial for me. I wanted little straws that were meltingly lovely and that were equally pretty. So, I tweaked. Just a bit. And discovered that a combination of cheddar and the best Parmesan (that my teensy grocery carries) made all of the difference. A generous sprinkle of crushed red pepper made them just spicy enough, and of course, all food must be pretty… so I used the teensiest fluted cutter I have.

Cheese Circles (Adapted from smittenkitchen, who references Lee Bros. Southern Cooking)

  • 1 1/2 cup of cheddar cheese, grated finely
  • 1/2 cup of Parmesan cheese, grated finely
  • 4 tablespoons of good butter, at room temperature
  • 3/4 cup of flour
  • 1/2 teaspoon of flaky sea salt
  • 3/4 teaspoon of crushed red pepper flakes, I whizzed mine through a food processor to get smaller flakes
  • 1 to 2 tablespoons of heavy cream
  1. In a large bowl, mix together the cheeses, butter,  flour, salt, and pepper. Work the mixture together until the dough is crumbly and well incorporated.
  2. Slowly drip the cream into the bowl, stirring until the dough comes together into a cohesive ball.
  3. On a lightly floured table (or counter) roll the dough out to about 1/4 inch. Cut with a 1/2 inch cookie cutter. Or whatever size you desire.
  4. Bake at 350 degrees Farhenheit for 10-15 minutes. The circles should be golden and have poufed up a bit.
  5. Note: In one of my runs, I sprinkled a little Parm over the tops of the circles and that was delicious also… but I prefer mine without.

Easy Peasy Zucchini and Feta Squares

This is a tart of sorts… it’s a pie? I don’t know what I should call it, but I needed something to help me procrastinate my little heart out. I’m having the worst time focusing on finals this year. I’m good at waking up, but the only thing getting me out of bed is dehydration this semester. This is the first semester I have been single since starting law school, so I have been getting more work done (no pesky boys clamoring for my time), but I’ve also been distracted. I’m thinking about running and getting back into top running form. I’m thinking about where to jet off too… I just want to be on the move.

This morning, my neighbor invited me to run with her running group. I went along and it was phenomenal. I ran 10 miles with the group, paced at about 9:30/mile. It was wonderful. I was back in my apartment by 9:00am. But, the only thing I have been having problems with is splitting headaches after my long runs. I don’t know if anyone else has this problem… but about an hour after finishing a longer (more than 7 miles) run, I’m sitting with my head in my hands with a horrible headache. So instead of hitting the library as planned, I was zoinked out on my bed sleeping off my headache. Maybe it’s the water. Or maybe, like my neighbor suggested, it’s because I run without water and without any nutrition. I just go. Hmm.

This tart is super easy. Five ingredients, thirty minutes, and delicious. You can use any variation of vegetables. I imagine it’s delicious with some squash, maybe thin eggplant slices? Or even tomatoes. Or potatoes… the possibilities are endless.

Easy Peasy Zucchini and Feta Squares (the result of Kaprise Kitchen procrastination)

  • 1 zucchini, thinly sliced. If you have a mandoline (I do not) this would be supremely easy
  • 1 small onion, thinly sliced
  • 8-10 sheets of phyllo dough (I used 8 out of a package, but feel free to use whatever thickness or variation)
  • 4 oz of feta cheese, crumbled finely
  • 3 tablespoons of butter, melted
  1. Place the phyllo dough on a cookie sheet, brushing the bottom of the first sheet with butter, and brushing alternating layers lightly with butter.
  2. Spread crumbled feta cheese once inch from the sides of the phyllo dough.
  3. Arrange the zucchini and onion slices on top of the feta cheese
  4. Fold the sides of the dough up to cover a little bit of the zucchini and onion.
  5. Brush with butter
  6. Bake at 350 degrees for 20 minutes, or until golden brown

Guilty

In law school, I think a lot about guilt. We learn and analyze guilt on so many different levels, and think about proving guilt, disproving guilt, and the nature of guilt. Law school has changed the way I think of people, maybe it’s the cynic in me, but I see things in terms of lawsuits, guilt, and how solid my arguments to nail you to the proverbial wall. I judge things based on the gravity of the information I have in my possession… and I research to further analyze whether my judgment is sound. I judge. I judge a lot.

The other day, someone asked me, “What are your guilty pleasures?” And I thought… how could something that is pleasurable be guilty? Is it wrong? Are you doing something morally questionable? Why does something that make you happy a guilty thing?  Because in my mind – pleasure is good. Feeling good is good. So… what is guilty about it? A lot of people talk about food like that… chocolate is their guilty pleasure… or cupcakes. Or ribs. But to me? Food is never guilty or bad or regrettable. I believe in eating all of the wonderful things in the world and enjoying every single bite… and then if you are worried about the calories? You go run it off… I don’t believe in low calorie. I don’t believe in fat-free. I don’t believe in sugar free. I don’t believe in skipping meals. I don’t believe in dieting to lose weight. I believe in loading up on all of the good things in life. Food, exercise, and laughs.

Anyway, a few years back, my sister and I saw some stellar reviews for an arepas bar in NYC. I was working in the Financial District at the time, so my sister collected by father and me from work and we went to the arepas bar. It was delicious. Granted, my dignified father, sister, and I were squished in a little hole in the wall restaurant table nailed against the wall… but the food was delicious. And I was instantly infatuated with the idea of making my own arepas. After doing my research, I bought a bag of masarepa flour and fixings. My family and I ate arepas for months afterward… it was one of those treats we would gather around the table to eat. It was fun. We’d hollow out the pillows of arepas and load them up with cheese, beans, and meat. It was messy, and inevitably the munchkin would stick her head through our arms and try to lick the table. It was so much fun, and so delicious.

So, now that I live alone and in a little apartment, arepas are few and far between. The frying oil permeates my apartment, and I dislike sitting eating what I consider family food by myself. The arepas we ate at the arepas bar were thick, and hollowed out to make room for fillings, but I make mine thin and crisp. It eliminates the hollowing out step, and then I top the arepas with toppings like canapes. I think this would be an amazing appetizer for a dinner party, the crisp little arepas are just phenomenal with melted cheese and beans. I think any topping would be phenomenal. Maybe some pulled pork, or chicken to make them heartier.

Arepas (Kaprise Kitchen Style)

  • 1 cup of masarepa flour (this is different than masa harina!)
  • 1 cup of boiling water
  • 1/2 teaspoon of salt
  • 1/2 cup of black beans
  • 1/2 cup of salsa (or homemade pico de gallo)
  • 1/2 cup of shredded cheese (any kind! I used a pre-shredded mix from the grocery)
  • hot sauce (Tabasco, Cholula, whatever floats your boat)
  • 1/2 -1 cup of canola oil
  1. In a bowl, stir together masarepa and water until the water is absorbed. Cover the mixture for 10 minutes
  2. After the dough has rested a bit, wet your hands and form the dough into 2 tablespoon patties. Flatten them to about 1/4 inch thick. I used about 1 1/2 tablespoons per circle to make smaller and cuter arepas.
  3. Heat 1/2 cup of oil in a skillet
  4. Fry the arepas in the oil until golden, about 4 minutes per side.
  5. Allow the arepas to drain on paper towels, continue to fry the remaining arepas.
  6. Arrange the arepas on a cookie sheet
  7. Top with black beans and cheese
  8. Broil (on high) arepas until the cheese has melted
  9. Top with salsa and serve.
  10. The arepas keep well in the refrigerator (without salsa) for up to 3 days. You can simply reheat in the oven for 10-15 minutes at 400 degrees.

Crispy Falafel

This morning, I had planned on running at 7:00am and then getting to the library just as it was opening. My plans were shot when I woke up this morning to thunderclaps and my poor little munchkin huddled on the covers shuddering. The poor thing is terrified of thunder and shakes like a little leaf. So I slept in and went for my run at noon when the thunder had passed and my munchkin was no longer trembling.

I normally don’t run when it’s rainy outside or water is on the ground because I don’t want to fall. I’ve broken and sprained more than my fair share of bones and joints, and I know the waiting for everything to knit back up will drive me insane. Everyone wants me to run, because I get crazy without it! Anyway, this was my first training run since April 3 (when I ran the Cherry Blossom 10mi), and as I was hitting mile 6, the rain started again. It was glorious. I used to love running in the rain, because everything seems to wash away and the world just seems cleaner. I loved the smell of the cold rain hitting the hot pavement and the precipitation-disliking people scuttling inside. My run was like that today… no one else except me and my feet.

I felt so good, I registered for another half marathon in 21 days! Because I can use the extra race and motivation to get prepared. I’m running my first WHOLE 26.2 miles in July, and the mileage scares me just a bit. I need every minute I can get to get ready. I just want to finish it, but I also want to have a solid time too!

Anyway, since it is finals, I haven’t really been eating anything but the quickest cheese and black bean wraps. I’m craving good vegetables, so on a study break day, I’ll run over to a good grocery and load up.  I read a while back that chickpeas are good for you, so I made falafel. Because, no matter what it is… it always tastes better crispy!!

Crispy Falafel (Kaprise Kitchen Style)

  • 15 oz of chickpeas, drained (or reconstituted chickpeas, about a cup and a half) and then crushed
  • 1 onion, minced finely
  • 2 carrots, minced finely
  • 2 cloves of garlic, minced finely
  • 3 tablespoons of fresh basil, chiffonade
  •  1/2 lemon, juiced
  • 1 egg,whisked
  • 2-3 tablespoons of flour
  • 1/4 cup of oil
  1. In a large bowl, crush chickpeas with a fork. I like mine just a bit chunky, so I don’t go crazy. If you like a smoother texture, feel free to use a food processor.
  2. Stir in onion, carrots, garlic, basil and lemon juice.
  3. Stir in egg, and depending on the texture of the mixture, add 2-3 tablespoons of flour.
  4. The batter should resemble a loose cookie dough – firm enough to be shaped into patties, but loose enough to flatten in a pan.
  5. In a pan, heat the oil.
  6. Form the dough into 2 tablespoon patties. Fry gently, about 4-5 minutes per side until firm.
  7. Serve over greens with a bit of tahini.

Note: I think the next time I make this, I’ll add more vegetables. Maybe a bit of kale or spinach to pack more nutrient rich vegetables into the patties. 🙂

Peanut Sesame Noodles

I remember I loved those Chinese takeout noodles that were just sticky with peanut butter. There was something just so good about those noodles…

Since becoming a pseudo adult (I mean really, I just feel like adult sounds so… blah! and I’m not blah!), I’ve been cooking more and more. Plus, now I have healthy neurosis about germs and dirty hands, and then my weird love affair with bleaching things… but besides the point. And, I live in Baltimore. KFC and McDonald’s takes 20 minutes, and it’s already made!! So I cook for myself. A lot of people say that cooking for one is sad… is it? I would rather make my food the way I want it and not have to consider anyone else. (I had a boyfriend who used to liberally salt and pepper anything I made before even taking a single bite… and that pissed me off.)

This recipe is just enough for one serving of noodles, with just a bit of sauce to spare for dipping veggies in or to refrigerate until the next time you need some quick noodles. These noodles take me 20 minutes from when I put the water up to when I’m done eating. Super quick!

Peanut Sesame Noodles (liberally adapted from New York Times, April 2007)

  • 1 serving of noodles (I normally use buckwheat soba noodles, but angel hair, egg noodles, or whatever fits your fancy would be fine too)
  • 1 tablespoon of sesame oil
  • 1 1/2 tablespoon of soy sauce
  • 1 tablespoon of rice vinegar (I have used white vinegar and it tastes just fine)
  • 1 tablespoon of sesame paste (I used tahini)
  • 1 tablespoon of chunky peanut butter
  • 1/2 teaspoon of chopped garlic
  • 1 pinch of sugar
  • 1 pinch of ginger (if you have fresh ginger, just a quick swipe on a microplane should do it)
  • 1 teaspoon of chili paste (I have the Korea kind – go-chu-jjang. But you can omit this, or substitute red pepper flakes for the spice)
  • Sliced vegetables and a bit of salad (I use cucumber, tomato and a bit of arugula)
  1. Boil a pot of water and add the noodles. In the mean time – make the sauce
  2. In a small, microwave-proof bowl stir all of the ingredients (minus the veggies) together.
  3. Microwave for 30 seconds and stir until smooth
  4. Once the noodles are cooked – drain immediately and toss with 3 tablespoons of the sauce (or you get the amount of sauce you want on the noodles).
  5. Add veggies and eat!

(Note: These noodles do not taste good cold, so you are best making just enough for your meal. Save the sauce in the fridge for next time, just microwave for 30 seconds before tossing with the fresh noodles)

Zucchini Fritters

When I was a kid, my mother kept a garden. We grew cherry tomatoes, green beans, zucchini, and a bunch of other vegetables. And even though I was a picky kid, I would run out the door and stand amongst all of the plants and pick the vegetables off the stems to my hearts content. (I’ve always had a thing for picking vegetables and fruit… I like it!). I would eat the cherry tomatoes by the handful, smelling their wonderful green smell. I loved the green beans raw, and would often eat them all before I even got to the kitchen. The zucchini was something I couldn’t just munch on standing in the garden, but I loved it all the same. My mother would slice the zucchini into thin strips and fry them ever so lightly so that you could have these amazing and crunchy fritters. She made zucchini bread and this amazing Korean side dish (I have to ask her about that…), and all sorts of things with zucchini.

Anyway, in a fit of nostalgia, I made these zucchini fritters with a friend and devoured them for dinner. I serve them with just a bit of soy sauce and vinegar. A small caveat – these are not nearly as delicious as the ones my mother made for me as a kid… I just don’t know what she did to make them so yummy!

Zucchini Fritters (Kaprise Kitchen style… Mom – I need you to teach me how to make them like yours!)

  • 2 medium sized zucchini, julienne
  • 1 medium sized yellow onion, sliced thinly
  • 2 eggs, beaten lightly
  • 1/2 cup of sifted flour
  • 1/2 cup of corn (thawed, if you use frozen like me)
  • 1/2 teaspoon of salt
  • 1/2 teaspoon of pepper
  1. In a large bowl, mix the egg and flour until a batter forms.
  2. Toss the remaining ingredients in the batter until lightly coated.  (Or, you can just do what I did, and stir it all together)
  3. In a skillet, heat about 1/4 cup of canola oil until it shimmers (I promise, once I get one of those thermometers I’ll give you more accurate temperatures!)
  4. Drop tablespoons of batter into the oil and fry for 3-4 minutes per side, until the center of the patties are cooked through.
  5. I squish mine down just a bit so they are more like pancakes, and obviously fry them just a teensie bit longer so they are crunchy!

Mushroom Melt

I think we have established, I really like mushrooms. So it’s no surprise, that I made this delicious sandwich. (For the record, I do NOT eat tuna melts. Warm tuna, mayo, and limp veggies is just yuck. And that smell…. it rivals my distaste for the smell of airplane coffee. Gross man.)

There are no hard and fast rules for this sandwich, but I often add other vegetables too. Sometimes I grill some eggplant and zucchini. And I often use different kinds of cheese. Either way you like your sandwiches – this is a quick way to whip up dinner (or in my case, a midnight snack) that is healthier than Chinese takeout.

Mushroom Melt (Kaprise Kitchen style)

  • 1 package of button mushrooms, cleaned and sliced
  • 1 small onion, halved and sliced thinly
  • 1 small bunch of parsley
  • 1 tablespoon of good butter (I made my own, and it’s just delicious)
  • pinch of salt and pepper
  • 1/4 cup of dry white wine
  • good rolls, sliced and toasted lightly
  • 1 cup of shredded cheese, like mozzarella or provolone
  • 1 tomato, sliced thinly
  1. Toss mushrooms, salt, and pepper in a hot skillet with butter until the moisture is released and evaporated
  2. Stir in onions, and when the onions just begin to become translucent, stir in wine and parlsey
  3. Cook until moisture has evaporated and the mushrooms begin to sear just a bit. Remove from heat.
  4. Toast rolls under the broiler for just a minute, top toasted rolls with tomatoes
  5. Pile mushrooms on top of the roll/s
  6. Sprinkle cheese (or in my case, HEAP!)
  7. Broil for 5 minutes or until the cheese has just melted
  8. Enjoy!