Gingery Grilled Avocado and Steak Salad

I’m sure you guys have gathered that I LOVE steak, avocado, and ginger… so naturally I put them all together in this salad for lunch. With ice cold tea, this was the perfect springy lunch. I splurged and bought an organic, grass fed Australian steak.

  • 8 ounces of good steak
  • 1 avocado
  • 3 slices of ginger
  • 1 bunch of arugula (or other lettuce)
  •  1 bunch of sugar snap peas
  • Salad dressing of your choice
  1. Sprinkle steak with good salt and grill. I like mine rare, so I grilled accordingly.
  2. Once your steak has been grilled, let it rest
  3. While the steak is resting, brush the avocado and ginger with a little olive oil. Grill for just a few minutes
  4. Arrange the salad in your favorite bowl and sprinkle with your favorite salad dressing.

*The grilled ginger is rather bitter, but tossed with the salad it imparts a light gingery flavor.

🙂 Enjoy!


SONY DSC SONY DSC SONY DSC SONY DSC SONY DSC SONY DSC

Mascarpone Chicken Salad with Lettuce Cups and Sweet Potato Circles

I have been sick for over a week, and have spent a great deal of time sleeping… but yesterday I was feeling so stir crazy from not having left the house in so long. My first stop was the grocery store… I was planning on browsing at the mall, but I broke out in a cold sweat from just driving to the grocery so I came home right after.

I have been thinking a lot about mascarpone cheese lately… I thought about fluffing it with ricotta and making cheesecake or whipping it with maple syrup and peach preserves to make a decadent frosting for pancakes. I thought a lot about what I would do with mascarpone… but when it came down to it I chose something simple where the delicate flavor of the cheese would be unexpected and delicious.

SONY DSC

I’ve written about chicken salad here before shortly after my friend Jon visited, and this recipe is quite similar. However, as will all chicken salad recipes, this is really more of a suggestion than a recipe. It’s infinitely adaptable to suit your tastes, and if the mascarpone isn’t your style you can always use plain greek yogurt or the standard mayo instead.

I served mine with crisp lettuce leaves and roasted sweet potato, but feel free to use bread or wraps!

Mascarpone Chicken Salad with Lettuce Cups and Sweet Potato Circles (Kaprise Kitchen original)

  • 1 pound of chicken tenderloins
  • 1 tablespoon of Worcestershire sauce
  • 1 tablespoon of your favorite salad dressing (I used balsamic vinaigrette)
  • 3 stalks of celery
  • 3 carrots
  • 1 bunch of basil
  • ½ cup of mayo
  • ½ cup of mascarpone cheese
  • 1 tablespoon of mustard
  • salt/pepper
  • 1 head of iceberg lettuce
  • 2 medium sweet potatoes
  • 4-5 tablespoons of olive oil

I wrote these directions in the order that I made my meal, so while the circles bake you can assemble the rest of your meal.

  1. Wash and slice the head of lettuce in half. Submerse the halves into cold water. Cover and refrigerate. (This helps your lettuce perk up and stay crisp)
  2. Heat your oven to 400F. 
  3. Peel and slice the sweet potatoes into 3/4 inch coins (thinner if you want a faster baking time).
  4. Toss the sweet potato with olive oil and salt. Roast at 400F for 30 minutes, or until golden and soft. (See more about roasting vegetables here)
  5. Heat a little olive oil in a nonstick pan.  Toss the chicken in the Worcestershire and salad dressing.
  6. Lay the chicken tenderloins in the pan flat and cook at medium heat until cooked completely
  7. Remove the chicken from heat and allow it to cool.
  8. Wash and peel the carrots and celery (no peeling for the celery!!). Wash the basil and remove any woody stems.
  9. Dice the carrots and celery. Chop the basil into small pieces.
  10. Let the vegetables rest for about 10 minutes in a clean dishcloth to remove any excess moisture.
  11. Chop the chicken into 1/4 inch cubes.
  12. In a bowl, combine the chicken and diced vegetables and basil.
  13. Add the mascarpone cheese and mustard and stir until the mixture is evenly coated.
  14. Salt and pepper to taste
  15. Add tablespoon increments of mayo until the desired consistency and flavor is achieved. (You may choose to simply use mascarpone, but I found it just a bit too rich and sweet for the salad.) You may also add more mustard as needed.
  16. Pop the chicken salad into the fridge while you gather the rest of the ingredients.
  17. Remove the sweet potato from the oven and allow it to cool.
  18. Gently drain and spin (or shake) the moisture from the iceberg lettuce.
  19. Arrange plates with iceberg lettuce cups and coins of roasted sweet potato. Top each with a tablespoon or two of chicken salad and a basil leaf for presentation.
  20. Serve!!!

SONY DSC

Thank you so much for visiting. I hope you enjoyed this recipe! Let me know if you decide to try it! Or if you would like to share your chicken salad recipes!!!

xoxo -H

Steak Salad with Mint and Shaved Goat Cheese

After months of putting off using the bike my sister gifted me, I finally got it out and took it for a good, long ride. Turns out, biking is super fun. I did 9 miles in 40 minutes and felt great. My knees definitely appreciated the break.

Anyway, after working out I bought a mini salad spinner and whipped up some salad. I thought I’d share what I made.

Steak Salad with Mint and Shaved Goat Cheese (Kaprise Kitchen original)

  • 3 ounces (or more) of cold steak, thinly sliced
  • 2 cups of arugula
  • 1/2 cup of mint leaves, stems removed
  • 2 small cucumbers, sliced
  • half a dozen shavings from a block of cheese, I chose Midnight Moon goat cheese
  • a drizzle of your favorite dressing
  1. Wash and spin your arugula and mint
  2. Arrange the salad greens in a large bowl with the steak and cucumber
  3. Shave the cheese over the top and drizzle your favorite dressing on top.

Easy Peasy and delicious. The mint definitely adds a unique punch and freshens up the salad.

SONY DSC


Spiced Pea Stew

I don’t really like the idea of pea soup. I find it is always a bit too creamy or sweet or weird. Anyway, it was raining yesterday and I felt like soup. I was going to make chicken-something-something soup with some leftover chicken I had in the freezer, but then I found two bags of sad little peas and immediately changed my mind.

SONY DSC

This soup isn’t pretty… but it sure beats the hell out of those weird pea soup recipes you see. It’s chunky, spicy and just delicious.

Spice Pea Stew (Kaprise Kitchen Original)

  • 3 cups of frozen peas, rinsed under cold water
  • 1 medium onion, diced
  • 1 cup of chopped beet greens (you can use spinach, kale, or any other green you would like)
  • 3 stalks of celery, diced
  • 1 teaspoon of cumin
  • 1 teaspoon of paprika
  • 1/2 teaspoon of spicy pepper flakes
  • 3 tablespoons of butter (or olive oil)
  • 1 teaspoon of salt
  • 1 teaspoon of cracked black pepper
  1. In a heavy bottomed pan, melt butter over medium heat
  2. Saute onions until soft and translucent
  3. Add beet greens and continue to saute over medium heat until soft
  4. Add in celery and peas
  5. Smoosh (hehe… smush? squish?) the peas with the back of a ladle. I squish about 1/2 so that there is texture to my stew (Alternatively, you could blend 1/2 of the mixture with an immersion blender or other device for a smoother texture).
  6. Add all of the spices (you may want to add in increments so that you can adjust accordingly). Taste, and adjust the seasonings as needed.
  7. Just cover the vegetables in filtered water, cover and bring to a boil
  8. Lower the temperature and simmer for 20 minutes
  9. Serve and enjoy!

SONY DSC

SONY DSC

SONY DSC

SONY DSC

SONY DSC

SONY DSC

Hot Pink Vegetable Summer Rolls

SONY DSC

This past weekend, I went to a sushi place with a friend where you fill out one of those little paper sheets… I bubbled the wrong one and I didn’t get to eat what I wanted! Which concerns me because I really wanted a cucumber roll and because I just finished a bubble-in bar exam…

Regardless, I had vegetable rolls on the brain so I whipped these up. I had a stroke of genius when I saw the bright red poaching liquid, and steeped my rice paper in the colored water to get these beautiful hot pink wrapped summer rolls. I experimented by brushing them wrappers with the poaching liquid instead of steeping them. The difference is the intensity of the color of the wrapper. If you prefer the darker wrapper, steep the wrappers.

I imagine that making these in all sorts of different colors for a themed party would be fun, or perhaps if you have children making these brightly colored rolls together might encourage them to consume more vegetables.

Party, children, or not… these are delicious and packed with fresh vegetables to get you ramped up for the spring!

Hot Pink Vegetable Summer Rolls (Kaprise Kitchen)

  • 1 pound of beets
  • 7 carrots
  • 4 kirby cucumbers
  • 1 bunch of cilantro
  • 1 bunch of mint
  • 1/2 pound of mung bean sprouts
  • rice paper wrappers
  1. Wash, peel, and quarter the beets. In a saucepan, cover the beets with water and boil with a pinch of salt for 30 minutes, or until tender.
  2. While your beets boil, wash all of your vegetables and let them drain on a paper towel covered baking sheet (or clean dish towel, if you are more environmentally friendly than I).
  3. Cut the cucumber and carrots into batonnets
  4. Once the beets have been boiled and cooled a bit, also cut those into batonnets, reserving the boiling liquid.
  5. In a large bowl, pour the warm beet liquid (or simply warm water for non-colored summer rolls). Make sure your water isn’t too hot or the wrappers will get too soft and rip.
  6. Gently dip the wrappers into the water, making sure to coat both sides with the water. The wrapper should absorb some water, but still be firm. The wrapper will continue to absorb water as you work, and soften. Remember, you can always dab a little more water if your wrapper is too sticky or too firm.
  7. Place the wrapper on a cutting board (or smooth surface), add filling, roll… and enjoy!!


SONY DSC

SONY DSC

SONY DSC

SONY DSC

SONY DSC

SONY DSC

SONY DSC

SONY DSC

SONY DSC

SONY DSC


Baked Ginger Carrot Quinoa

SONY DSC

Baked Ginger Carrot Quinoa (Imagined up while driving)

  • 1 cup of uncooked quinoa
  • 8 carrots shredded (should equal 2 1/2 cups)
  • 1 cup of chopped broiled brussel sprouts (feel free to substitute with any cooked green)
  • 1 tablespoon of fresh ginger, chopped finely
  • 1 tablespoon of grainy mustard
  • 1 teaspoon of cumin (feel free to scale back… my older sister tells me I’m heavy handed with cumin)
  • 1 teaspoon of salt
  • 1 teaspoon of pepper
  • 4 eggs, whiskey
  • 3 tablespoons of olive oil

Before we get started – I am going to suggest that you add the spices in increments. I really wanted a gingery-carrot flavor so I was heavy handed with my ginger, but for those of you who are less inclined towards ginger, cumin, and mustard, you should add in small increments so that you can season accordingly. The result I got was a mildly spicy quinoa cake with a crispy exterior and squishy inside… so if you want even MORE ginger, go for it!!!

  1. Thoroughly wash quinoa in a mesh sieve
  2. Bring quinoa to a boil in 2 cups of water. Once the water comes to a rolling boil, lower the heat to low/medium and cover. Cook for 20 minutes, or until the quinoa has cooked through. Fluff with a fork and let it cool.
  3. In a large bowl, combine the shredded carrot and brussel sprouts
  4. Add the quinoa and stir until well combined.
  5. Slowly add your spices until you get the flavor profile you like. Keep in mind that the ginger will mellow significantly as you cook.
  6. Mix in whisked eggs until well combined.
  7. Drizzle olive oil on a cooke sheet. I used a foil covered sheet, but still found that I got a little sticking, so I recommend using a non-stick surface and plenty of oil. I don’t think parchment paper will work since it will absorb the moisture, but perhaps a silicone baking sheet, or an enamel pan would work. Let me know in the comments if you end up finding a better solution than tin foil!
  8. Measure out 1/3 cup fulls of quinoa. Pat into circles and place evenly spaced on a cookie sheet
  9. Bake at 400F for about 30-40 minutes, or until the bottoms have browned and the insides are cooked through. I drizzled a little extra olive oil at the 1/2 point.
  10. Enjoy with salad!!!

I hope you guys enjoy this variation of quinoa patties. I felt like I needed to come up with one that didn’t require me hovering over sputtering oil, and this was just the ticket.

SONY DSC

SONY DSC SONY DSC
SONY DSC


Crispy Fried Rice Cakes (Fried Dduk)

Hello friends…

So. I love dduk. Not quack quack duck, but chewy rice cake dduk. I googled the word “dduk” but there wasn’t much information. So then I tried googling “tteok” which got many more hits… see what I mean about the spelling of Korean stuff??

Anyway, there are lots of recipes on how to make Korean dishes with dduk/tteok, but I wanted to share how I like to eat mine. I made this recipe up a few years ago when I had some leftovers, and have continued to make it since. Dduk is normally only good on the day that it is made, and once in the refrigerator it becomes really hard.

Crispy Fried Dduk (Kaprise Kitchen Original)

  • Several pieces of plain dduk, cut into pieces (Make sure your pieces are dry, any moisture will cause the oil to splutter)
  • 1 tablespoon of olive oil
  • 1 1/2 teaspoon of sesame oil
  • 1 teaspoon of soy sauce
  • 1/2 teaspoon of sugar
  1. In a non-stick skillet, heat the olive oil over medium heat
  2. One the oil is heated, gently slide the dduk into the pan, be sure to leave a little space between the pieces of dduk so they don’t stick.
  3. Cook until the dduk is crispy and golden, flip to the other side and cook until crisp and golden (I fry mine for about 5 minutes on each side, but keep an eye on your so it doesn’t burn)
  4. Remove the pan from heat
  5. Drizzle the sesame oil and soy sauce over the crisped dduk as you swirl the pan, coating the pieces in the sesame and soy sauce. The combination will sizzle so move quickly.
  6. Sprinkle the sugar over the coated pieces of dduk
  7. Plate and eat!


Notes:

  • There are many varieties of Korean rice cakes… endless in fact. However, this recipe works best with the plain, white, string dduk. It is normally sold in Korean grocery stores in little styrofoam pans. I normally used left over dduk that has been refrigerated, so the dduk is hard. This helps the dduk crisp in the oil as you cook it. 
  • If you are unfamiliar with dduk, you can visit Maangachi to learn more about dduk. I believe that website uses the “tteok” spelling, but here are some links to the pages I thought were helpful: the dduk I used, how to make dduk-bokki, and how to make plain white dduk.

SONY DSC

SONY DSC

SONY DSC

SONY DSC

Have you ever tried dduk? Also, any miscellaneous questions about dduk, please let me know! I know it is still pretty novel in the States.

Garlicky Parsley Buttered Mussels

Today, I went for a run, and then I got back and ate two bars of caramel chocolate before deciding to join the adult world and eat real food.

I saw these mussels in the freezer, and decided that a quick bake in the oven with some garlicky sauce would be just the ticket for an adult (and not chocolate/sugar) filled meal. Bonus points for being paleo friendly.


Garlicky Parsley Buttered Mussels (an inspired Kaprise Kitchen original)

  • 1 pounds of mussels (I used frozen ones that were already shelled)
  • 1 tablespoon of butter
  • 1 1/2 tablespoon of chopped garlic
  • 1 small bunch of parsley chopped to bits (haha I felt like saying “chopped to bits”)
  • Salt and pepper to taste
  • 1/4 cup of macadamia nuts, smashed (with a wine bottle)
  1. Arrange mussels in a baking sheet, you may use a rack like I did, or simply let them rest on the sheet
  2. In a small heatproof bowl, melt the butter and stir in the parsley and garlic. Salt and pepper to taste
  3. Gently spoon the mixture over the mussels
  4. Top with a sprinkle of your “smashed” macadamia nuts
  5. Bake at 400F for 20 minutes, or until cooked through.

While my mussels baked, I made a quick mushroom pasta and threw the mussels and a little bit of the baking liquid over it before devouring. Delicious!!!

Note: I baked mine in a small convection toaster oven… the best place to make food for one or two.


SONY DSC

SONY DSC

SONY DSC

SONY DSC

SONY DSC


How to Peel Pomegranate Redux

A while back I posted “How to Peel Pomegranate” complete with pictures and detailed information on how I peel my fruits. You can see that post HERE.

Though pomegranate season is nearing the end, I thought I would share this new video that I saw. This gentleman explains and demonstrates how to extra pomegranate seeds efficiently with a knife and wooden spoon. I have yet to try this technique, but from what I see, it looks like an efficient alternative to sitting and gently peeling the fruit. He gives great explanation, so you can watch the demo below.

In case you can’t watch the video… the basics:

  1. Score the pomegranate around the entire circumference of the fruit… the equator. Equidistant from the flowering end and other end
  2. With your fingers, gently “stretch” the edges of the fruit to dislodge some of the seeds.
  3. Over a bowl, flip the pomegranate into your palm (cut side on your hand) and spank the skin of the pomegranate with a wooden spoon until all of the seeds have been dislodged
  4. Remove the larger chunks of pith from the bowl
  5. DONE!

Dwan-Jjang Gook (Soybean Soup)

It’s really unclear how to spell Korean words in English. Sometimes I think they sound one way, but then the conventional spelling that most people online is completely different. Anyway – I think it should be spelled “dwan-jjang” but I have seen “doenjang” and “ddanjjang” and some others. Regardless of the English spelling, dwan-jjang is fermented soybean paste. It’s made in a variety of ways, but One Fork, One Spoon wrote a little bit about it, so hop on over to read up if you are interested.

Personally, I find the word “fermented” to be a bit off putting, which is why I excluded it from the title of my post. Anyway – this is a quick way to make dwan-jjang gook, or fermented soybean soup. From start to finish it takes less than 30 minutes. I start my rice first, and then start on the soup. I usually make my rice in a cast iron pot or a stoneware pot… Let me know if you want me to do a more in depth post on making rice without a rice cooker.

A quick note before I do get started, for people with gluten intolerance or sensitivity to wheat, this is NOT the soup for you. Many of the commercially manufactured dwan-jjang pastes include some form of wheat… if you are set on eating the soup, you will have to do significantly more research into what types of commercially produced paste do not contain gluten.

Dwan-Jjang Gook (the way my mother makes it)

  • 1/2 cup of dried anchovies, or “mael-chi” 
  • 4 cups of water
  • 3 tablespoons of dwan-jjang paste (I suggest started at 1 tablespoon and working your way up as your paste may differ in flavor and saltiness than mine.
  • Scallions (optional)
  • 1-3 teaspoons of soy sauce (also, for gluten sensitive folks, almost all commercially manufactured soy sauce contains wheat so watch out for this also)
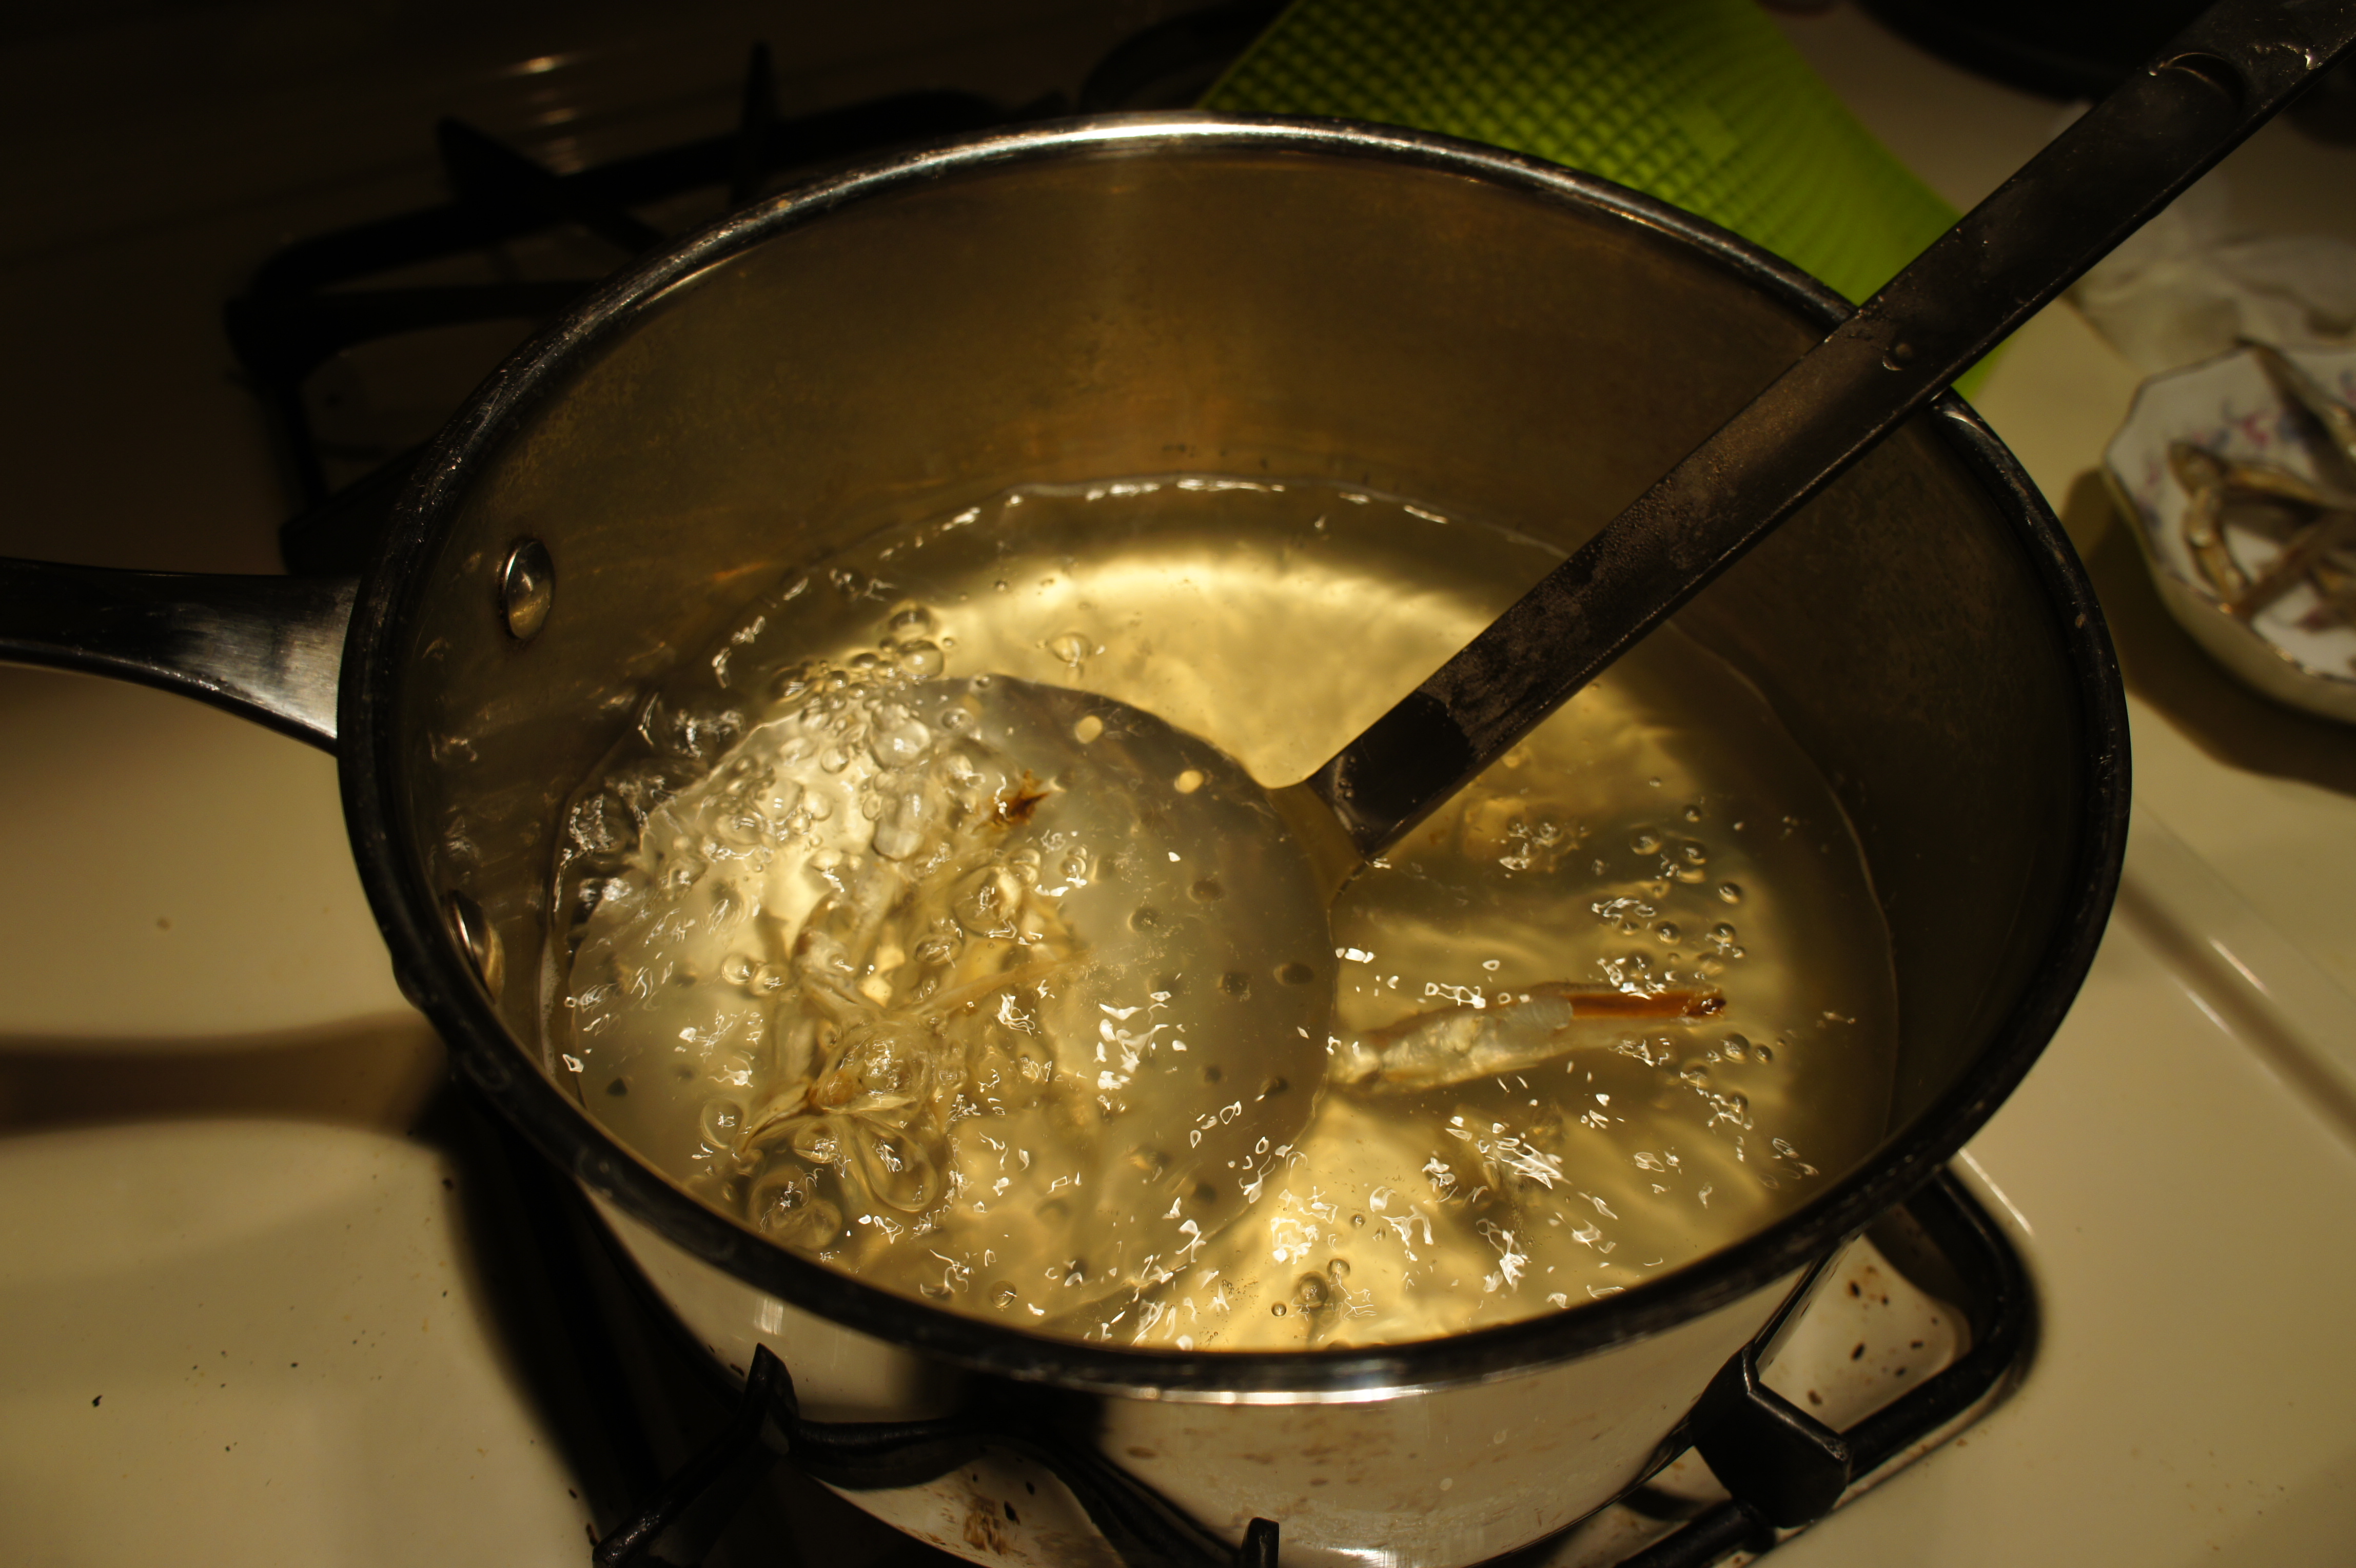
  1. Boil4 cups of water with the anchovies for about 20 minutes
  2. Remove the anchovies from the water and discard
  3. Muddle the gwan-jjang paste 1 tablespoon at a time into the anchovy stock, and bring to a simmer
  4. Add soy sauce to taste
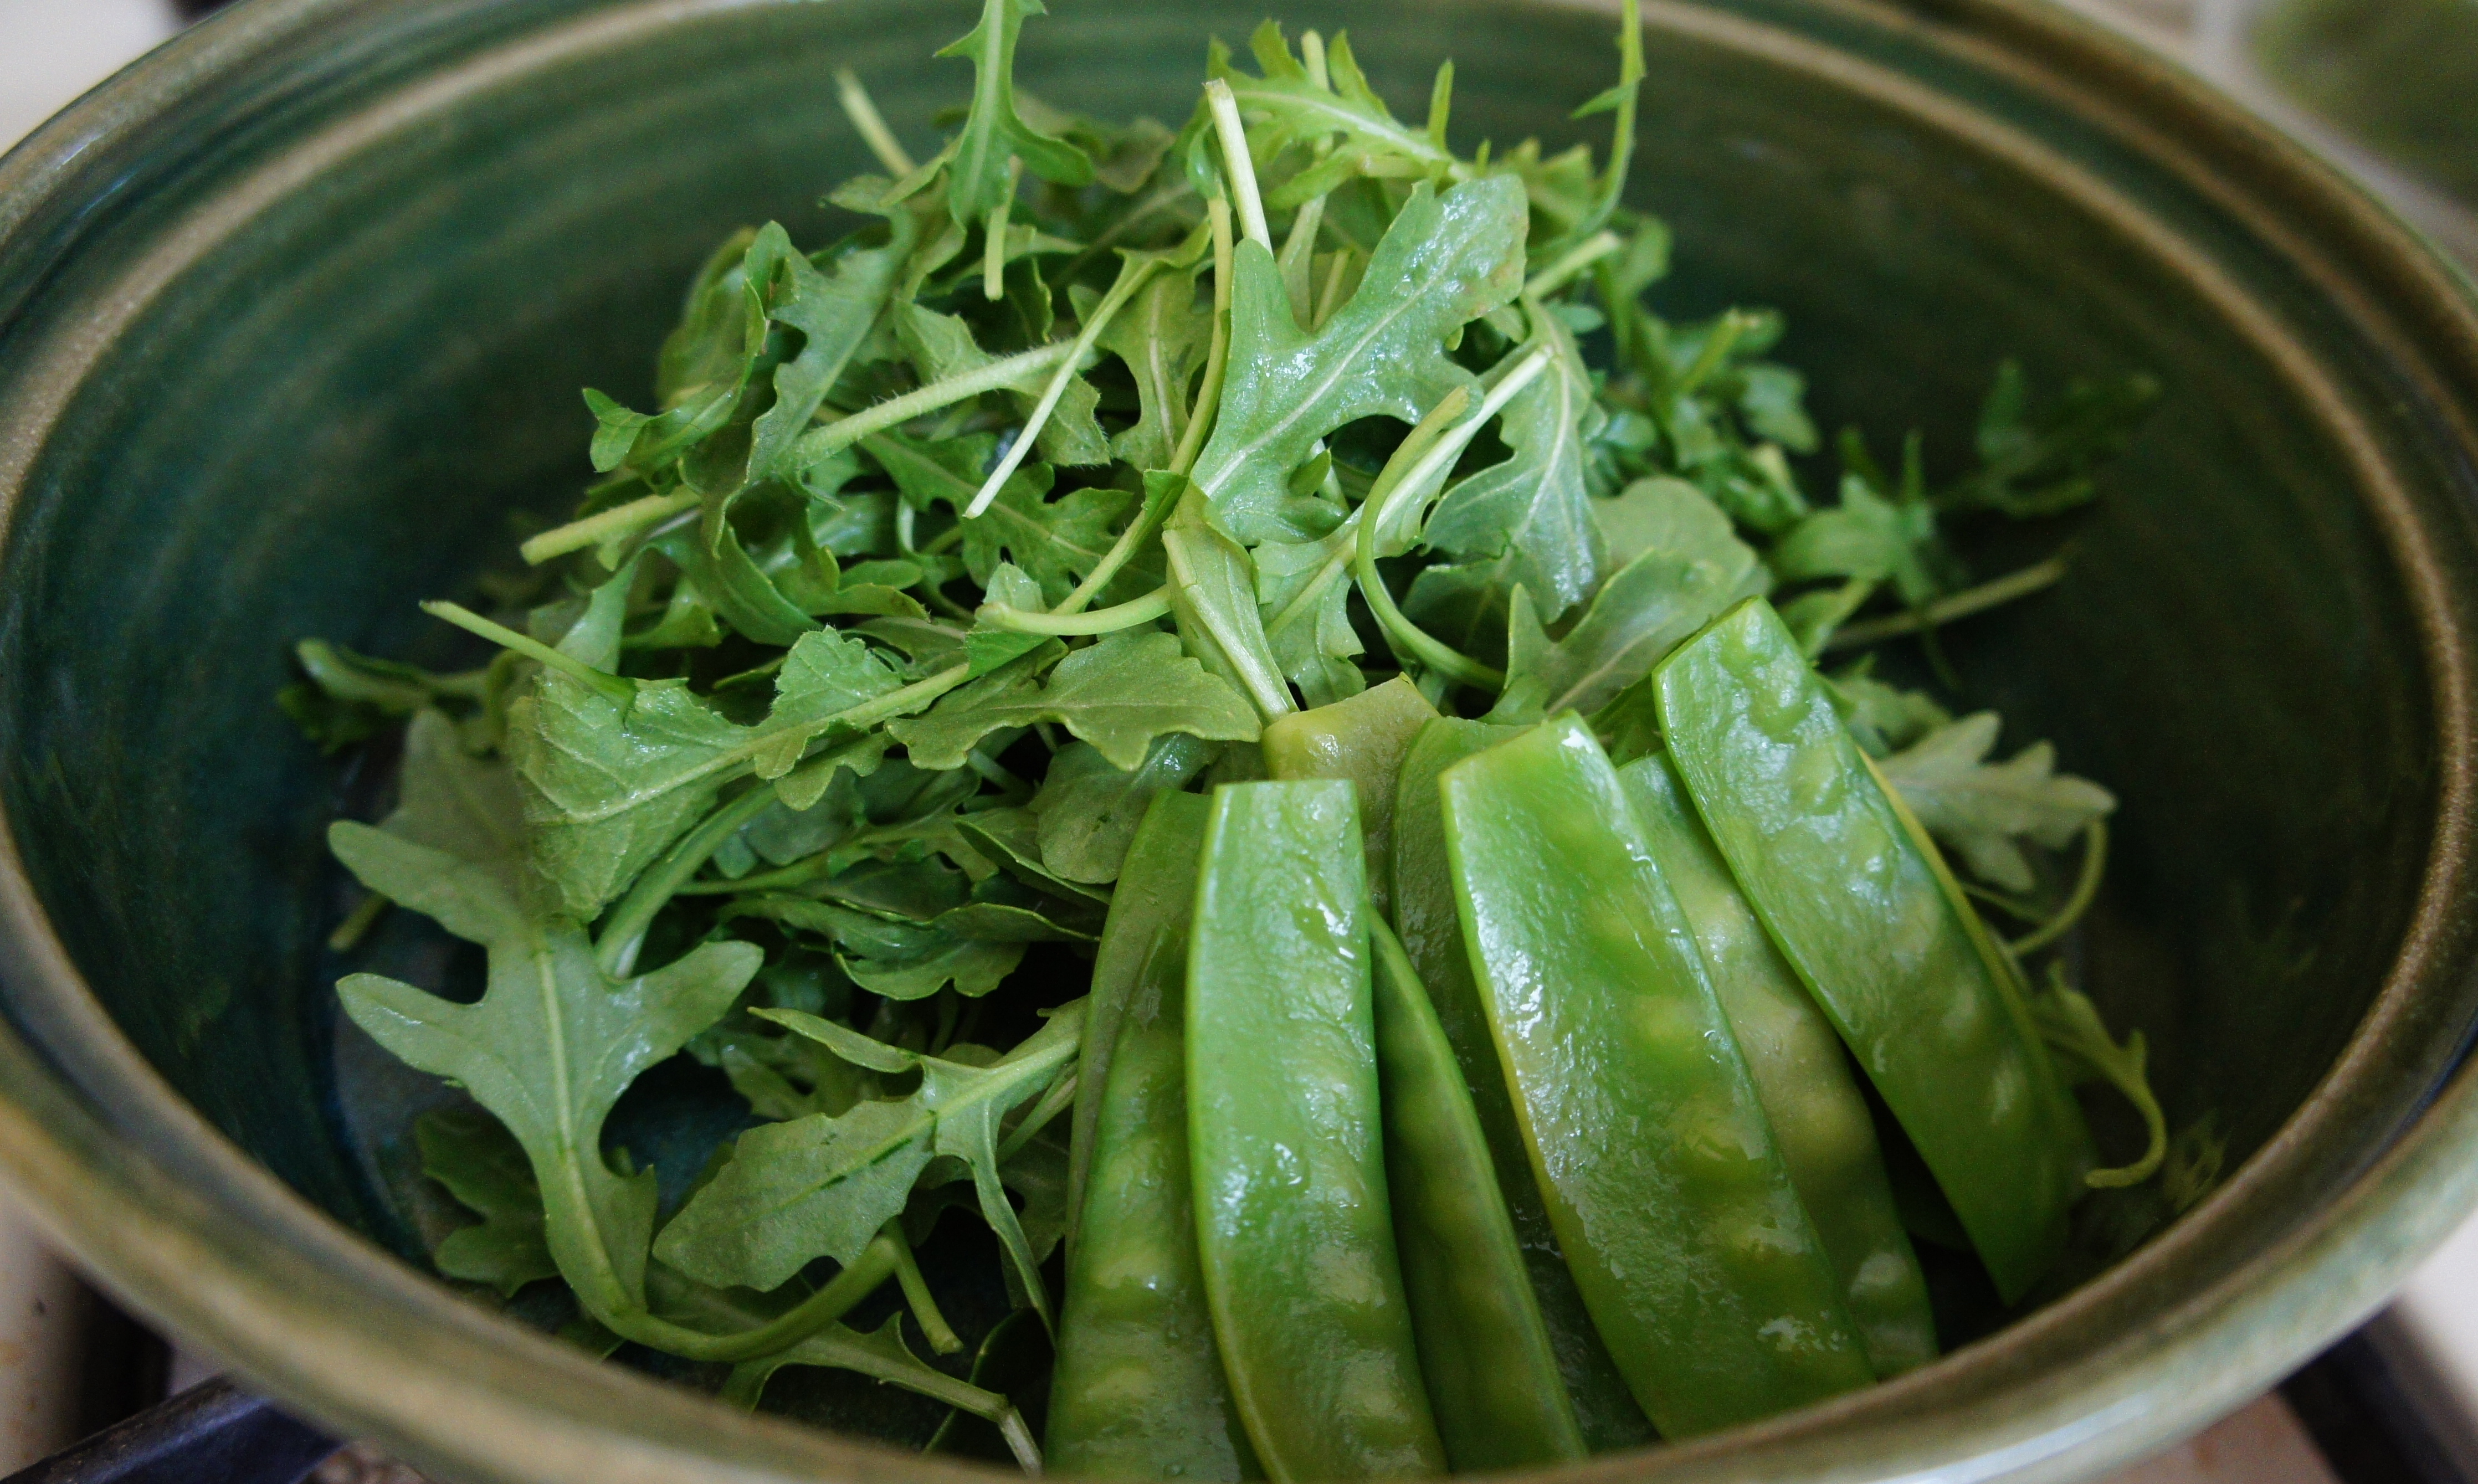
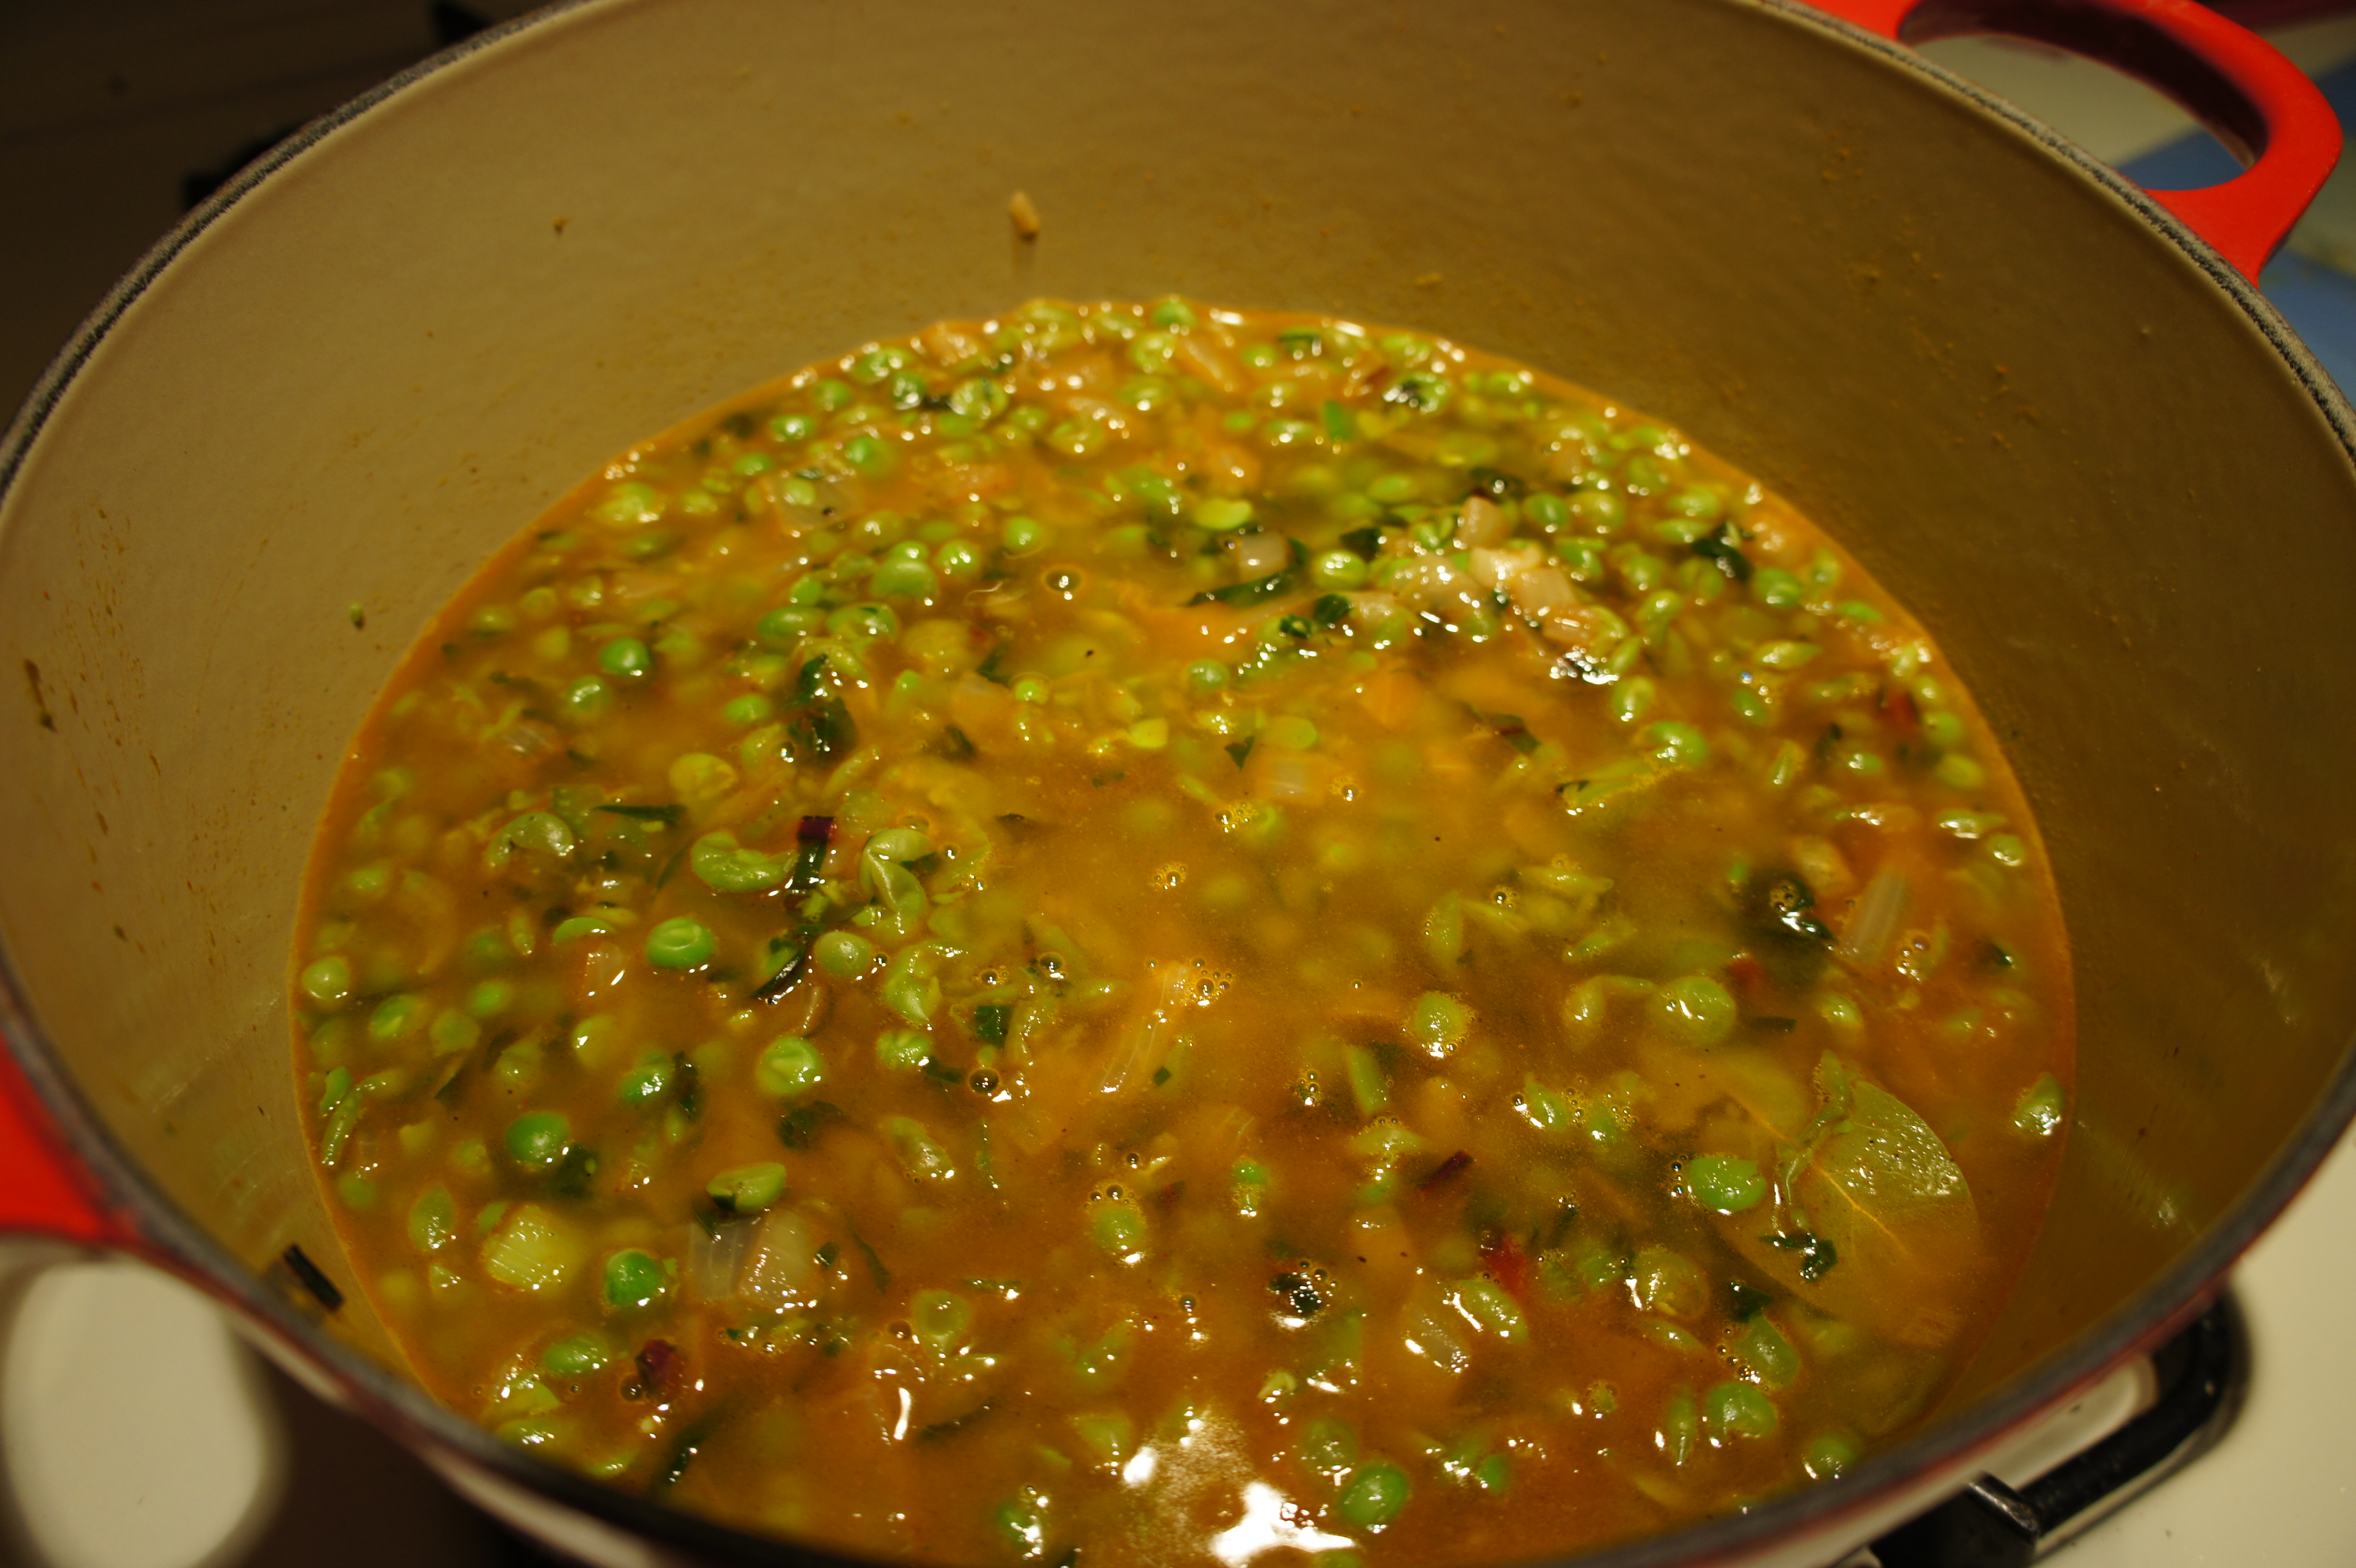
  5. You can add any variety of vegetable at this point. My favorite is spinach.
  6. Pour the soup over rice and enjoy!!

Easy right?!

Little anchovies in water

SONY DSC

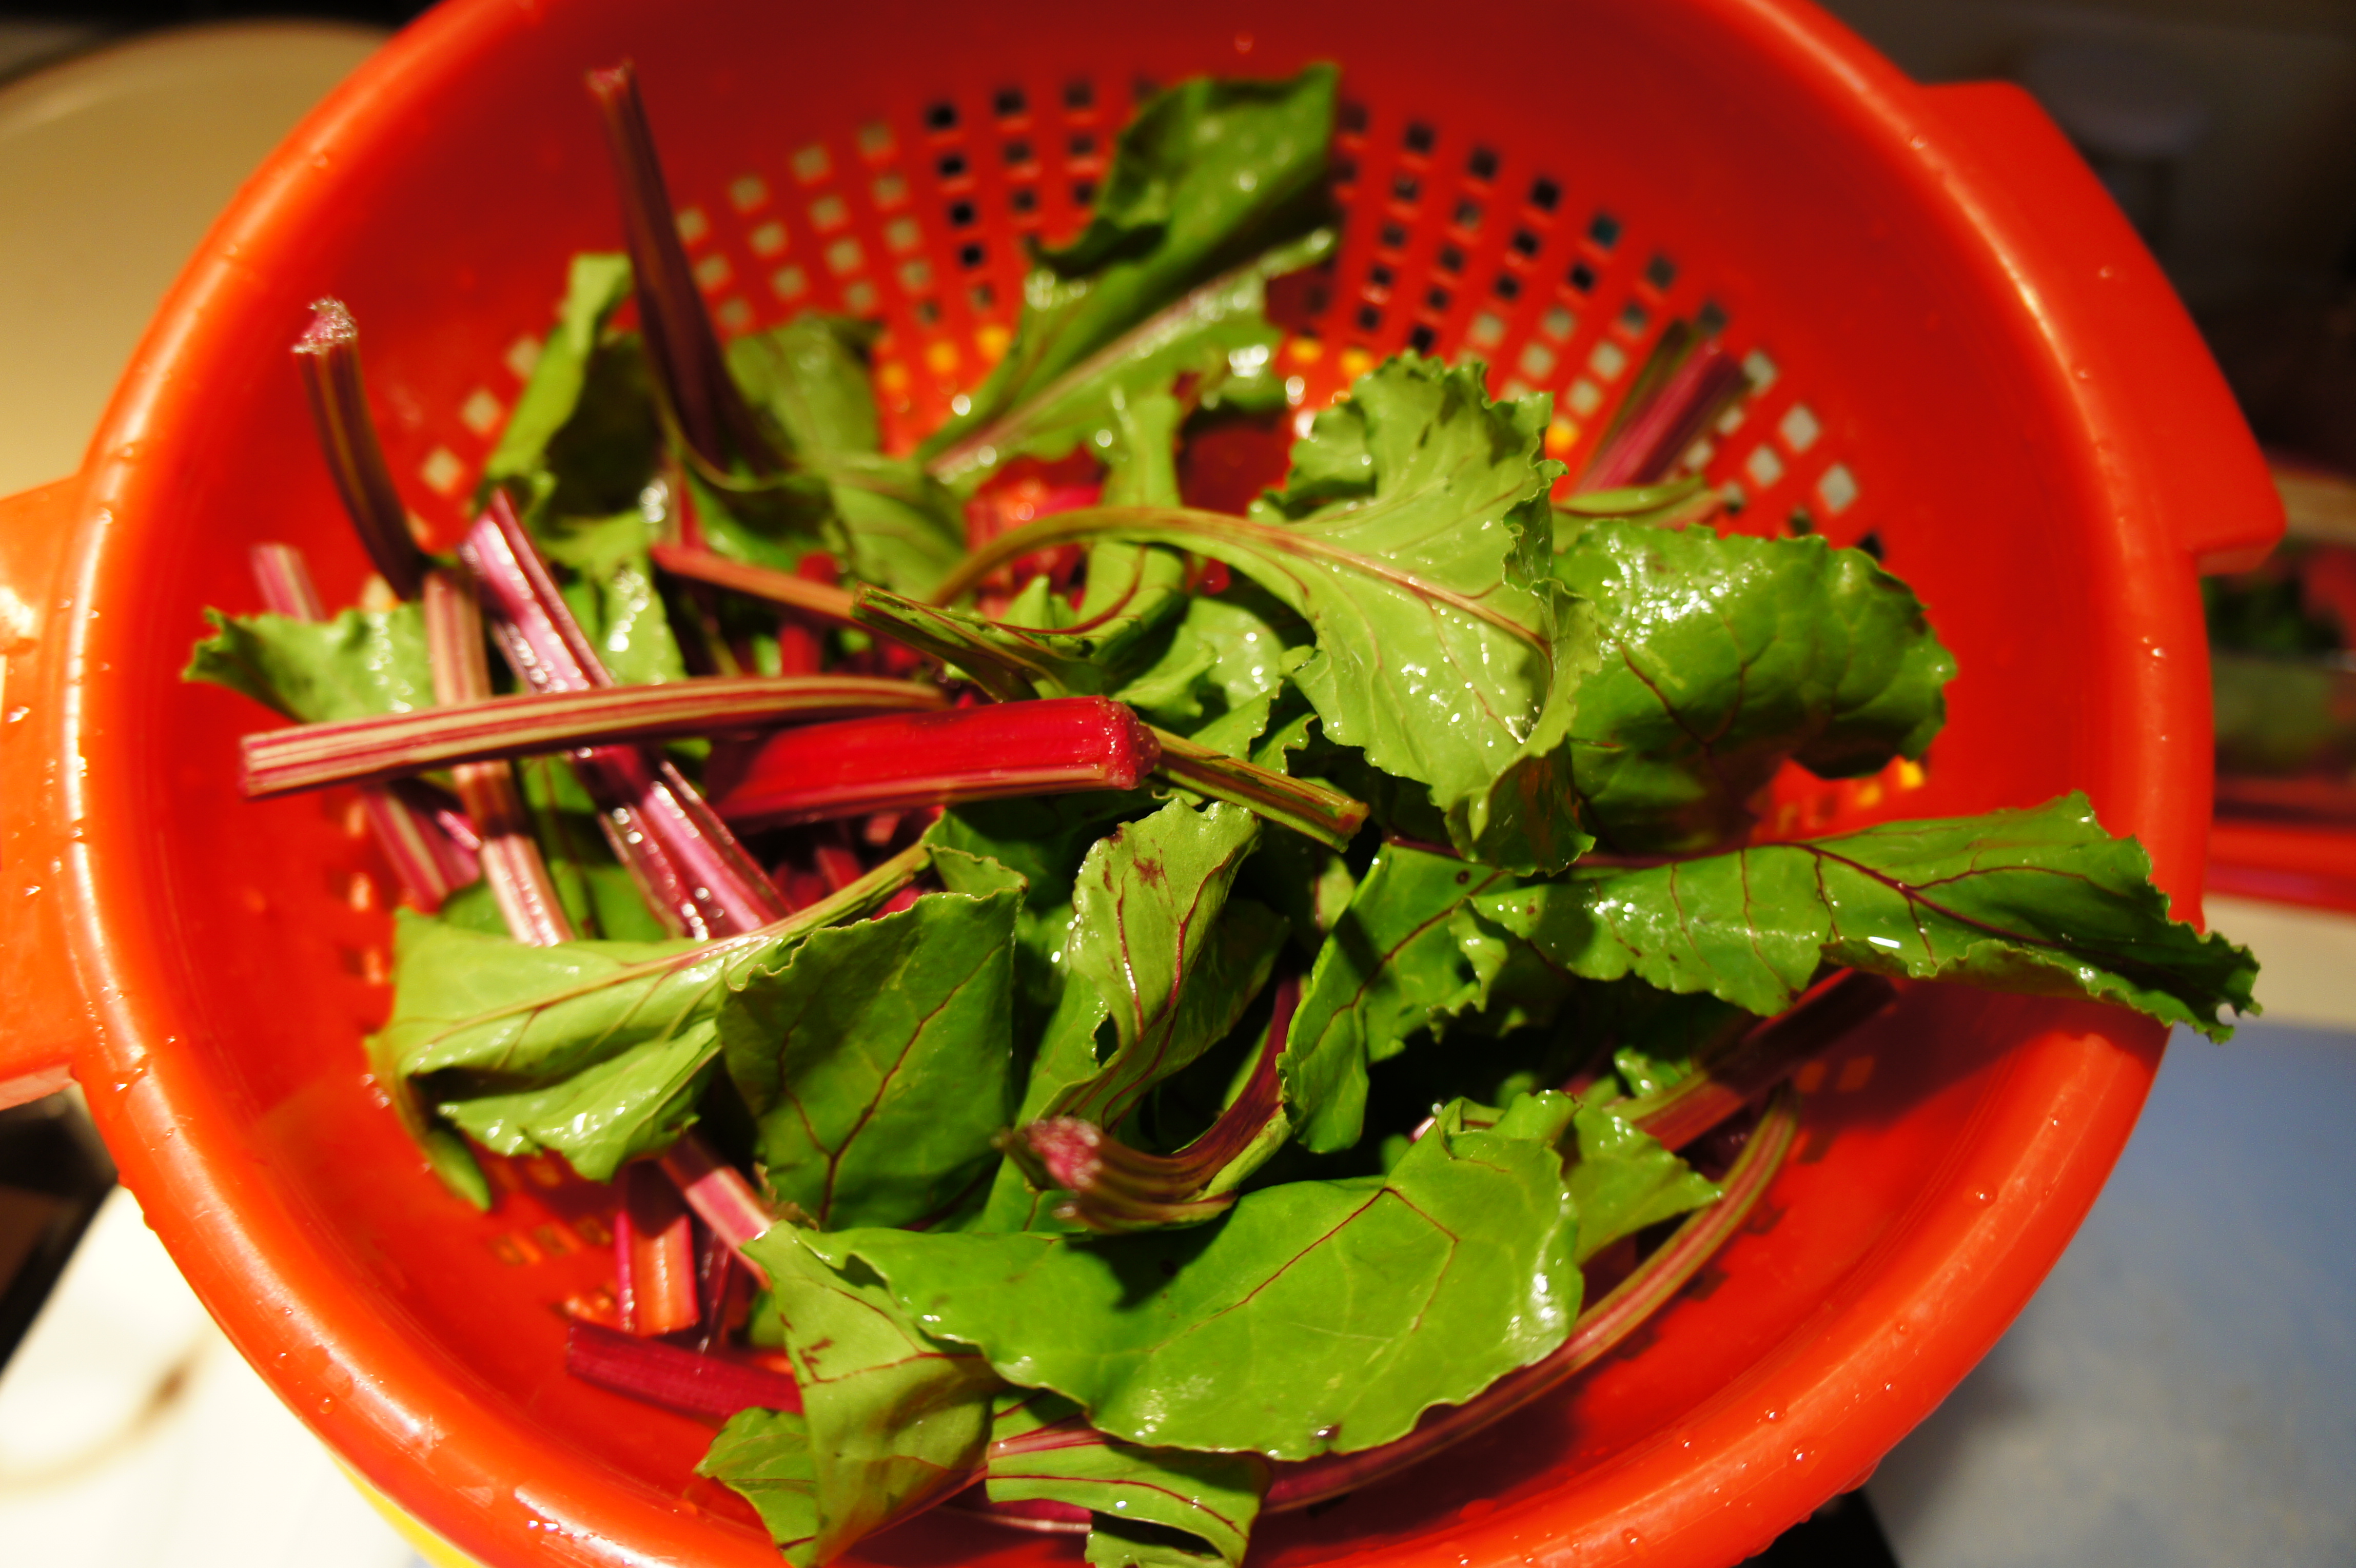
Washed spinach leavesSONY DSC

Skimming the anchovies out of the soup
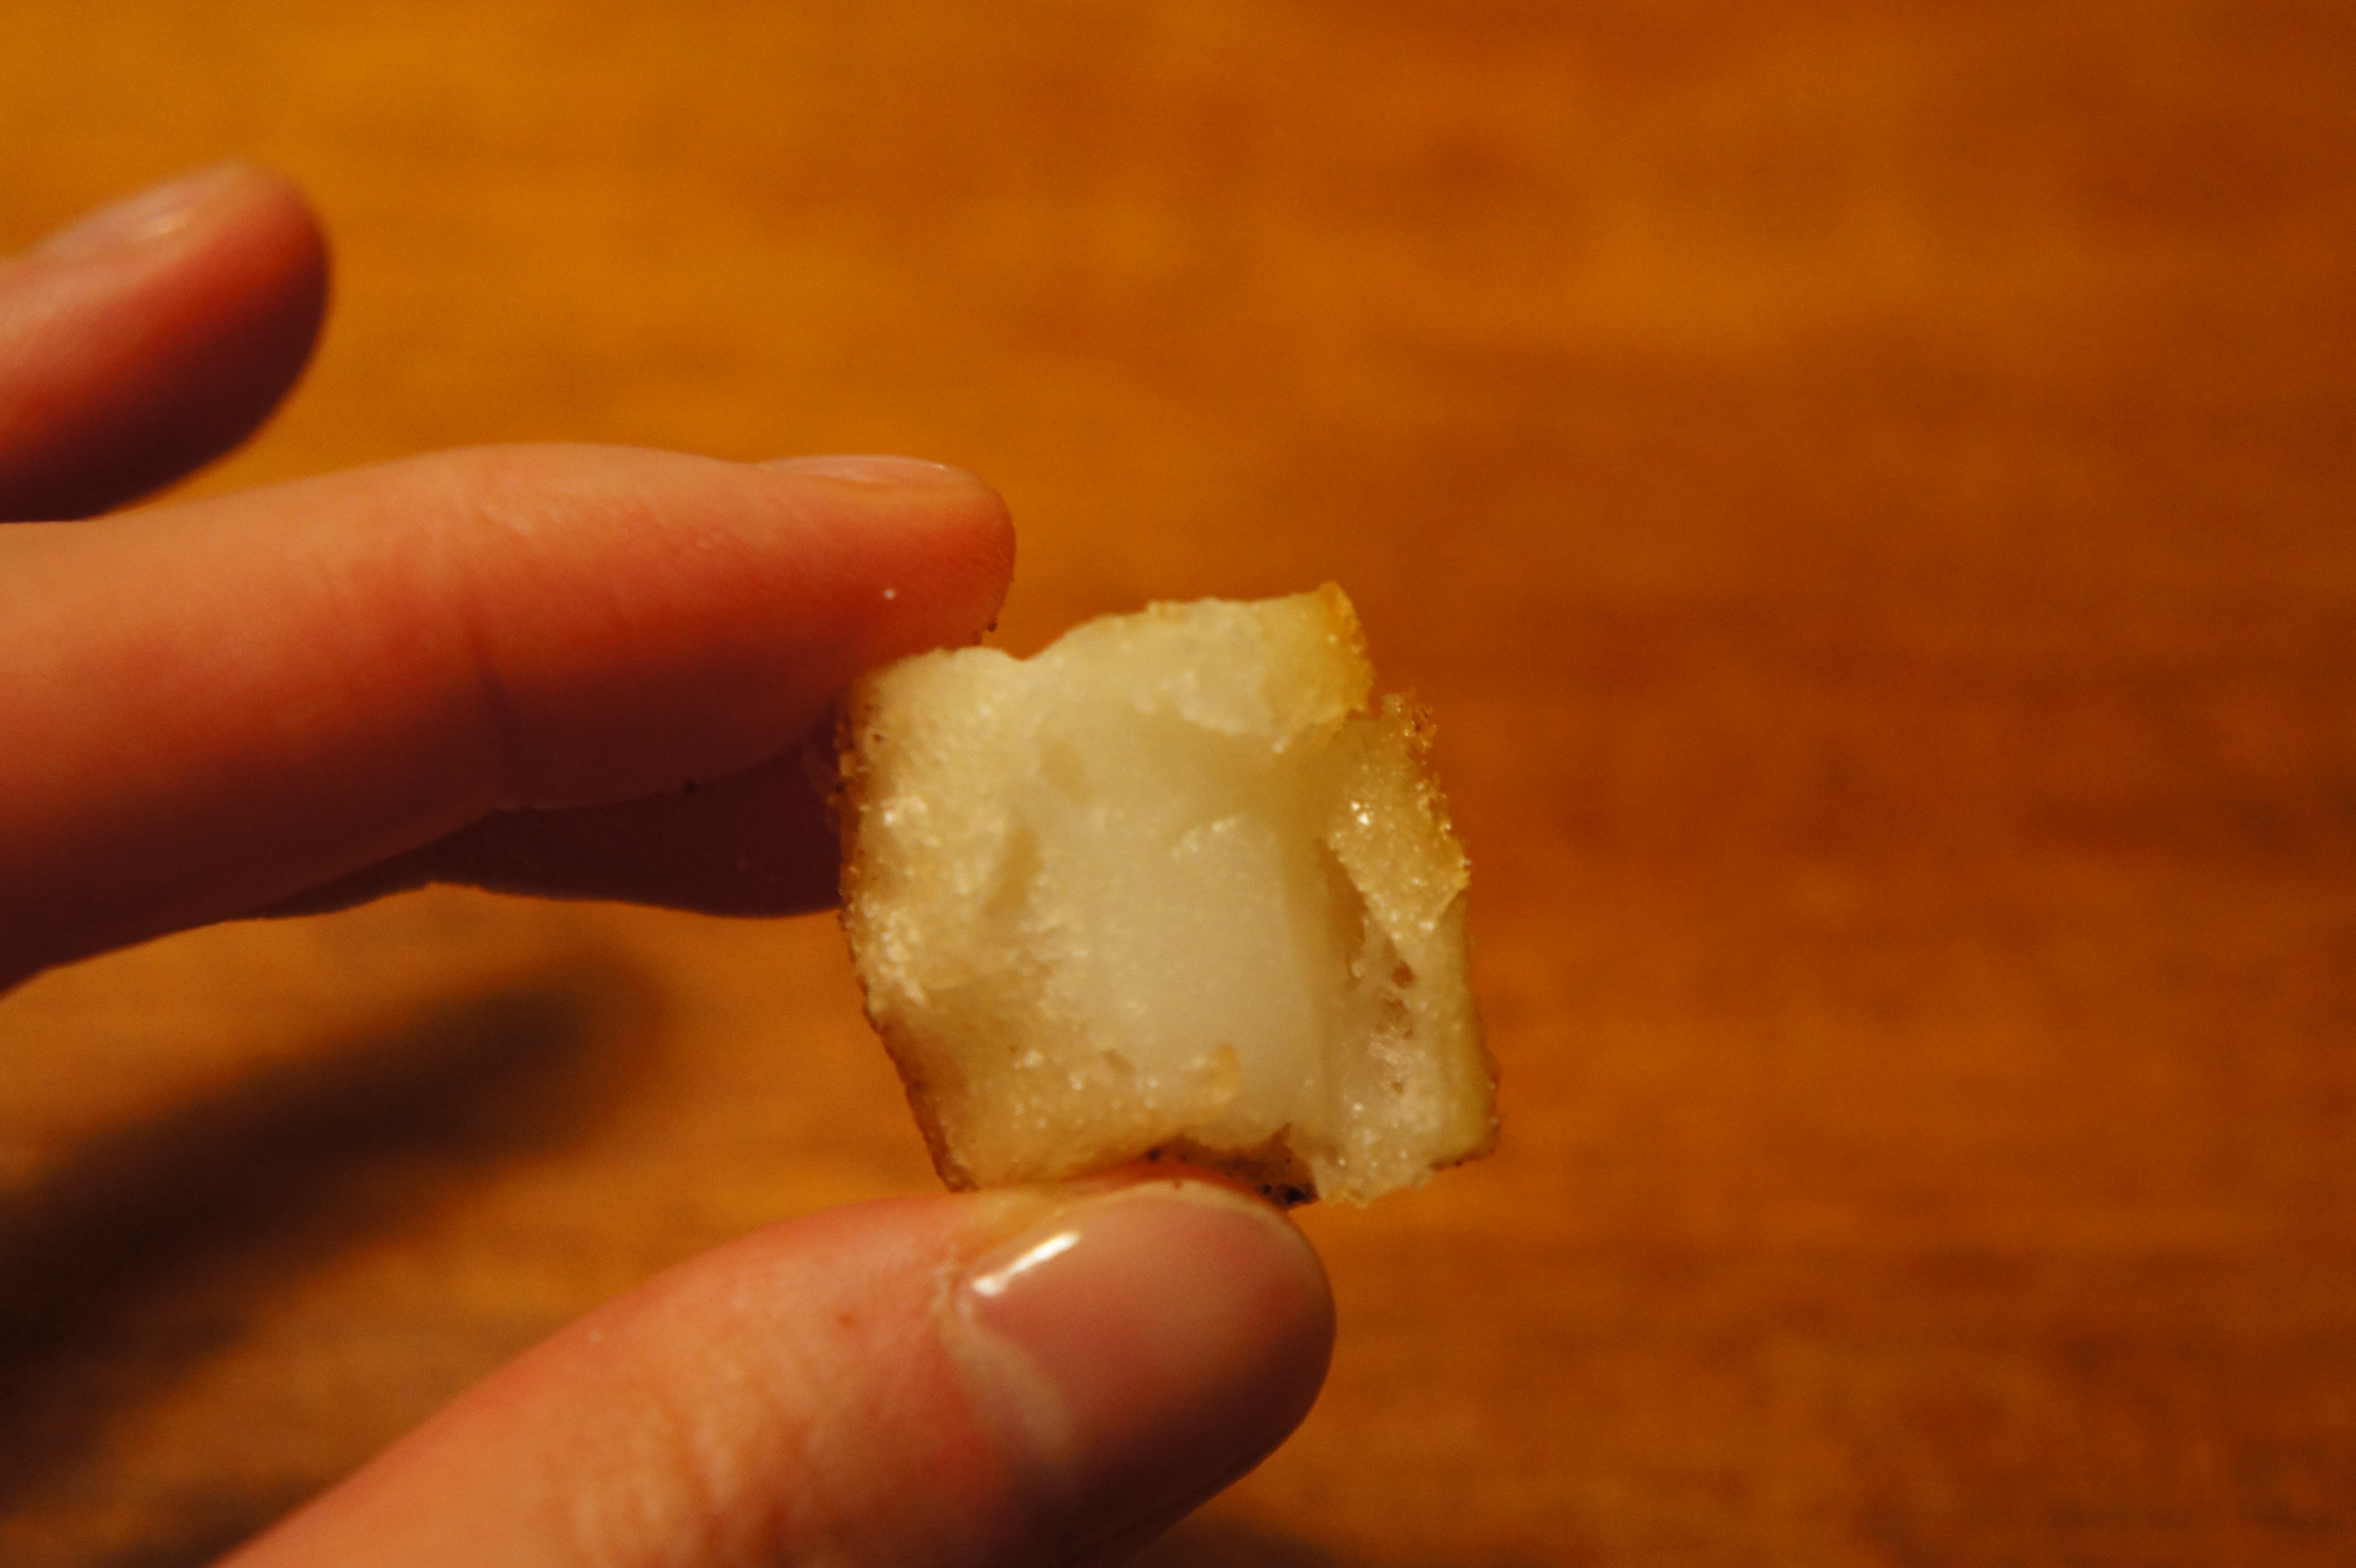
SONY DSC

Dwan-jjang pasteSONY DSC

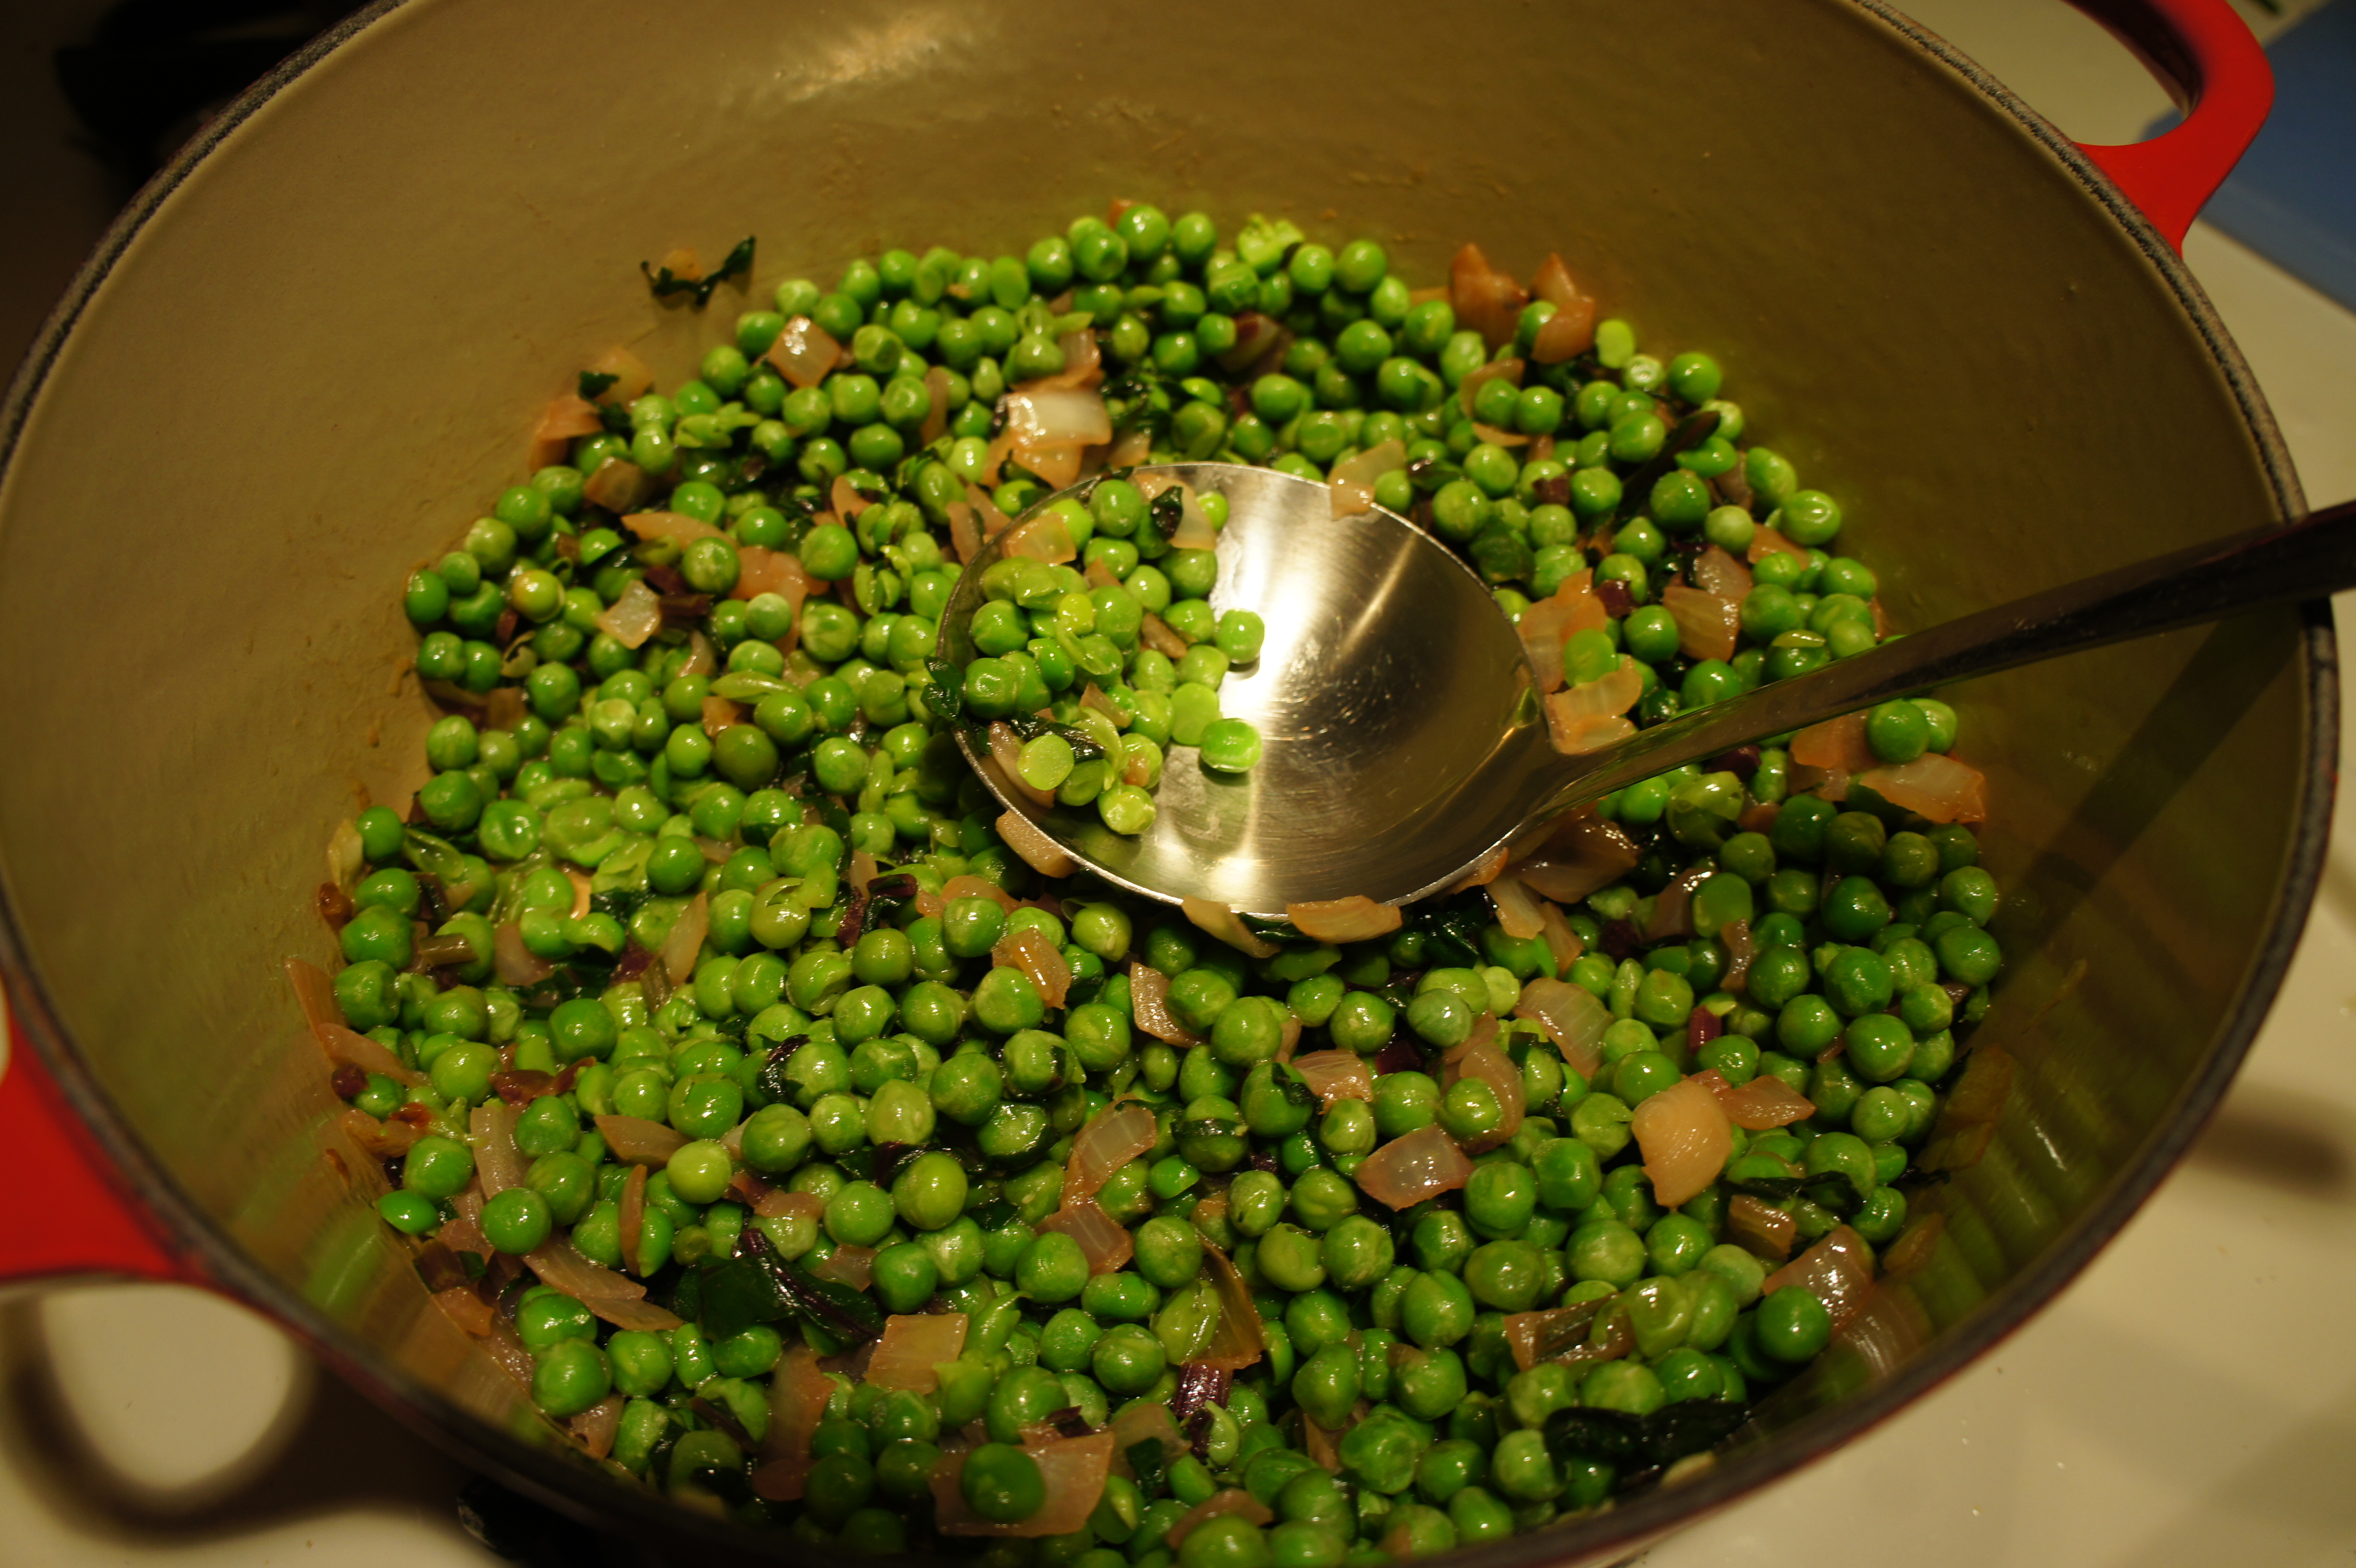
Adding the paste to the soupSONY DSC

White rice and spinach leaves (I usually just pour the hot soup over the leaves so my spinach is “just” wilted, but feel free to add them to your soup as it simmers.SONY DSC

Soup, rice, and spinachSONY DSC