Day 6 and Pumpkin Scones

Hello hello!

I ran 3 miles today. I kept a little bit of a faster pace and got a good work out in. I was actually pretty tired after this run, which is atypical. I sat on the dock in the lake where I ran and chatted with my new found friend while I stretched before heading home.

I didn’t feel like making anything so I picked up a salad and headed to the library. I don’t know what was up with that salad, but I felt terrible afterwards. I drank nearly a gallon of water trying to get rid of that dry, weird taste in my mouth before I gave up and came home. I ate some carrots and downed an electrolyte drink before taking nap… apparently that did the trick because I feel better. Anyway, lesson learned. No more store bought salads.

I also just noticed that I gave myself a good sunburn on my shoulders from sitting out on the dock… so sunblock for tomorrow for sure. Though, I’m told it will be raining so we’ll see how my run shakes out tomorrow.

In the mean time, I want to share a new scone recipe that I tried out. I know… I know… I have so many of these types of recipes on my blog, but since I do spend a rather large portion of my day sitting in the library, I like to have good food that is portable. I’ll do a separate blog post on what I take to the library, but that’ll have to be another day.

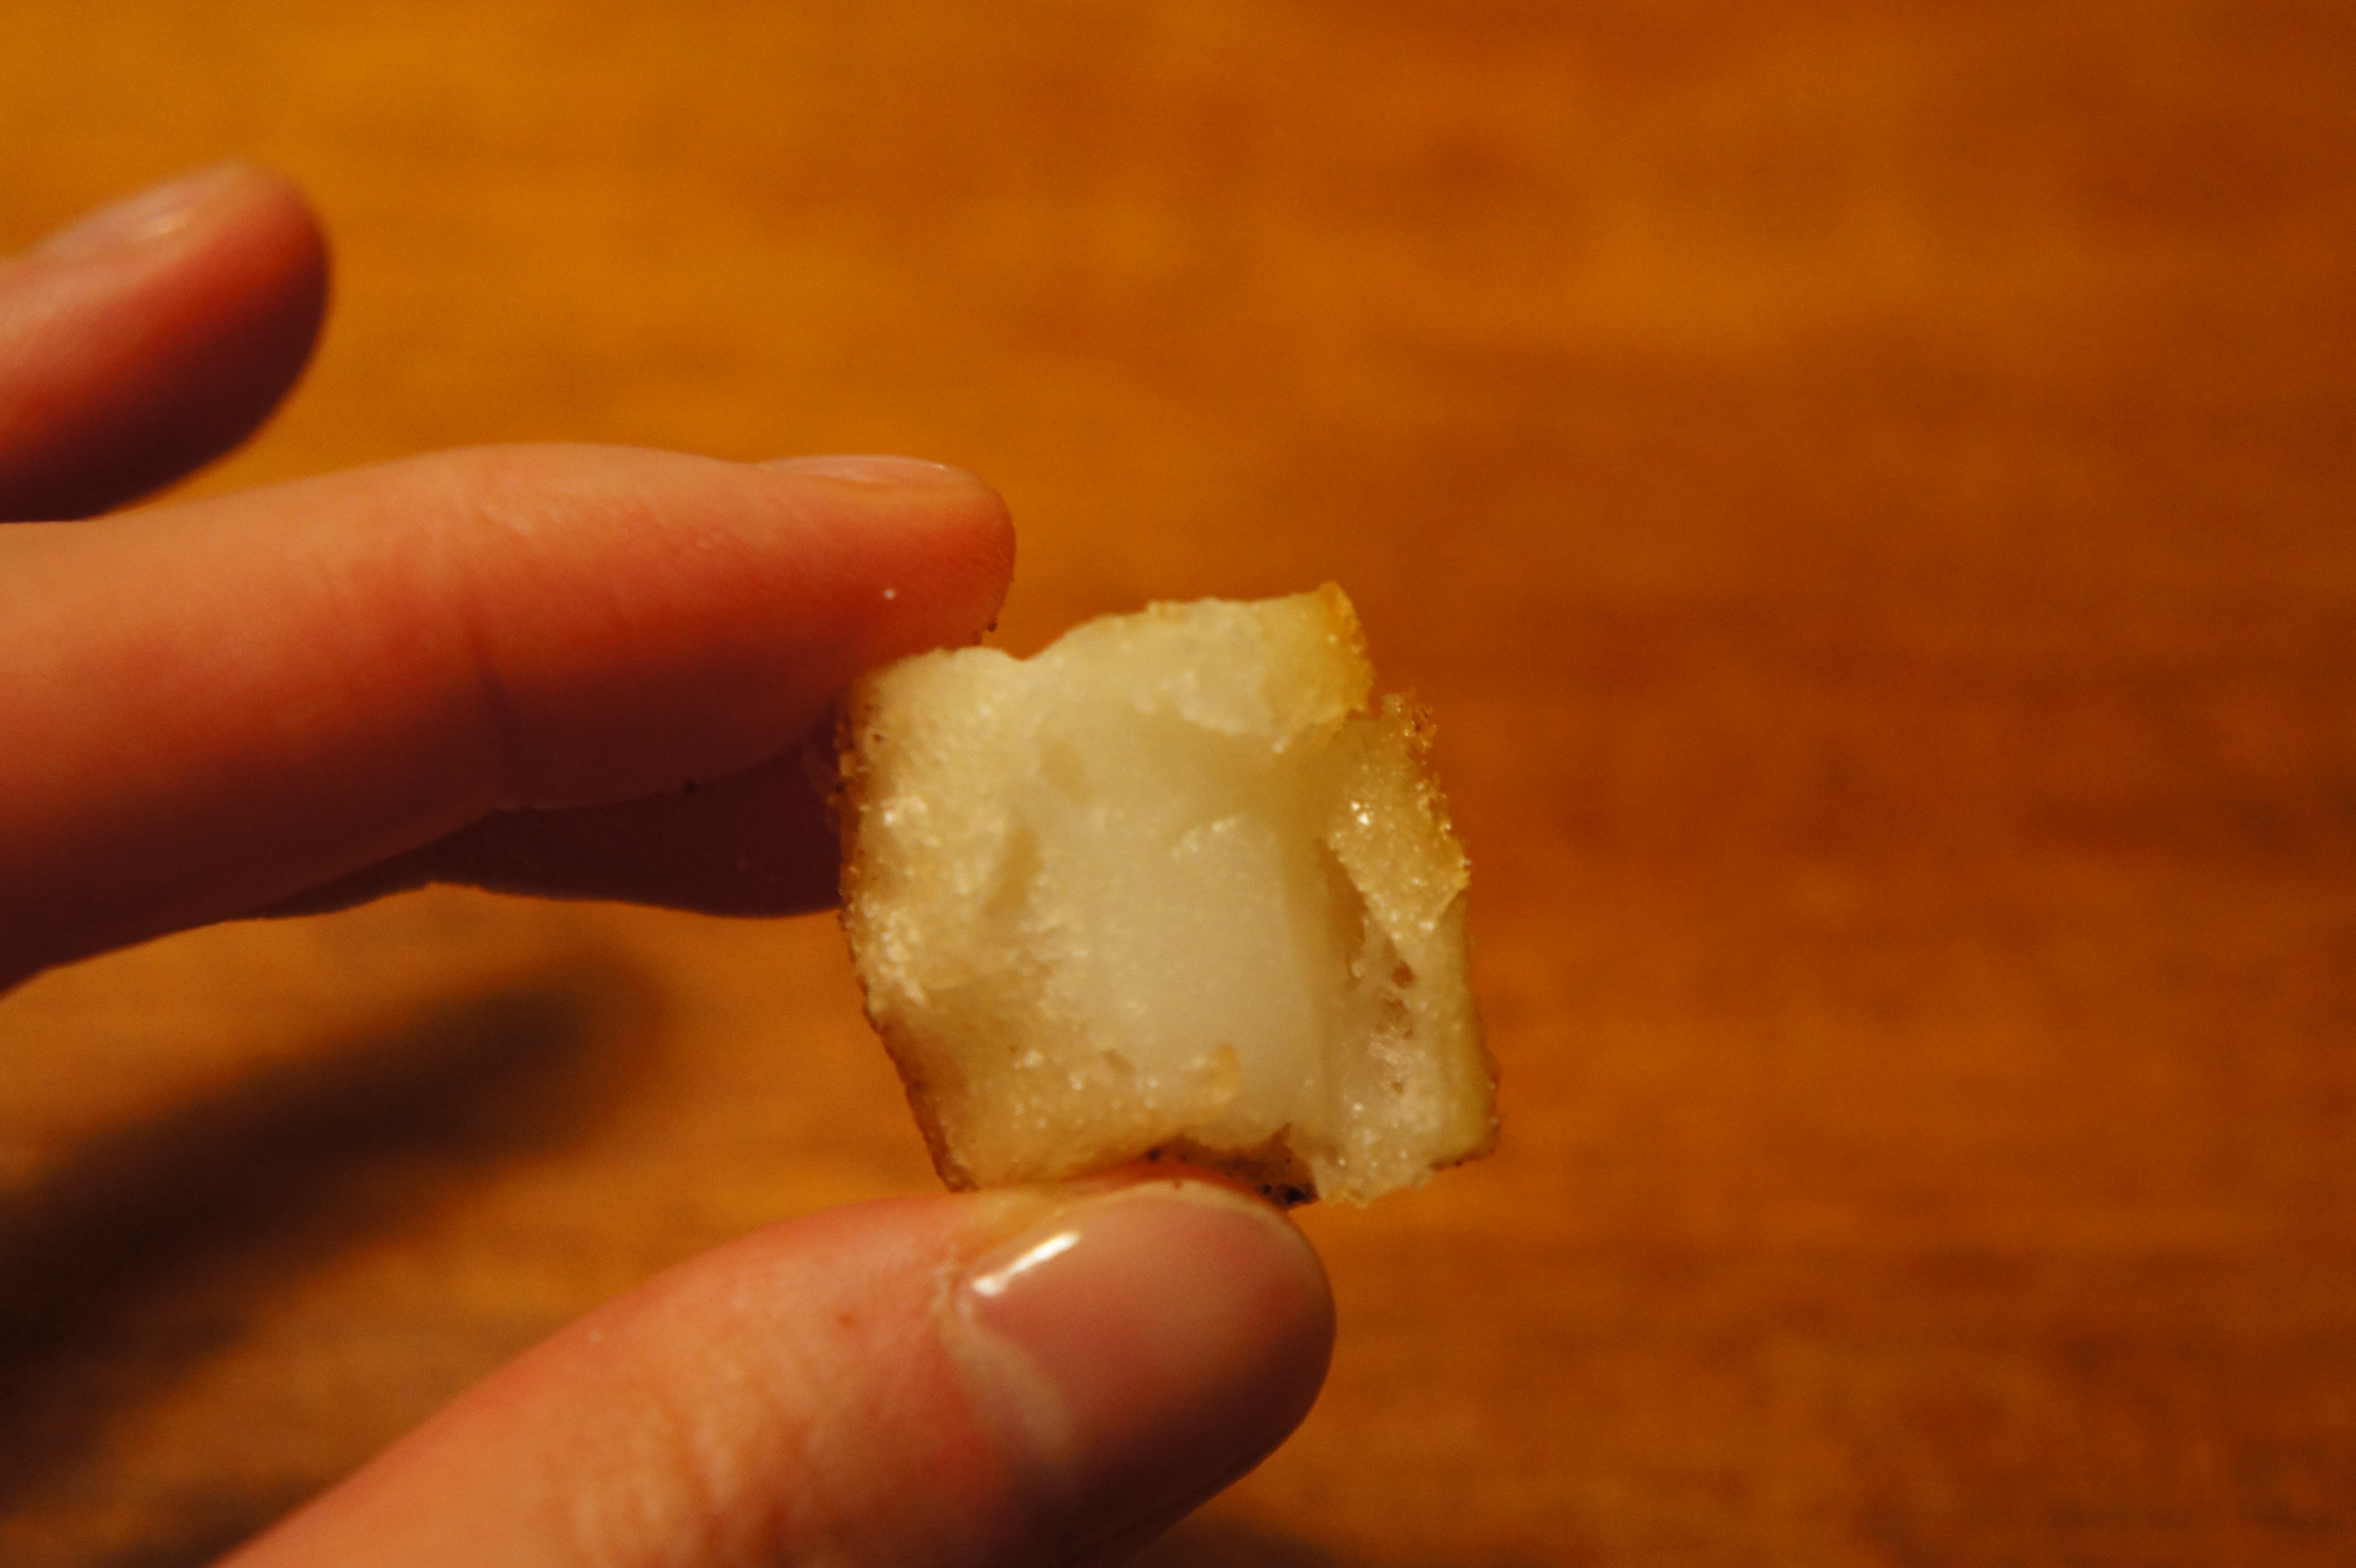
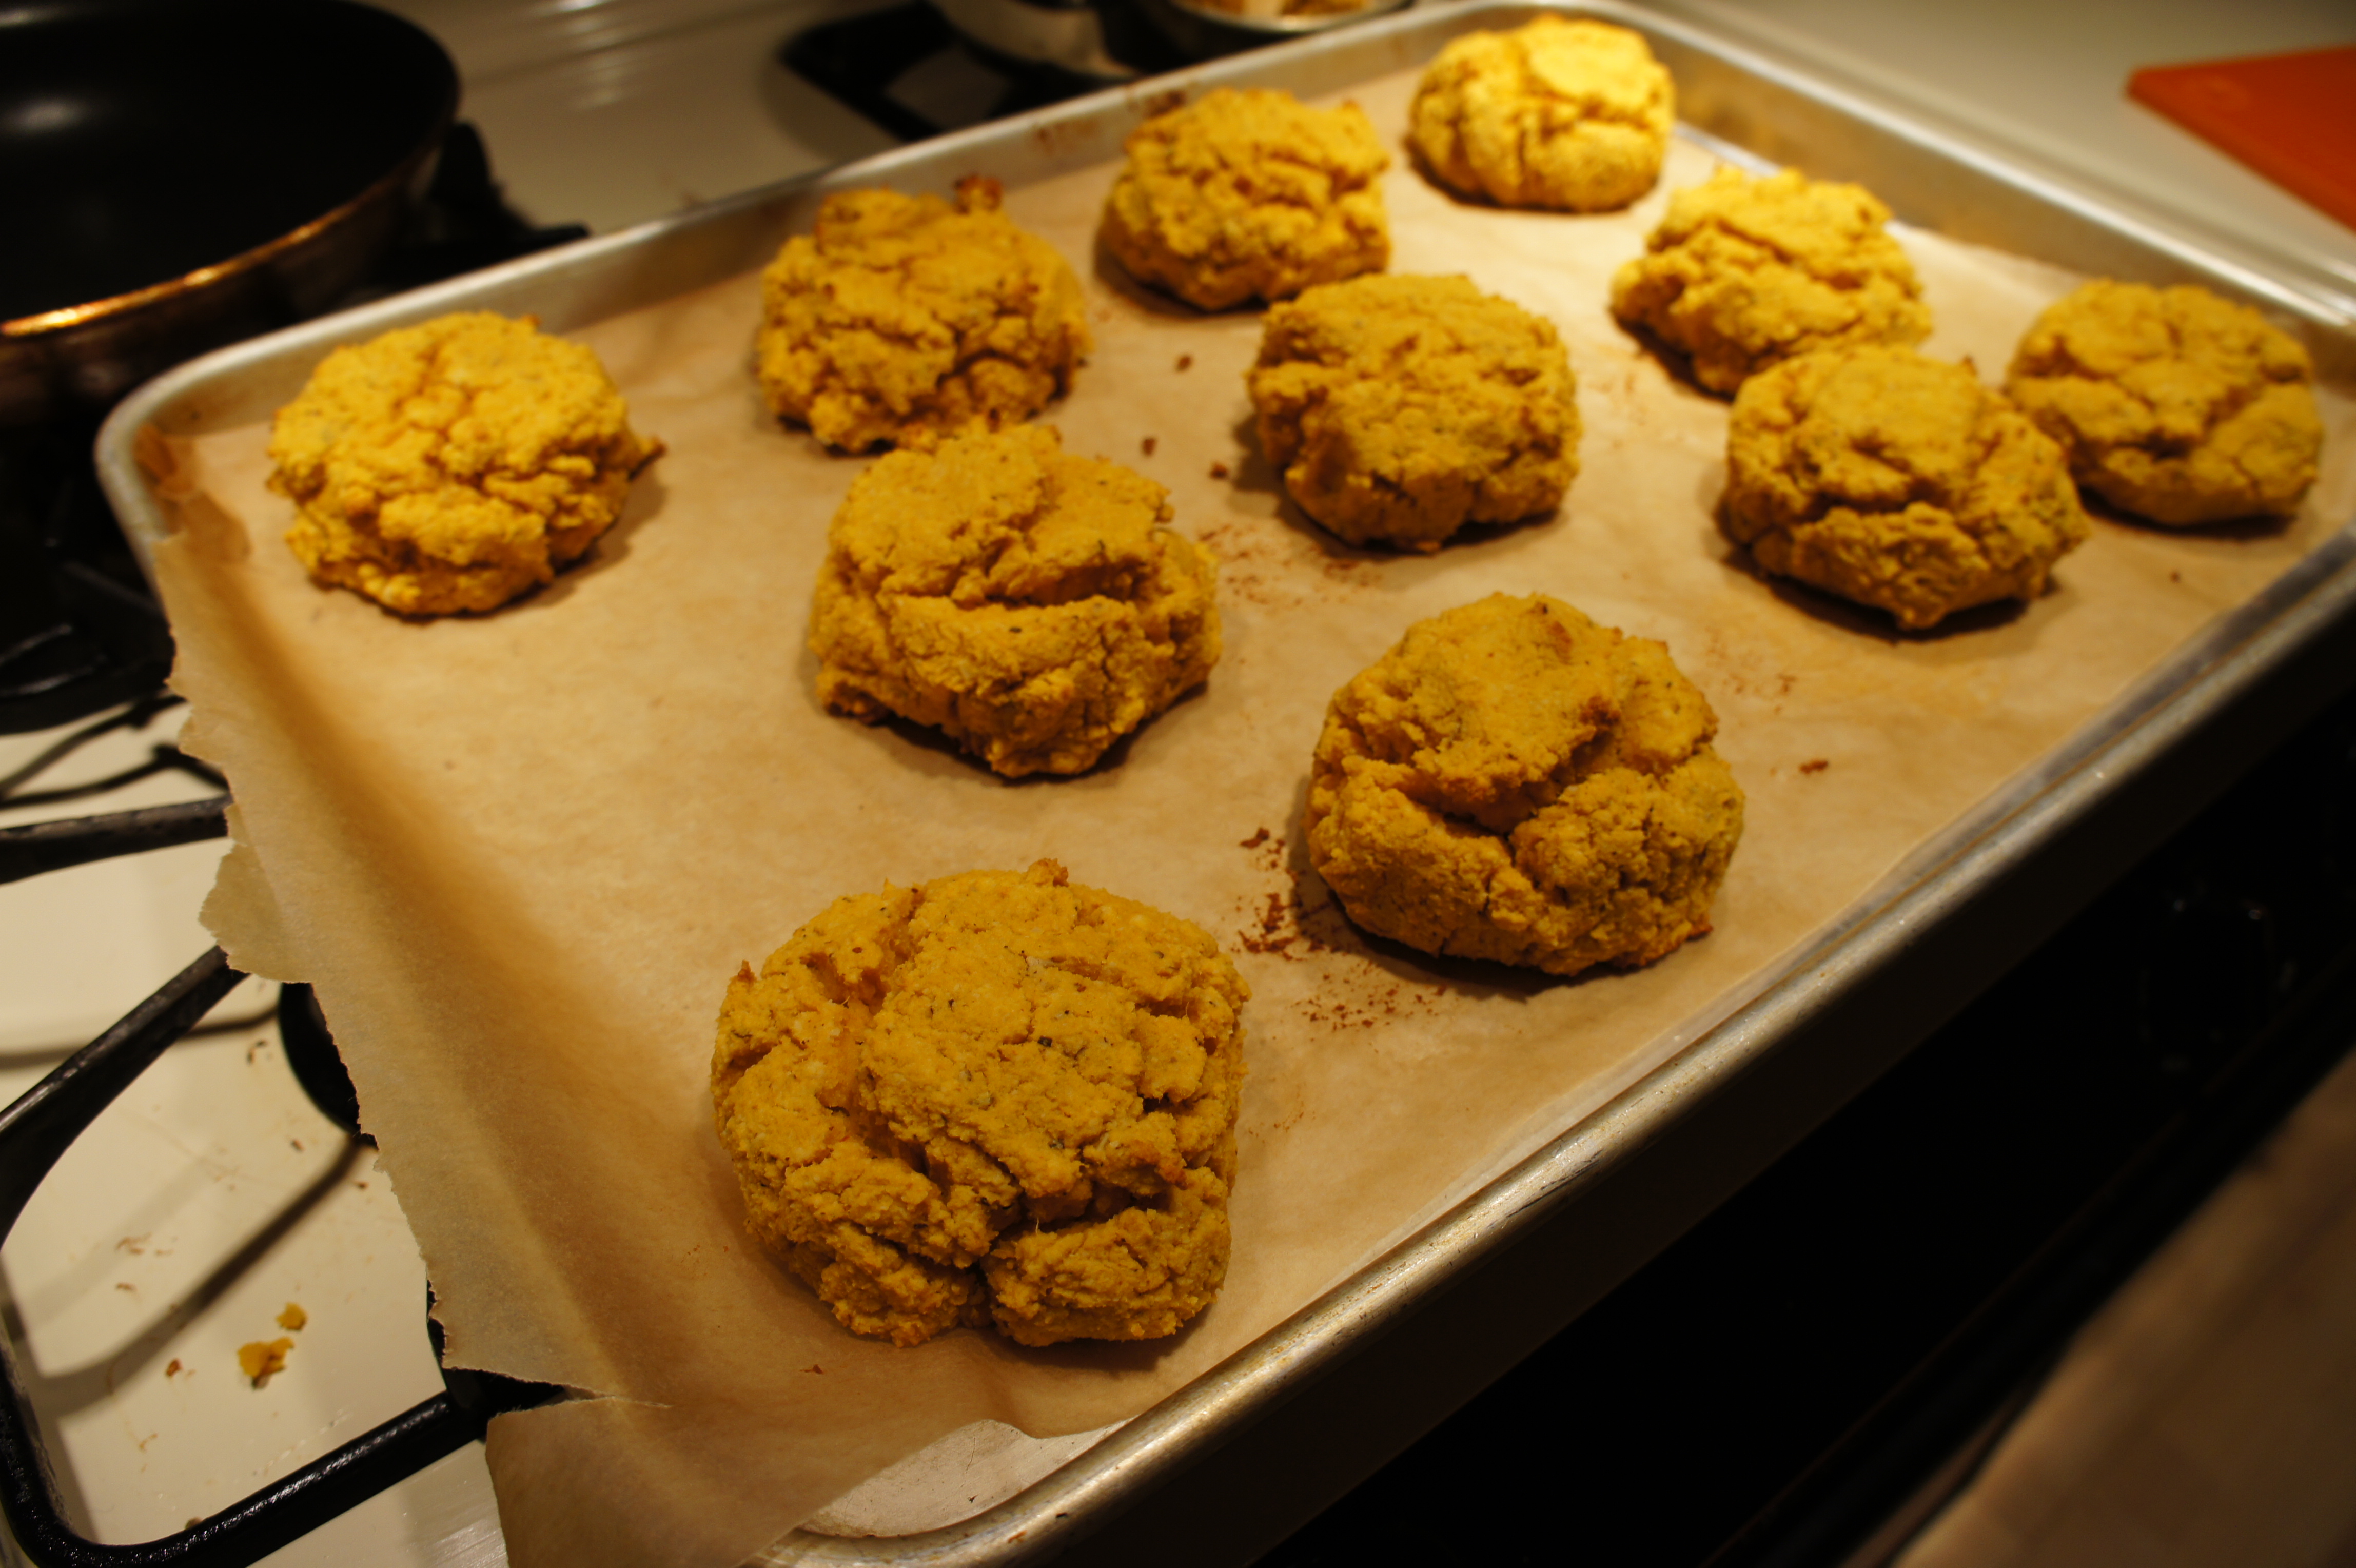
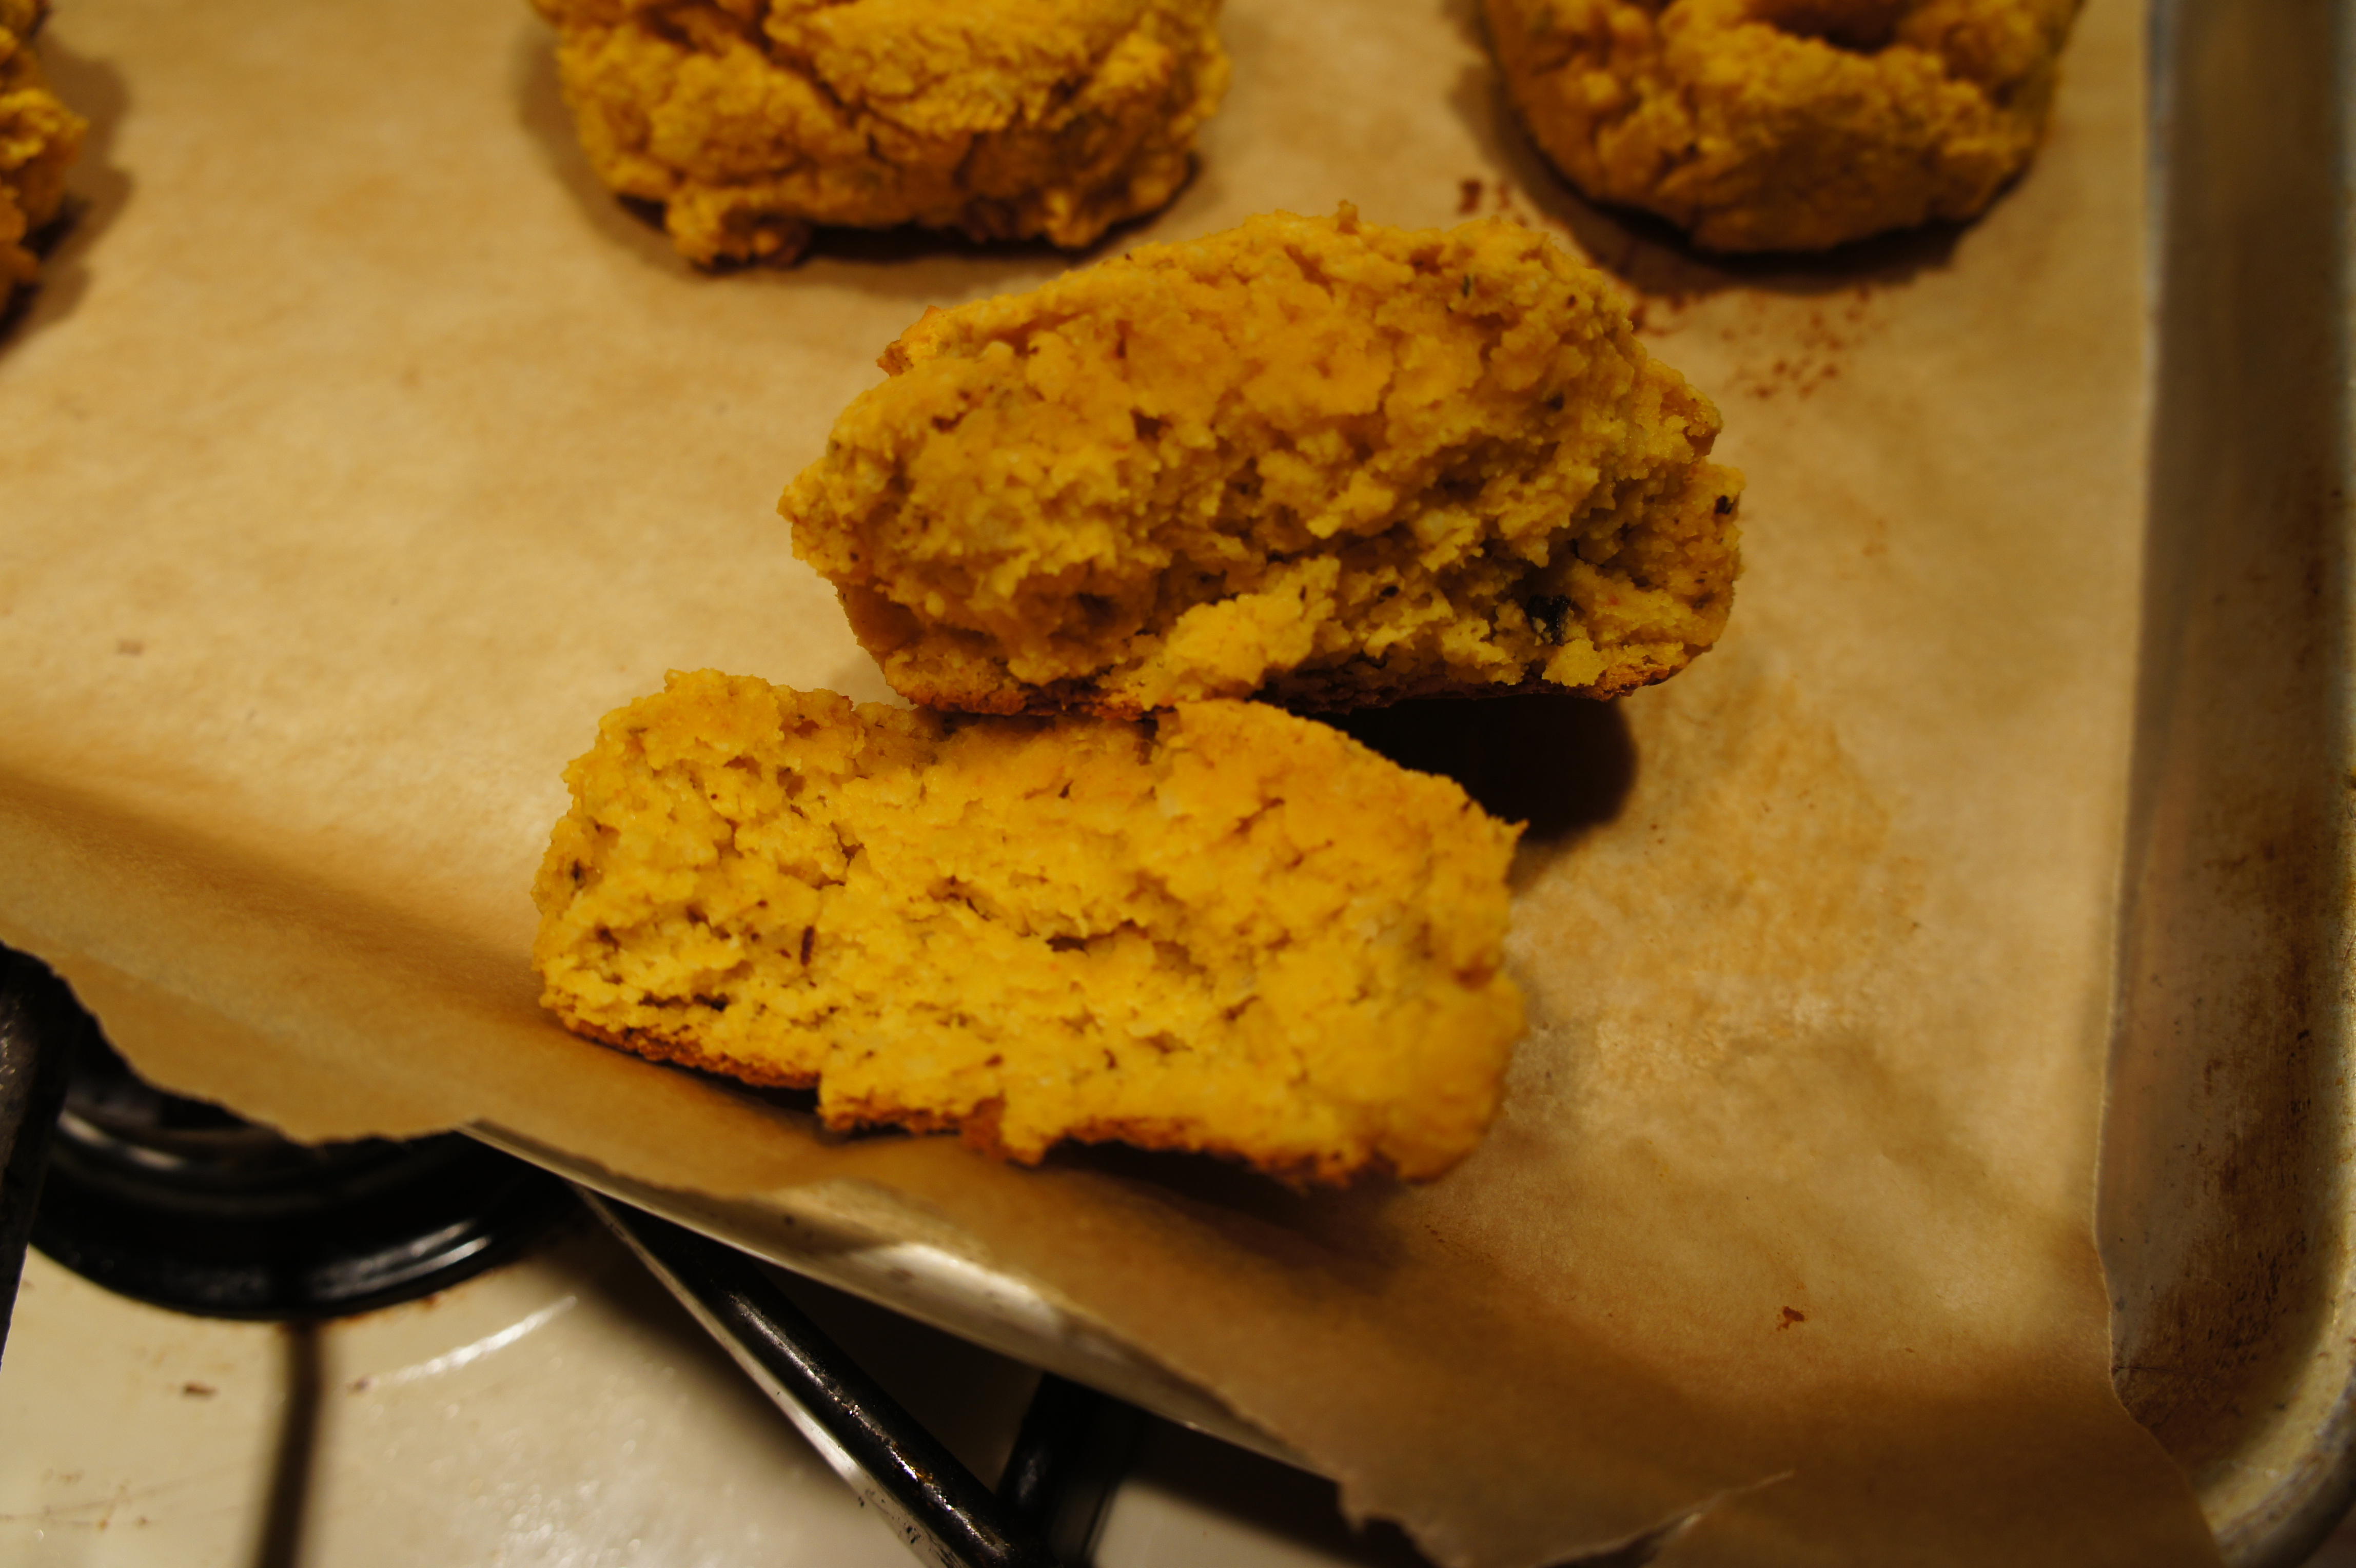
So… these are almond flour scones (again) but sweetened with a bit of maple syrup and fluffy from the delicious pumpkin puree. I used this recipe from The Spinach Spot. I just found her blog today, and it’s totally awesome!

I tweaked (as always) and swapped the baking soda for baking powder, added a palm full of hazelnut flour, and skipped on the frosting. They turned out fluffy, moist, and absolutely delicious. I do have quite a sweet tooth, so next time I’ll add a little more maple syrup… maybe chocolate chips or some dried fruit…..

So… what did you all do today? Any weird food experiences like mine? What do you like to avoid??


SONY DSC

SONY DSC

(Sorry for the crap photos, I have terrible lighting in my kitchen and I didn’t try…. O.o)


Smoked Gouda Almond Flour Scones with Tarragon and Thyme (Paleo/Primal)

Hello hello my friends! Today was Day 1 of the 30 Day Fitness Challenge. I’ll post about that shortly in a separate post.

But, before we get into the running, I wanted to share this quick little recipe. It’s a riff off of the Nom Nom Paleo Scones which I made a while back with a couple tweaks. Those scones are sweet, but these are savory and stuffed with smokey gouda cheese.

Smoked Gouda Almond Flour Scones with Tarragon and Thyme (Paleo)

  • 3 cups of blanched almond flour
  • 1 1/2 teaspoons of baking powder
  • 2 tablespoons of fresh tarragon, chopped
  • 2 tablespoons of fresh thyme, chopped
  • 1 teaspoon of cracked black pepper
  • 1/4 cup – 1/2 cup of smoked gouda, chopped into small cubes (add more cheese as you see fit)
  • 1 teaspoon of black truffle oil, or truffled cheese
  • 4 tablespoons of butter
  • 2 tablespoons of apple cider vinegar
  • 2 tablespoons of honey
  • 2 eggs, whisked
  1. In a large bowl, combine the almond flour, baking powder, chopped herbs and cracked pepper
  2. Grate the butter into the almond flour mixture, until the butter is evenly distributed in the mixture
  3. Stir in the cheese
  4. In a small bowl, whisk the eggs, honey and vinegar
  5. Stir the wet mixture into the almond flour until just combined
  6. Divide and shape into scones
  7. Place on a parchment lined baking sheet. You should have about 6 to 8 good sized scones
  8. Bake at 335F for 25 minutes, or until golden brown
  9. Store left overs in the refrigerator, and bake for a few minutes to reheat and re-crisp when desired.

Enjoy!!!

Crisp Salad with Feta, Olives, and Basil

After eating soup and soft hot foods to help kill my cold, I was really craving something fresh, crispy, and refreshing. This salad satisfied my craving, and the remaining leaves of lettuce have been quickly gobbled up with zesty dressing. Since this isn’t much of a recipe, I’ll leave you with a list of the ingredients and a couple pretty pictures of my salad

Crisp Salad with Feta, Olives, and Basil

  • Iceberg lettuce
  • Feta cheese, crumbled
  • Sliced black olives
  • Shredded basil
  • Thinly sliced fennel
  • Sliced carrots
  • Coins of roasted sweet potato
  • Avocado
  • Cherry tomatos
  • Italian dressing

SONY DSC

SONY DSC

Double Dose of Vegetables Pad Thai

I went to Thailand last year, and for someone who had not really appreciated Thai food, I came back with an extremely healthy appetite for Thai food. Unfortunately, New York is not a bustling metropolis that contains much Thai food (please correct me if I’m wrong! I haven’t been able to find anywhere to remotely resembles delicious Thai food!).

My sister introduced this recipe to me a year ago, and it has been on steady rotation in my cooking repertoire. The recipe is simple and the result is a stunningly delicious rendition of Pad Thai. You can find the complete recipe at Health-Bent, an extremely well written and thought out Paleo blog with gorgeous pictures and recipes. Health-Bent’s Paleo Pad Thai.

Here are some pictures from my latest run at Paleo Pad Thai.


I normally make a double batch and store it in the refrigerator in 1 serving portions. I just grab a container at a time and toss it with some grilled shrimp or chicken over high heat and eat! Quick and delicious way to get your protein and vegetables in one delicious bowl!

Oh… and in case you find yourself in Bangkok? This is the Pad Thai I am raving about! It is seriously amazing.

SONY DSC

You can find this Pad Thai in Bangkok at  Pad Thai Thip Samai (aka Pad Thai Pra-Too Pee). Located at Khaosarn Road. Here is the address and website:  313 Mahachai Road, Phra Nakorn (http://www.thipsamai.com/)

Spinning Salad and Other Spinning

Recently, I’ve had a lot of “spinning” going on in my life. I recently fixed up a bike my sister gave me, and started biking. Unfortunately, every single time I try to get more of a work out in with the bike, I seem to run into problems. Flat tires, broken tire valves, broken air pumps, and getting the handle bars jammed inside my tiny car… my bike and I have been on the outs, but I’m hoping to solve this problem soon.

However, the one spinning thing  that hasn’t been giving me any trouble is my salad spinner. I bought the OXO Good Grips Little Spinner. I found mine at HomeGoods, but you can buy these are Bed, Bath, and Beyond or other stores that have OXO products.

This spinner is much smaller than the conventional “salad” size and it fits exactly the amount I need to spin greens dry for lunch and dinner. I’ll be honest, I’ve been using my spinner to dry small fruit, any greens that I’ve washed, and plain salad greens. I love pushing on the little knob and watching everything whirl around.

I contemplated getting this salad spinner for several months, but I am so glad that I got it. It gives me great satisfaction to wash my greens and other vegetables and fruits… and this translates into a lot of vegetables and fruits in my diet. Good stuff.

I wanted to share that tidbit since my cooking has been pretty low key… Lots of leftovers recently!

Have a good Wednesday all!

xoxo – H


Steak Salad with Mint and Shaved Goat Cheese

After months of putting off using the bike my sister gifted me, I finally got it out and took it for a good, long ride. Turns out, biking is super fun. I did 9 miles in 40 minutes and felt great. My knees definitely appreciated the break.

Anyway, after working out I bought a mini salad spinner and whipped up some salad. I thought I’d share what I made.

Steak Salad with Mint and Shaved Goat Cheese (Kaprise Kitchen original)

  • 3 ounces (or more) of cold steak, thinly sliced
  • 2 cups of arugula
  • 1/2 cup of mint leaves, stems removed
  • 2 small cucumbers, sliced
  • half a dozen shavings from a block of cheese, I chose Midnight Moon goat cheese
  • a drizzle of your favorite dressing
  1. Wash and spin your arugula and mint
  2. Arrange the salad greens in a large bowl with the steak and cucumber
  3. Shave the cheese over the top and drizzle your favorite dressing on top.

Easy Peasy and delicious. The mint definitely adds a unique punch and freshens up the salad.

SONY DSC


Spiced Pea Stew

I don’t really like the idea of pea soup. I find it is always a bit too creamy or sweet or weird. Anyway, it was raining yesterday and I felt like soup. I was going to make chicken-something-something soup with some leftover chicken I had in the freezer, but then I found two bags of sad little peas and immediately changed my mind.

SONY DSC

This soup isn’t pretty… but it sure beats the hell out of those weird pea soup recipes you see. It’s chunky, spicy and just delicious.

Spice Pea Stew (Kaprise Kitchen Original)

  • 3 cups of frozen peas, rinsed under cold water
  • 1 medium onion, diced
  • 1 cup of chopped beet greens (you can use spinach, kale, or any other green you would like)
  • 3 stalks of celery, diced
  • 1 teaspoon of cumin
  • 1 teaspoon of paprika
  • 1/2 teaspoon of spicy pepper flakes
  • 3 tablespoons of butter (or olive oil)
  • 1 teaspoon of salt
  • 1 teaspoon of cracked black pepper
  1. In a heavy bottomed pan, melt butter over medium heat
  2. Saute onions until soft and translucent
  3. Add beet greens and continue to saute over medium heat until soft
  4. Add in celery and peas
  5. Smoosh (hehe… smush? squish?) the peas with the back of a ladle. I squish about 1/2 so that there is texture to my stew (Alternatively, you could blend 1/2 of the mixture with an immersion blender or other device for a smoother texture).
  6. Add all of the spices (you may want to add in increments so that you can adjust accordingly). Taste, and adjust the seasonings as needed.
  7. Just cover the vegetables in filtered water, cover and bring to a boil
  8. Lower the temperature and simmer for 20 minutes
  9. Serve and enjoy!

SONY DSC

SONY DSC

SONY DSC

SONY DSC

SONY DSC

SONY DSC

Hot Pink Vegetable Summer Rolls

SONY DSC

This past weekend, I went to a sushi place with a friend where you fill out one of those little paper sheets… I bubbled the wrong one and I didn’t get to eat what I wanted! Which concerns me because I really wanted a cucumber roll and because I just finished a bubble-in bar exam…

Regardless, I had vegetable rolls on the brain so I whipped these up. I had a stroke of genius when I saw the bright red poaching liquid, and steeped my rice paper in the colored water to get these beautiful hot pink wrapped summer rolls. I experimented by brushing them wrappers with the poaching liquid instead of steeping them. The difference is the intensity of the color of the wrapper. If you prefer the darker wrapper, steep the wrappers.

I imagine that making these in all sorts of different colors for a themed party would be fun, or perhaps if you have children making these brightly colored rolls together might encourage them to consume more vegetables.

Party, children, or not… these are delicious and packed with fresh vegetables to get you ramped up for the spring!

Hot Pink Vegetable Summer Rolls (Kaprise Kitchen)

  • 1 pound of beets
  • 7 carrots
  • 4 kirby cucumbers
  • 1 bunch of cilantro
  • 1 bunch of mint
  • 1/2 pound of mung bean sprouts
  • rice paper wrappers
  1. Wash, peel, and quarter the beets. In a saucepan, cover the beets with water and boil with a pinch of salt for 30 minutes, or until tender.
  2. While your beets boil, wash all of your vegetables and let them drain on a paper towel covered baking sheet (or clean dish towel, if you are more environmentally friendly than I).
  3. Cut the cucumber and carrots into batonnets
  4. Once the beets have been boiled and cooled a bit, also cut those into batonnets, reserving the boiling liquid.
  5. In a large bowl, pour the warm beet liquid (or simply warm water for non-colored summer rolls). Make sure your water isn’t too hot or the wrappers will get too soft and rip.
  6. Gently dip the wrappers into the water, making sure to coat both sides with the water. The wrapper should absorb some water, but still be firm. The wrapper will continue to absorb water as you work, and soften. Remember, you can always dab a little more water if your wrapper is too sticky or too firm.
  7. Place the wrapper on a cutting board (or smooth surface), add filling, roll… and enjoy!!


SONY DSC

SONY DSC

SONY DSC

SONY DSC

SONY DSC

SONY DSC

SONY DSC

SONY DSC

SONY DSC

SONY DSC


Crispy Fried Rice Cakes (Fried Dduk)

Hello friends…

So. I love dduk. Not quack quack duck, but chewy rice cake dduk. I googled the word “dduk” but there wasn’t much information. So then I tried googling “tteok” which got many more hits… see what I mean about the spelling of Korean stuff??

Anyway, there are lots of recipes on how to make Korean dishes with dduk/tteok, but I wanted to share how I like to eat mine. I made this recipe up a few years ago when I had some leftovers, and have continued to make it since. Dduk is normally only good on the day that it is made, and once in the refrigerator it becomes really hard.

Crispy Fried Dduk (Kaprise Kitchen Original)

  • Several pieces of plain dduk, cut into pieces (Make sure your pieces are dry, any moisture will cause the oil to splutter)
  • 1 tablespoon of olive oil
  • 1 1/2 teaspoon of sesame oil
  • 1 teaspoon of soy sauce
  • 1/2 teaspoon of sugar
  1. In a non-stick skillet, heat the olive oil over medium heat
  2. One the oil is heated, gently slide the dduk into the pan, be sure to leave a little space between the pieces of dduk so they don’t stick.
  3. Cook until the dduk is crispy and golden, flip to the other side and cook until crisp and golden (I fry mine for about 5 minutes on each side, but keep an eye on your so it doesn’t burn)
  4. Remove the pan from heat
  5. Drizzle the sesame oil and soy sauce over the crisped dduk as you swirl the pan, coating the pieces in the sesame and soy sauce. The combination will sizzle so move quickly.
  6. Sprinkle the sugar over the coated pieces of dduk
  7. Plate and eat!


Notes:

  • There are many varieties of Korean rice cakes… endless in fact. However, this recipe works best with the plain, white, string dduk. It is normally sold in Korean grocery stores in little styrofoam pans. I normally used left over dduk that has been refrigerated, so the dduk is hard. This helps the dduk crisp in the oil as you cook it. 
  • If you are unfamiliar with dduk, you can visit Maangachi to learn more about dduk. I believe that website uses the “tteok” spelling, but here are some links to the pages I thought were helpful: the dduk I used, how to make dduk-bokki, and how to make plain white dduk.

SONY DSC

SONY DSC

SONY DSC

SONY DSC

Have you ever tried dduk? Also, any miscellaneous questions about dduk, please let me know! I know it is still pretty novel in the States.

The Final Update: It’s BASA!

Hahaha!! I went back to the market today to repurchase that delicious fish I had the other day… turns out the printed sign was a bit unintelligible and it’s actually BASA fish.

Google news has a lot to say about Basa, mainly lots of negative articles about the origin of the fish, contamination, and all that. Regardless, I did want to let you guys know that what I cooked was BASA FISH… it’s a type of catfish that is originally from Southeast Asia.

Thanks!